.svg)
An Archival policy type is designed to help you create a more cost effective systems for long term.
Therefore, you can create a policy to move and store old organizational content in the following ways:
-
If you choose No Action, you will see an error that it is not supported and you will not be able to create the policy
-
After the specified time period is reached, content gets moved to a specific folder or location (Archive)
The following table identifies what actions are blocked for an Archival type of retention policy.
|
Policy Type |
Reads Blocked |
Moves Blocked |
Copies Blocked |
Updates Blocked |
Deletes Blocked |
Policy Length |
Expiration Actions |
|---|---|---|---|---|---|---|---|
|
Retention |
NO |
NO |
NO |
NO |
YES |
|
|
Creating the Policy

To create an Archival Policy:
-
Log in to the Admin Portal.
-
From the left navigation pane, select Retention.
-
On the Manage Retention Policies screen, click the Add Policy button.
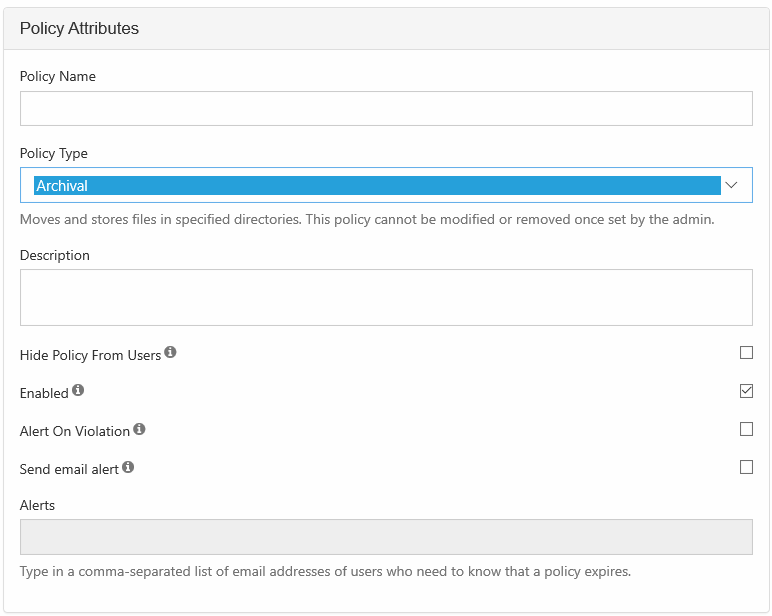
4. Completely fill out the Policy Attributes section.
|
Property |
Description |
|---|---|
|
Policy Name |
A string of characters, letters, and numbers that provide a title for the policy |
|
Policy Type |
Select Archival |
|
Description |
|
|
Hide Policy from Users |
|
|
Alert on Violation |
Displays an alert in the Admin portal on the Governance dashboard. |
|
Send email alert |
Notifies all provided recipients that there are only 7 days until the policy expires. |
|
Alerts |
A list of email addresses separated by a comma who will receive the email notification that there are only 7 days until the policy expires. |
5. Attach folders or files in the Apply Policy To section.
The Path and the Metadata tabs allow you to define the conditions that specify how the policy will be applied in the system.

Add a Path
Add Path allows you to define a folder that a policy will apply to AS WELL AS all the files and sub-folders it contains
|
What you CAN do in the Path field |
What you CANNOT do in the Path field |
|---|---|
|
|
When creating the policy the full path doesn't have to exist, however. At a minimum:
|
This will prevent you from saving the policy 
|
Configure Metadata
Data that provides additional information about files and folders is called Metadata.
-
To specify files and folders that this policy should apply to, you can use metadata sets, attributes, and tags.
-
You can use metadata to apply a policy to all files that meet the metadata conditions even if they are not in the same folder.
You can select metadata from the following existing attributes or sets:
-
Default sets = provided with FileCloud and applies to every folder and cannot be modified
-
Built-In sets = provided with FileCloud and includes the Document Life Cycle and Image metadata sets
-
Custom attributes and sets = created by administrators in the Admin Portal
For more information about metadata, see Managing Metadata.
6. Set the Expiry Actions
You can configure an Archival policy to expire in a set Time Period or at a Fixed Date.

|
To set a Time Period:
To set a fixed date:
|
||||

|
Renew Expiry on Access: this is a set number of days or years that is used to calculate when the policy expires based on the last access date.
To set Renew Expiry On Access:
|
||||

|
When a Retention policy expires, you can configure it to allow access to or delete the attached files and folders. To set Policy Expiry Actions:
|