.svg)
The option of adding watermarks to downloaded files is available beginning in FileCloud 23.262.
The Watermark Management page is available beginning in FileCloud 23.261 and introduces the ability to create watermark rules that are applied to specific users, groups, roles, or policies.
Prior to FileCloud 23.261, watermarks were configured on the Preview settings page.
Password protected PDF previews are not showing watermarks. This is an issue with the third-party application used for previewing PDFs, and will be resolved when an update of the application becomes available.
Watermarks are text that appears grayed out in the background of previewed or downloaded files in FileCloud. Administrators can add single line or multiline watermarks to PDF, Office, and image files when previewed and downloaded in FileCloud.
Note: Watermarks also appear on documents when edited in Collabora.
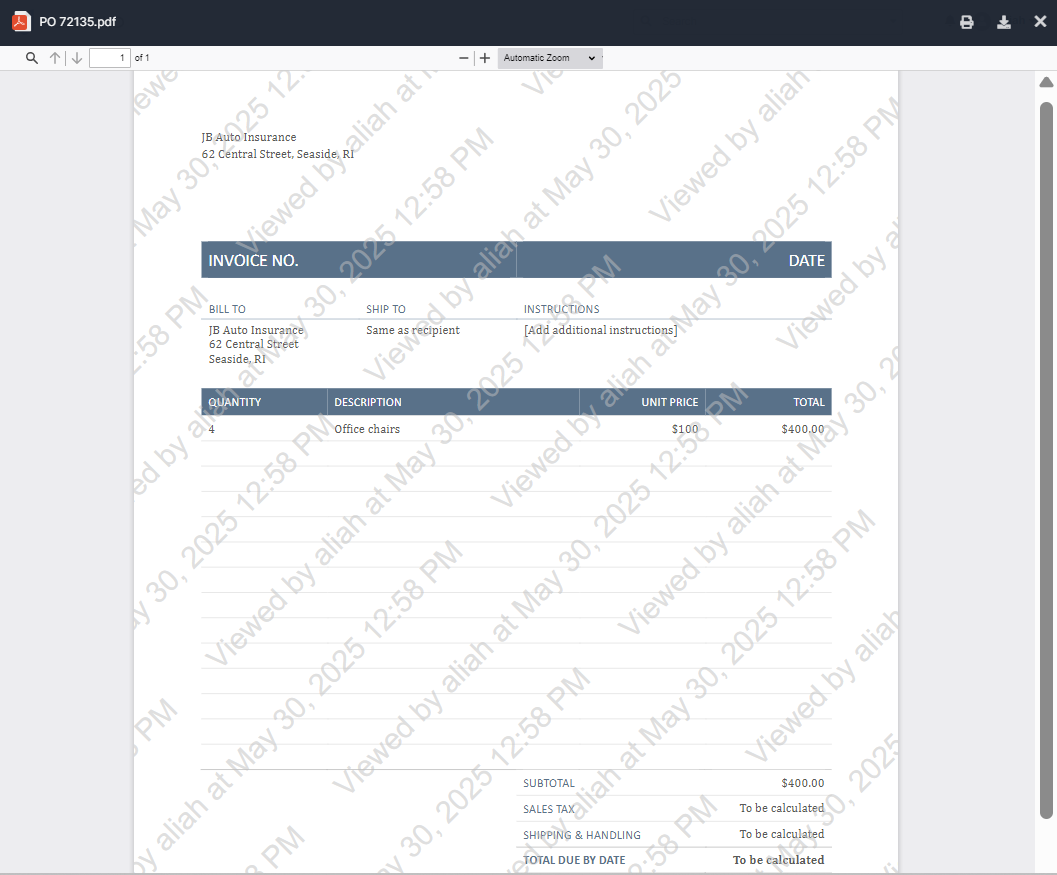
Single line watermark:
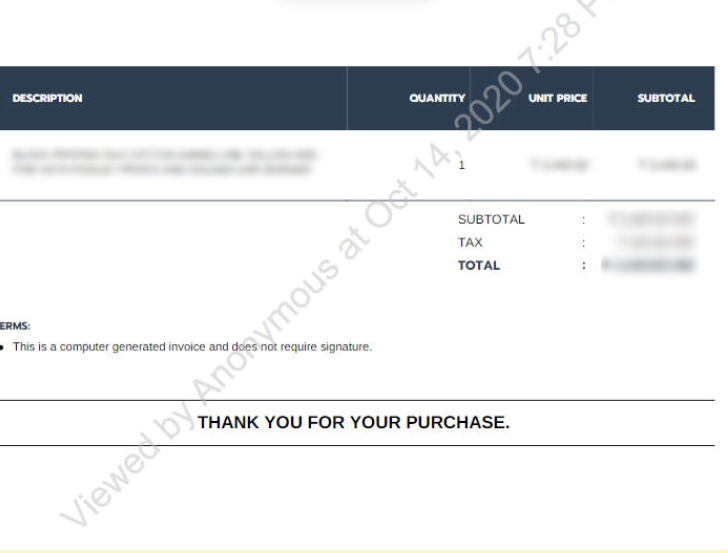
Multiline watermark:
On the Watermarks page in the admin portal, you can configure rules that determine which files have watermarks applied to them. For example, you could apply a watermark to:
-
all files previewed or downloaded by users in a certain group
-
all files previewed or downloaded containing ITAR metadata.
Once you have specified the watermark filter conditions, you can add the watermark text, choose the single-line or multiline watermark template, and select the watermark font size.
Adding a watermark rule
To add a watermark rule:
-
In the admin portal navigation pane, click Watermark.
The Watermark page opens. -
In the upper-right corner, click Add rule.
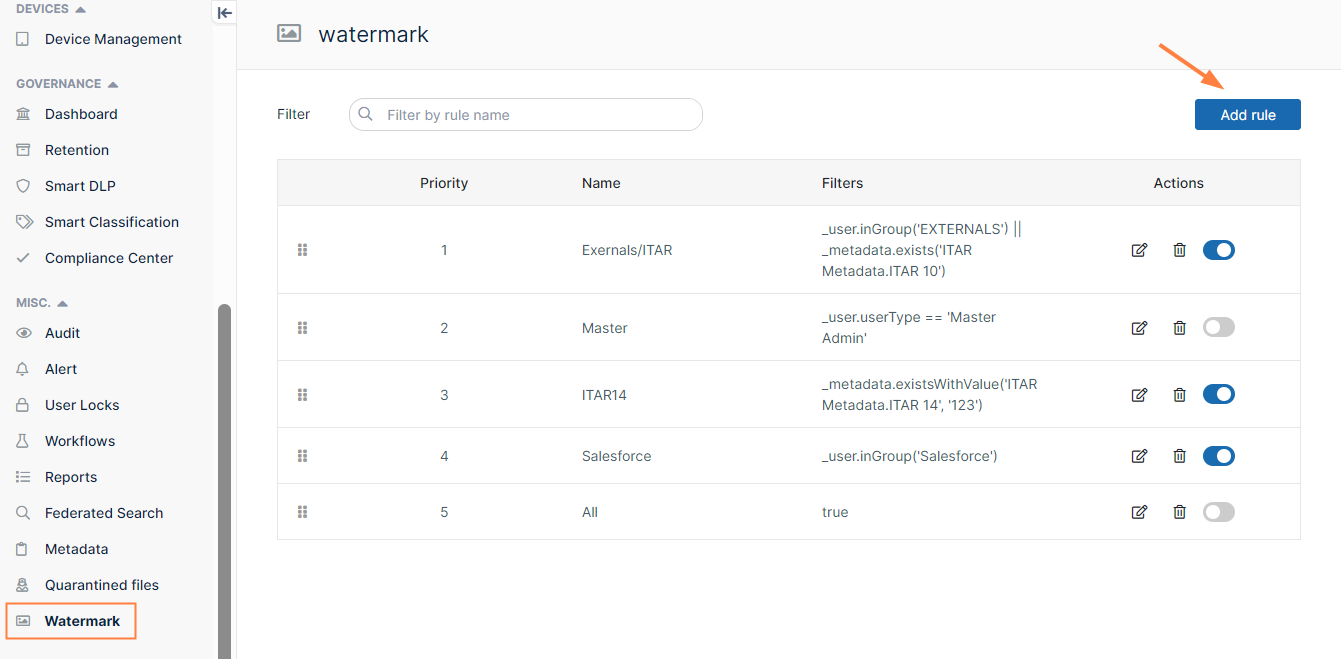
The Add Watermark Rule dialog box opens to the Filters window. -
In Rule name, enter a name for the watermark rule.
-
In Watermark mode, choose an option:
-
Previews only - only apply watermarks to previewed files
-
Previews and Downloads - apply watermarks to both previewed files and downloaded files
-
-
In Option for unsupported file types, choose what to do on download when a file type is not supported for watermarks. PDFs, Office files, and images are supported; all other file types are unsupported.
When a folder with multiple files is downloaded, the files of supported types in the folder are downloaded with watermarks, and the files of unsupported types are either not downloaded or downloaded without watermarks depending on which of the following options is chosen:-
Do not allow preview/download - Do not allow the user to download or preview unsupported file types.
-
Allow preview/download without watermark - Allow the user to download or preview unsupported file types although watermarks will not appear.
-
-
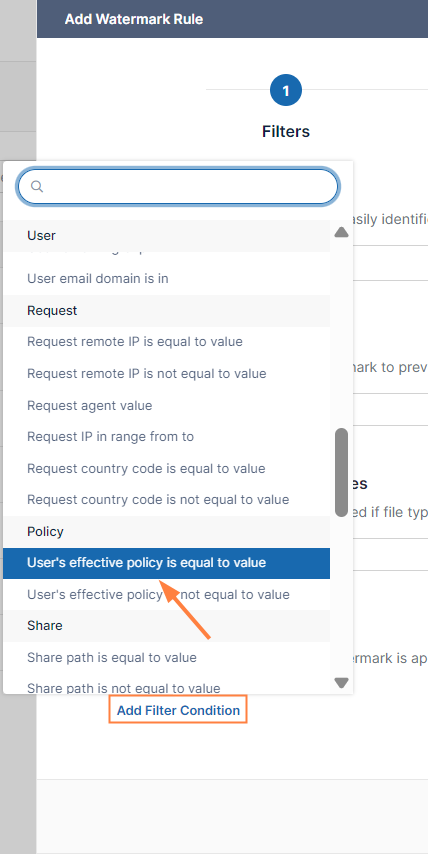
Click Add Filter Condition.
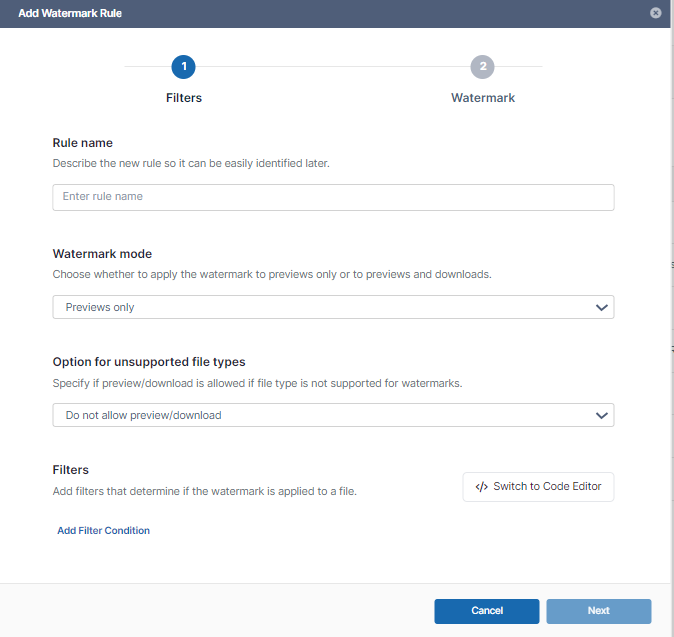
A drop-down list of predefined filter conditions opens. See Filter conditions, below, for information about the predefined conditions.
-
In the example below, we first choose User’s effective policy is equal to [SalesAssoc]. Users with the policy SalesAssoc are selected by the filter and their files display the watermark when previewed or downloaded.
Note: Instead of choosing a predefined condition, you may click Switch to Code Editor and write your condition in Expression Language using Watermark Parameters for Code Editor. For help with expression language, see https://symfony.com/doc/current/reference/formats/expression_language.html.
-
Once you have selected a condition, enter any values it requires.
-
Enter any number of filters.
In the example, the filter condition User username is equal to [Sales Manager] is also chosen.
By default, multiple filters are given an OR relationship, but you can click OR to change it to AND.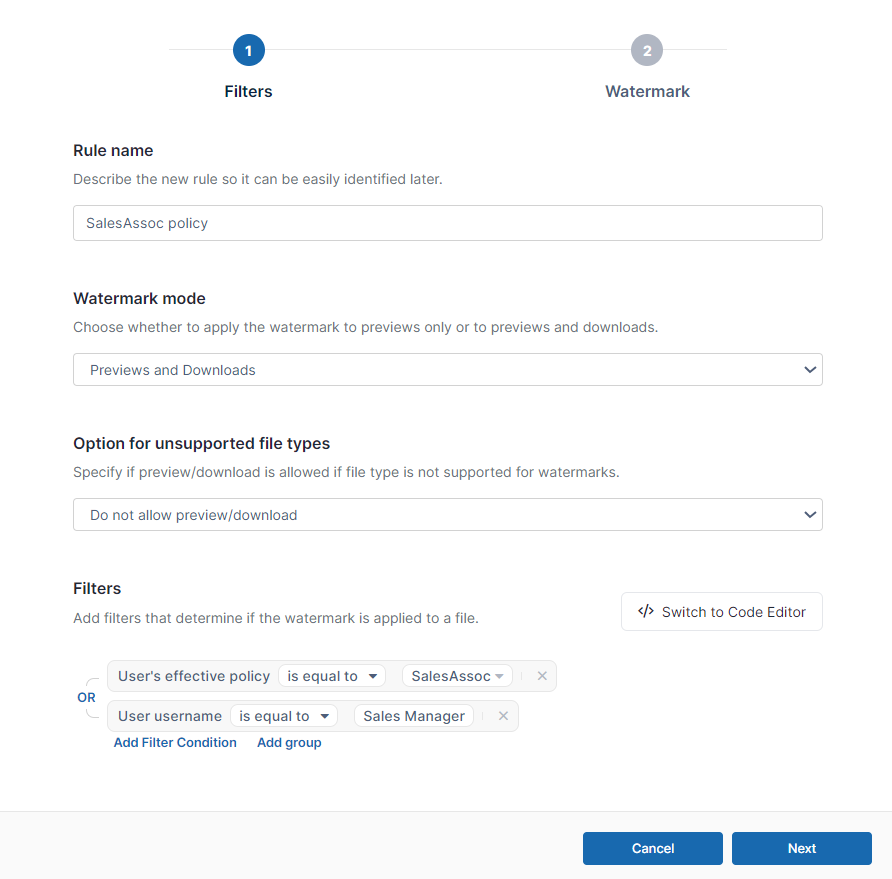
-
To go to the Watermark window, click Next.
-
In Watermark text, enter the text of the watermark. Parameters are available for you to use.
To select from a list of available parameters, enter / in the Watermark text box, then click a parameter: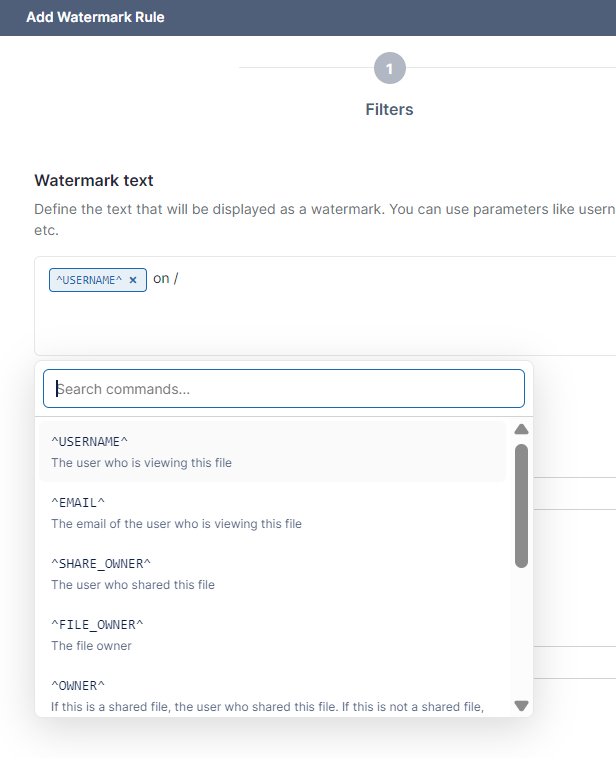
-
In Template, leave Default selected for a single line watermark, or choose Multiline for a multiline watermark.
-
In Font size, choose the font size of the watermark.
The window shows a preview of the watermark.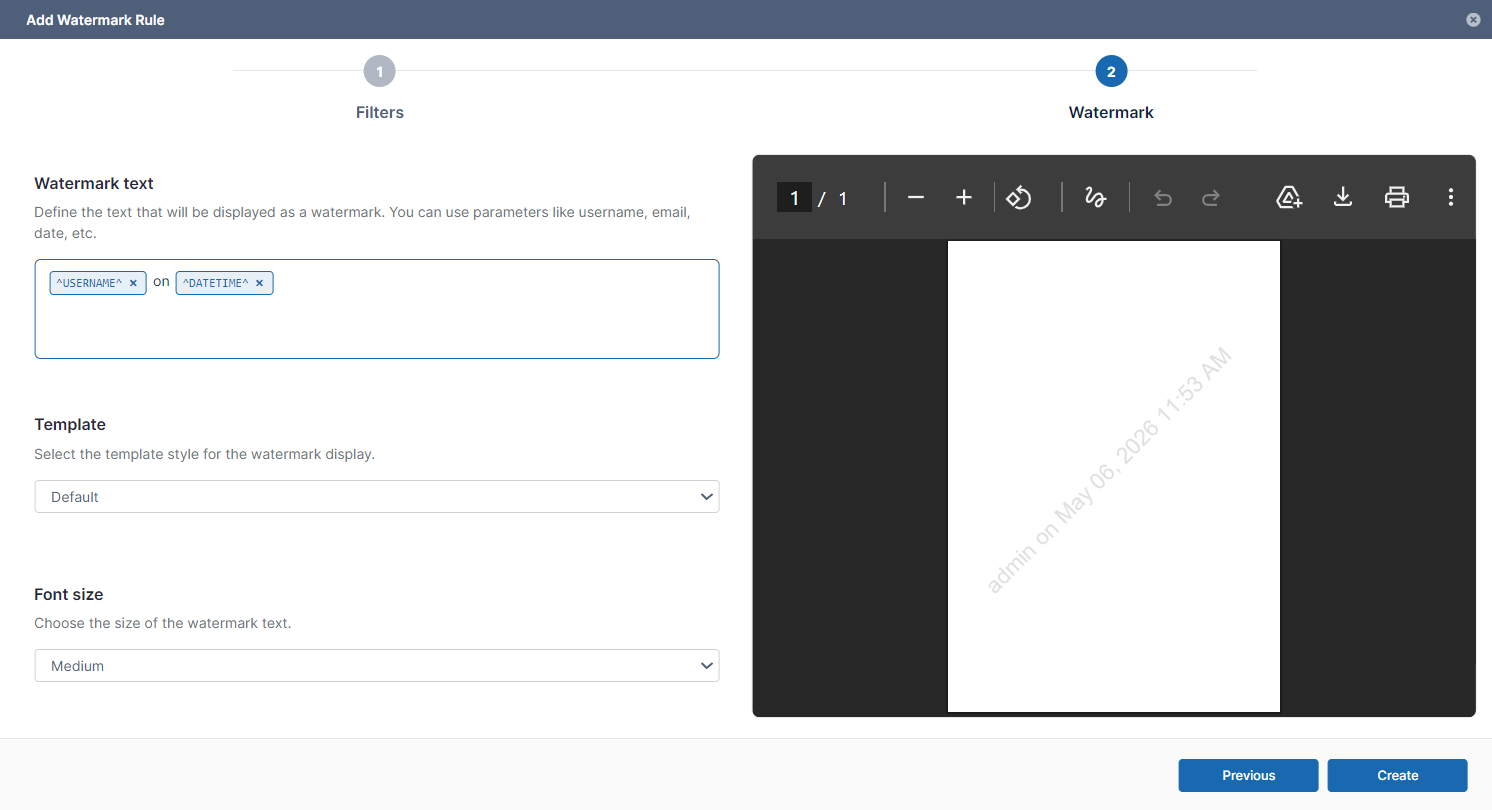
-
Click Create.
The watermark rule is listed on the Watermark page. If it is the first watermark you are creating, its Priority is listed as 1; otherwise it is listed as the lowest rule in priority, and will be checked if none of the other rules are true.
If the watermark rule allows both preview and download, the Mode column shows a download icon; if the rule just allows preview, the Mode column shows an eye icon.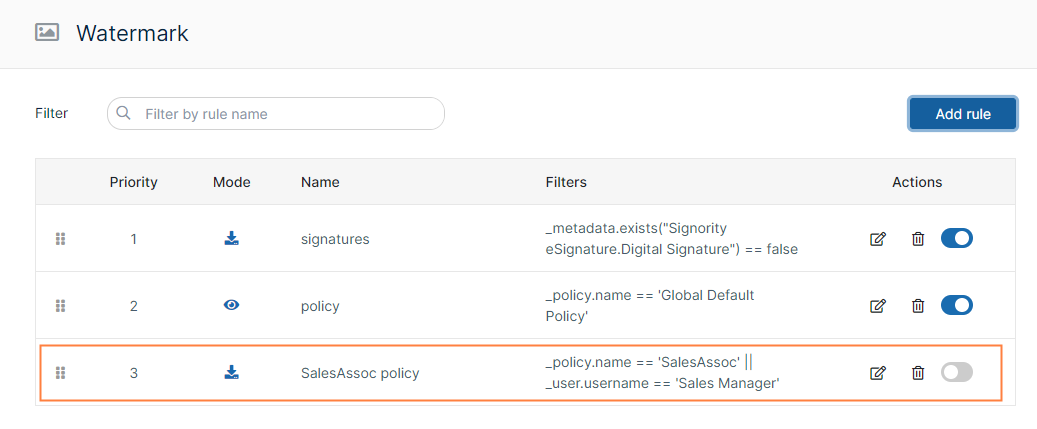
-
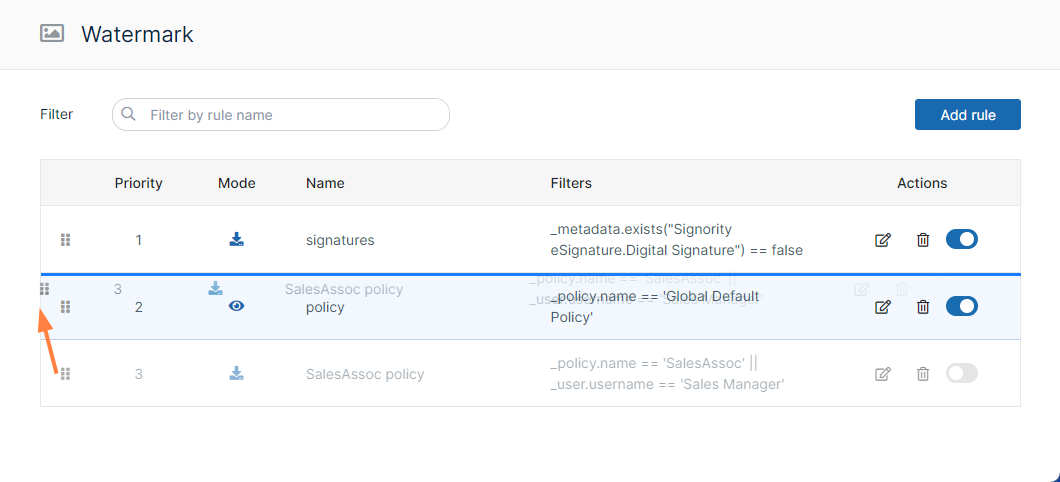
To change a rule’s priority, drag and drop it to a new position from the drag bars:
-
Under Actions, click the toggle button to activate the watermark rule.

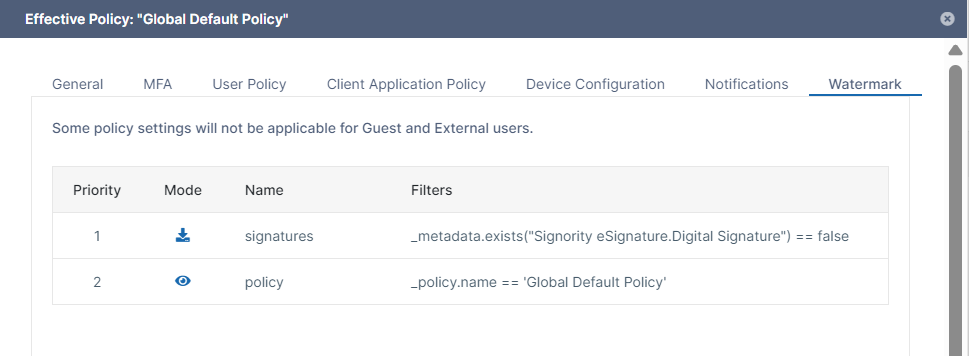
Once you enable a watermark rule, it is listed on the Watermark tab in of the Policy settings for all policies that it applies to.
If a watermark rule does not apply to specific policies, it is listed for all policies; if a watermark rule applies to specific policies, it is only listed for those policies.
For example, in the following image, the Watermark tab shows that the watermark rules signatures and policy apply to users and groups in the Global Default Policy. Since the policy rule specifically applies to the Global Default Policy, it only appears in this policy’s Watermark tab.
Filter conditions
In the Filter Condition drop-down list, choices are provided for you and required formats are shown in the value fields where applicable. For a guide to all of the expressions you can use for specifying conditions in the code editor, See Watermark Parameters for Code Editor.
Utils
The only option under utils is Anything. Select Anything to apply the watermark to all files.
File
File conditions apply to the file extension, path, name, size, and word count.
User
User conditions apply to the user’s username, email, type, group, and email domain.
Request
Request conditions apply to the IP address or country code of the user making the request, or the agent (client application) making the request.
Policy
Policy conditions look at the policy name.
Share
Share conditions look at the share path, the type of share (public or private), or the emails or domains of the users shared with.
Metadata
Metadata conditions look at metadata values. These conditions check if a a certain metadata attribute on the file has a specified value (or any value).
Esignature
There are two options under Esignature, File is signed and File has digital signature. The primary purpose of these settings is to enable admins to choose not to apply watermarks to signed files, which enables them to be successfully downloaded. For more information on these settings, see Watermark Settings | Ensuring that signed files are downloaded , below.
Displaying an encrypted User ID in a watermark
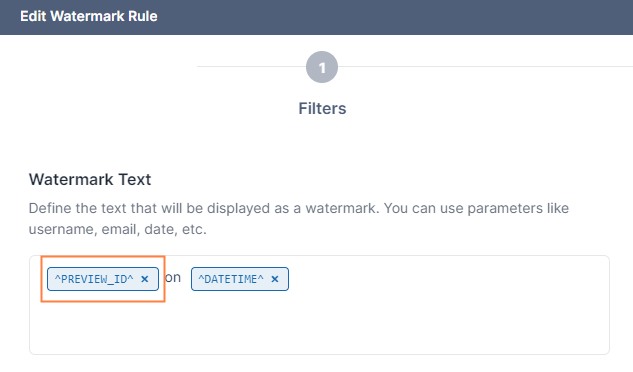
To display an encrypted User ID instead of the actual User ID in a watermark:
-
In the Watermark Text, use the parameter ^PREVIEW_ID^ instead of ^USERNAME^
This produces a preview or download with a watermark like the following one:
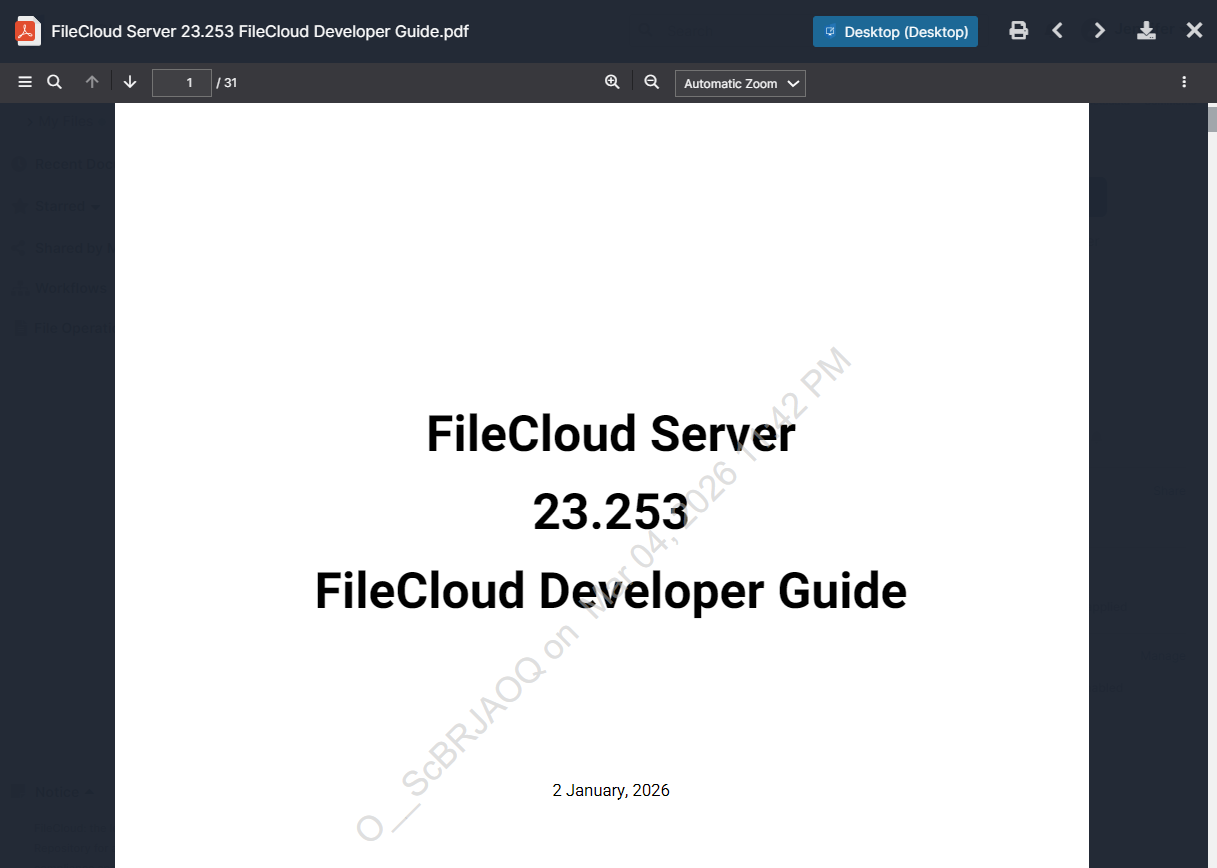
Note that if the user previews or downloads the file additional times, it will have different preview IDs each time.
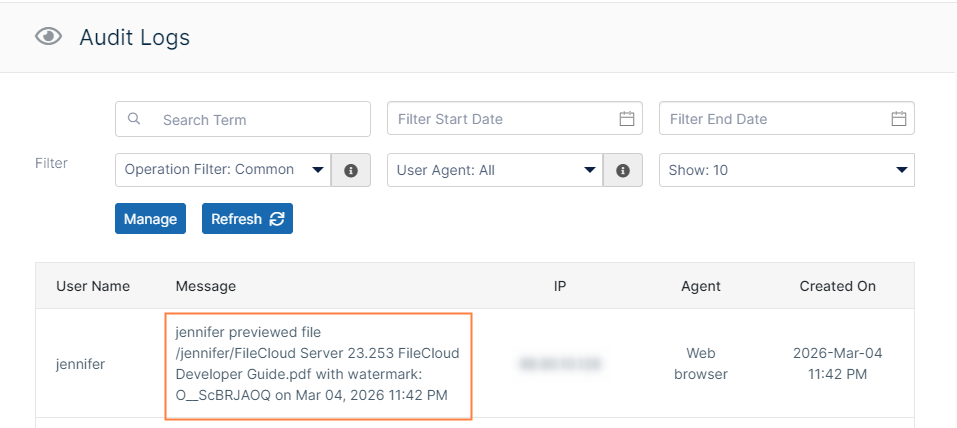
-
To identify the user who previewed or downloaded the file, go to the Audit Logs, and locate the log with the encrypted ID in the message. The message will identify the actual user who previewed or downloaded the file, and, as with any audit log record, the IP address of the device where the action was performed.
Ensuring that signed files are downloaded
Edits to digitally signed files are not permitted after they are signed; therefore, if FileCloud attempts to apply a watermark to a digitally signed file, it fails and the file is not downloaded.
Edits to eSigned files are permitted after they are signed; therefore, if FileCloud attempts to apply a watermark to an eSigned file, it is successful unless a filter prevents this operation.
To enable users to download signed files, when creating your filter for watermarks, either:
-
Omit digitally signed files but allow other eSigned files by including the option File has digital signature and setting it to false:
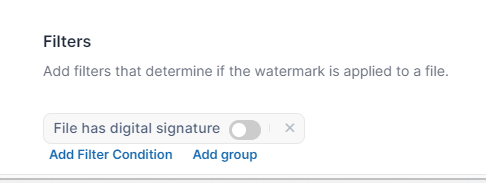
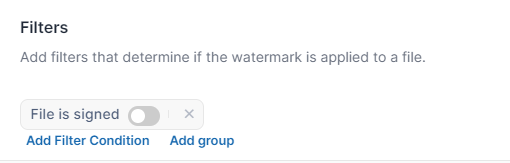
OR -
Omit both digitally signed files (if they are present) and other eSigned files by including the option File is signed and setting it to false:
Customizing preview IDs
Note: Preview IDs are the alphanumeric codes that appear in watermarks on both previews and downloads.
Use the following two parameters to customize the preview ID size and length:
|
Parameter |
Description |
|---|---|
|
define("TONIDOCLOUD_PREVIEW_ID_SIZE", "small"); |
The length of the preview ID.
|
|
define("TONIDOCLOUD_PREVIEW_ID_CUSTOM_DICTIONARY", "abcdefghijklmnopqrstuvwxyzABCDEFGHIJKLMNOPQRSTUVWXYZ0123456789-_");
|
The characters that may be used in the preview id. The characters in the example to the left are the default value. |
To customize ^PREVIEW_ID^ size and length:
-
Open cloudconfig.php:
Windows Location: XAMPP DIRECTORY/htdocs/config/cloudconfig.php
Linux Location: /var/www/config/cloudconfig.php -
Add the above parameters with custom values:
define("TONIDOCLOUD_PREVIEW_ID_SIZE", "medium");
define("TONIDOCLOUD_PREVIEW_ID_CUSTOM_DICTIONARY", "0123456789ABCDEF");