.svg)
The addition of the Externals group and the removal of External users from the Everyone group is effective beginning in FileCloud 23.252.
The feature for importing groups from an SSO provider is available in FileCloud 23.251 and later.
Administrators can create groups of users in FileCloud Server. Creating groups allows setting network share access and sharing of files and folders for multiple users.
The automatic groups Everyone and Externals are created by default for every FileCloud installation.
The Everyone group contains all Full and Guest users. External users are not included in the Everyone group.
The Externals group contains all External users.
Groups may contain the following attributes
-
Group Name - Name assigned by the administrator
-
Group Members - List of users that are part of the group
-
Group Admins - (optional) Users with the ability to view users, add users, and/or remove users from the group.
-
Group Policy - The policy that applies to all members of the group. By default, the Global Default Policy is assigned.
Once a group is created, it can be populated with users using one of the following methods:
-
Manually adding users that are already in the FileCloud system.
-
Importing members of a group from an external AD server.
-
Importing members of a group from an external SSO provider.
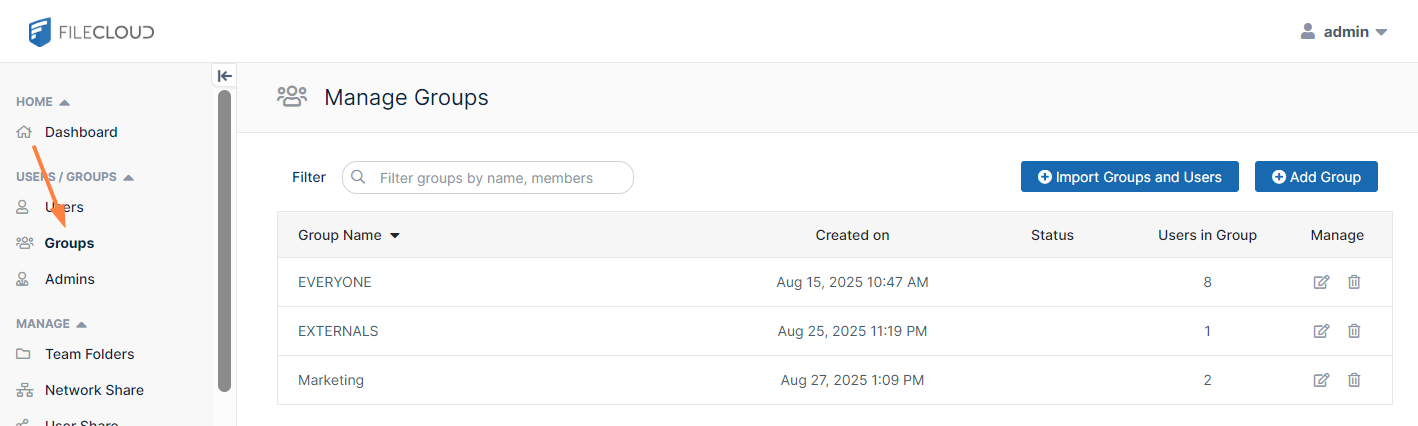
Show me where to manage groups in the Admin Portal
To manage groups, in the navigation panel, click Groups.
What do you want to do?
Manually create a FileCloud Group
To create a group:
-
Open a browser and log on the admin portal.
-
On the left control panel, click Groups.
-
Click the Add Group button.
The Add Group dialog box opens.
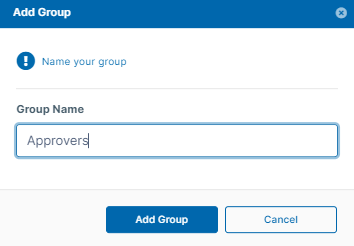
-
Click Add Group.
-
The group is added, and the Manage Group dialog box opens.
Add FileCloud Users to a Group
This method requires the user accounts to already exist in your local FileCloud Server.
To add FileCloud users to a group:
-
In the navigation panel, click Groups.
-
Click the Edit icon next to the group that you want to add members to..
-
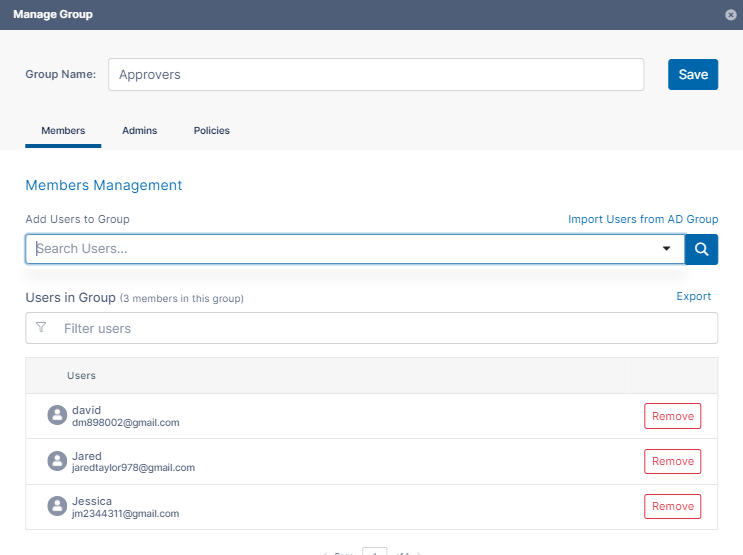
If it is not already selected, click the Members tab.
-
In Add Users to Group, enter the username or email of an existing FileCloud user, and click Add.
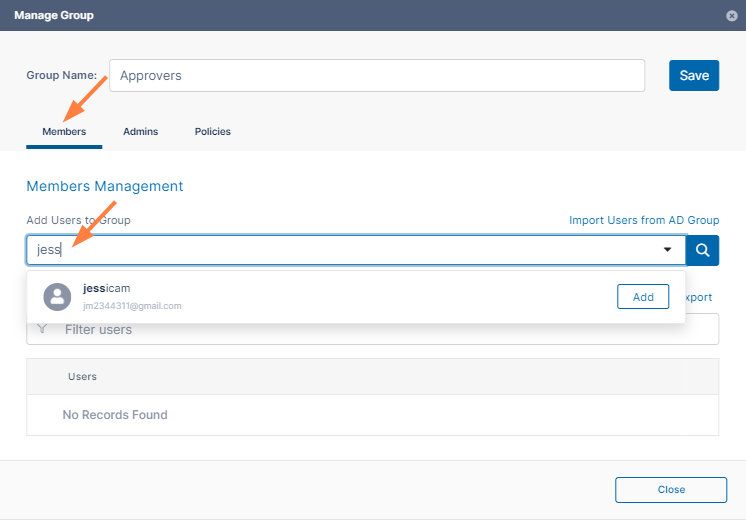
The user is listed under Users in Group. -
Add any number of users.
-
Either click Save to save the new members in the group, or click the Admins or Policies tab to further configure the group.
Add Group Admins
You can assign users to be admins of a group and give each group admin access to view, add, and/or remove users from the group.
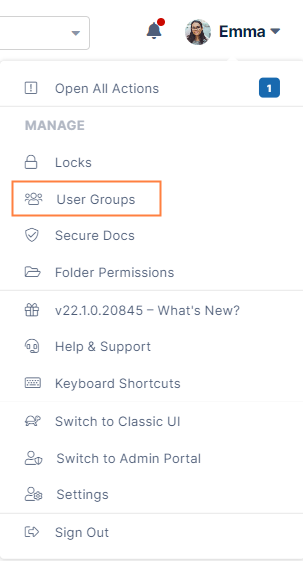
A user's policy also may enable them to add and/or remove users from groups. See Giving Users Group Management Permissions for more information. If either a user's group admin access or policy settings gives the user the permission to add or remove users from a group, the user has that ability, and can manage user groups in the user portal by expanding the user drop-down list and clicking User Groups:
To Add Group Admins:
-
If you are not already inside the Manage Group dialog box, open it by clicking the Edit icon next to the group.
-
Click the Admins tab.
-
In the search box, enter a user that you want to add as an admin, and click Add.
The user does not have to be a group member, but must be a current FileCloud user with Full or Guest status.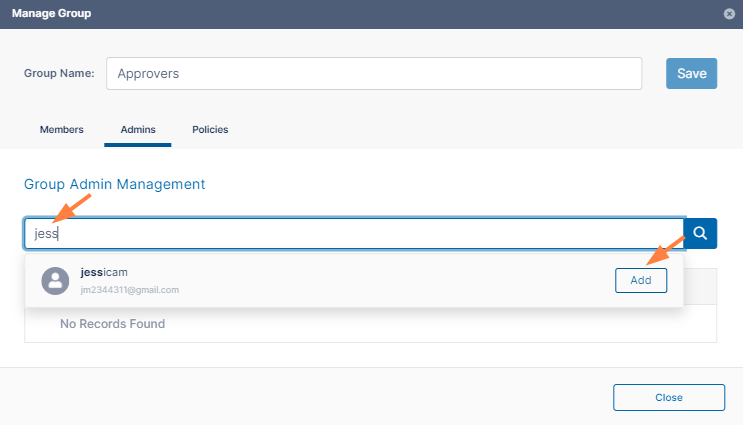
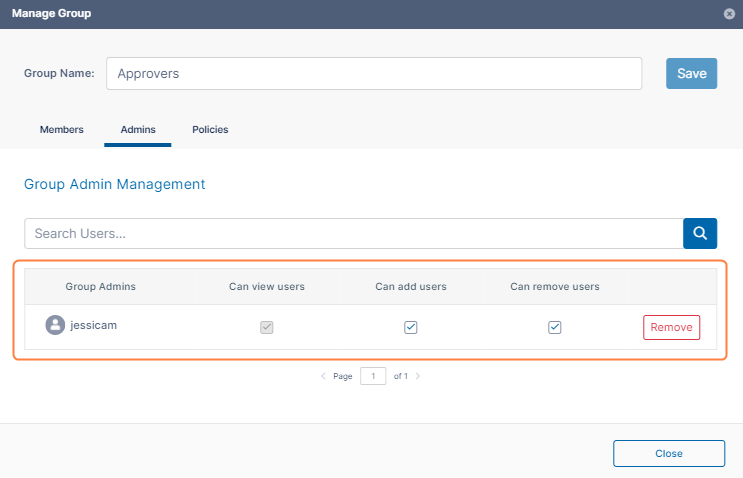
The user is listed under Group Admins with Can view users, Can add users, and Can remove users checked by default. -
Uncheck any of the privileges that you do not want the user to have.
-
Add any number of admins and set their privileges.
-
Either click Save to save the admins, or click one of the other tabs to further configure the group.
Change a Group's Policy
Members of a group have both their user policy and the group's policy. For each setting the user has the greatest access given in either policy.
By default, your groups are assigned the Global Default Policy. You can change that default when you initially create the group or later by editing it.
To change a group's policy:
-
If you are not already inside the Manage Group dialog box, open it by clicking the Edit icon next to the group.
-
Click the Policies tab.
-
To change the group's policy, click Select.

A list of policies opens. -
Click a policy, and then click Select.
-
Click Save, and click Close.
Import Active Directory Users to a FileCloud Group
You can also import an existing AD group from an Active Directory Server connected to FileCloud.
During AD import, if a user is not in the AD group, the account is not removed automatically from the FileCloud group. This logic is based on the scenario where an administrator manually adds other FileCloud users to the FileCloud group who are not in the AD group, and those users should not be removed.
However, there is now an option for an enterprise that uses a large number of temporary workers, such as a construction company that uses a large number of contractors. If they import a large number of users based on groups, when a contractor is no longer employed, and therefore not a member of the AD group any more, the admin can now select a checkbox on the AD Group Members Import dialog box called Remove Members. This allows admins who need to remove accounts on import to do so automatically. If you have manually created users that you don't want deleted but aren't a member of a group any longer, then you would not select this option.
You must set up and verify Active Directory Settings before completing the following steps.
To add AD users to a FileCloud group:
-
Open a browser and log in to the admin portal.
-
On the left control panel, click Groups.
-
Click the Import AD Groups and Users button, and choose From AD.
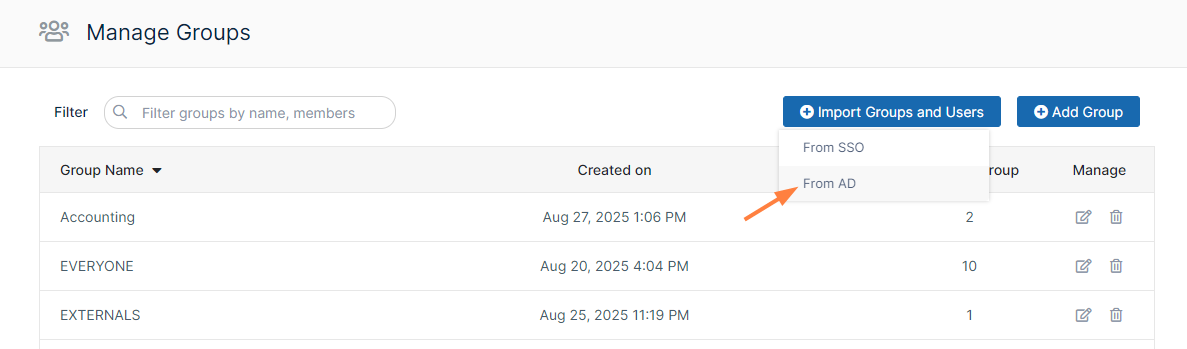
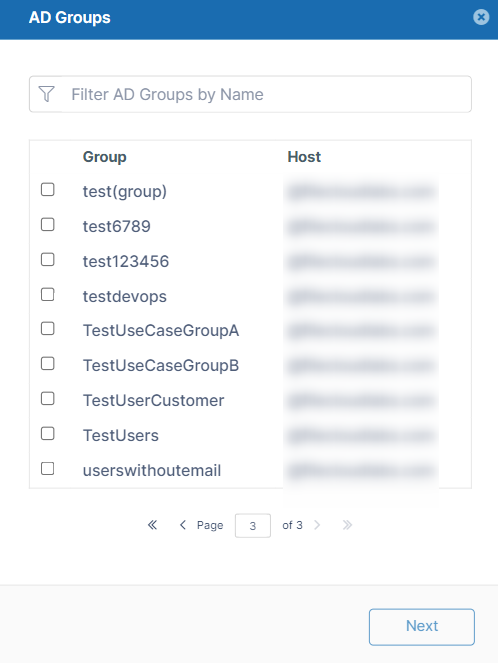
An AD Groups dialog box opens:
-
Check the groups you want to import, and click Next.
An AD Group Members Import dialog box opens.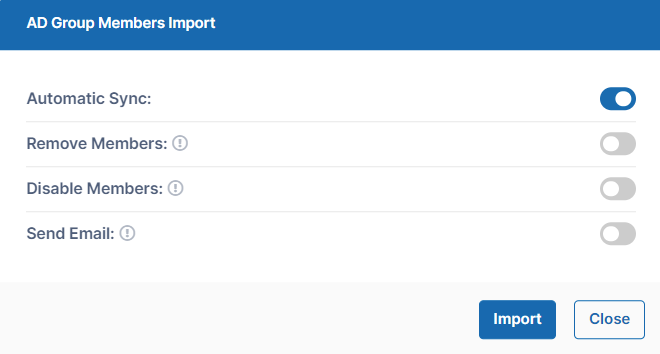
-
Automatic Sync is selected by default. Leave it selected to enable FileCloud to automatically add users to the FileCloud group that are added to the AD group. This sync is done every 24 hours.
-
The first time members from the AD group are imported as members of the FileCloud Group.
-
In the future, new members added to the AD group are synced automatically to the FileCloud group.
To change the frequency of automatic syncing, see To change the automatic sync interval, below.
When syncing begins, FileCloud logs display the message: CRON: Starting Auto Sync AD Group
-
-
Select any of the other options:
-
Remove Members - Enable FileCloud to remove members from the group f they are no longer in the AD group.
-
Disable Members - Enable FileCloud to disable members in FileCloud as users if they are disabled in the AD group.
-
Send Email - Enable FileCloud to send email to members of the AD group telling them they have been added to the FileCloud group.
-
-
To import the users from the AD group, click Import.
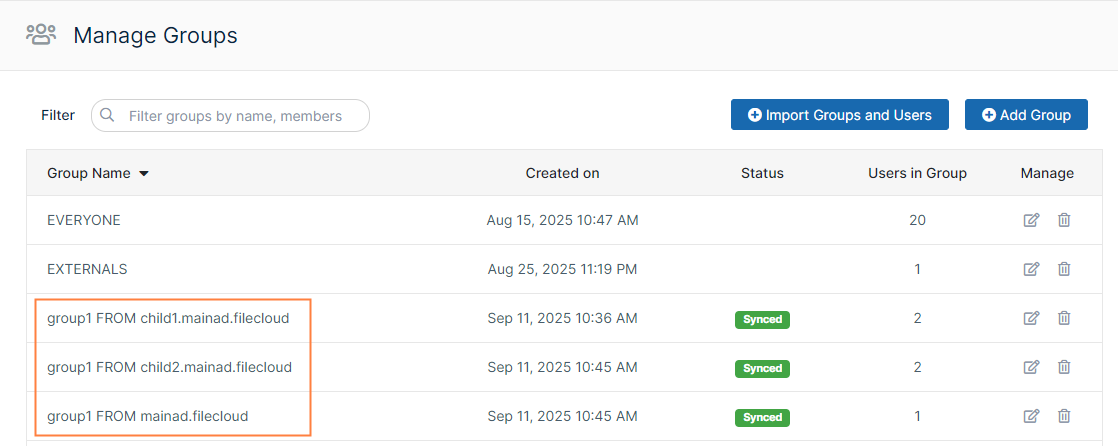
If you do not have Automatic Sync enabled, rerun this operation at any time to add new members from the AD group into the FileCloud group.If the Enable multiple AD domains setting is enabled, the imported group's name in FileCloud is: [AD group name] FROM [full domain name including any sub-domains]:
To change the automatic sync interval:
-
Open the configuration file:
Windows: XAMPP DIRECTORY/htdocs/config/cloudconfig.php
Linux: /var/www/config/cloudconfig.php -
Add the following line.
Set the value to the interval in hours to sync FileCloud groups with AD groups. The minimum is 1.define("TONIDOCLOUD_ADGROUPSYNC_INTVL", 2);
Import SSO Users to a FileCloud Group
You may configure FileCloud to import groups and users from the OKTA, Google, and Azure SSO providers. See Import Groups and Users from an SSO Provider for configuration instructions.
By default, the users are not placed into their groups when they are imported into FileCloud, but you may enable a setting to enable this function. Note that you cannot import SSO users into FileCloud separately from their groups.
To import an SSO group into FileCloud:
-
In the admin portal, in the navigation panel, click Groups.
-
Click the Import Groups and Users button, and choose From SSO.
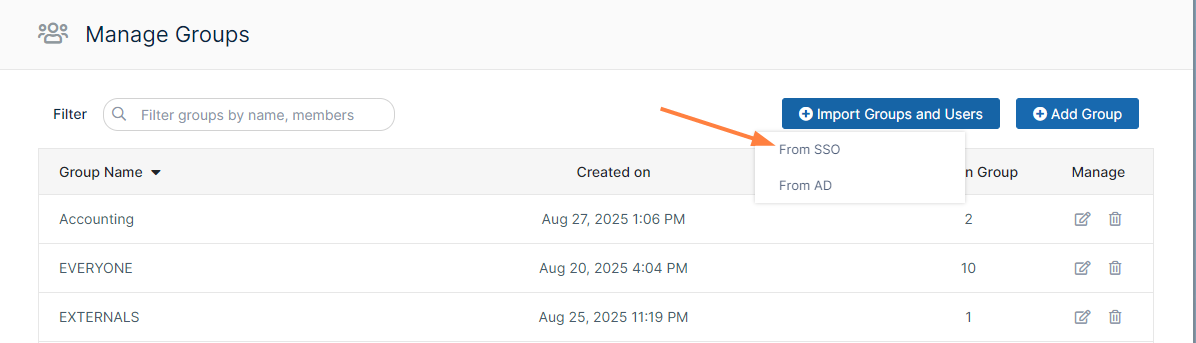
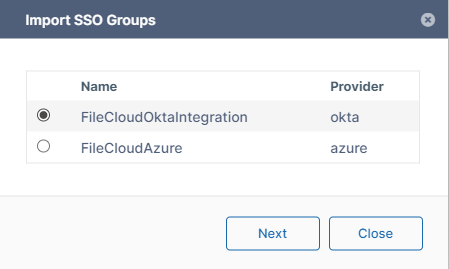
An Import SSO Groups dialog box opens. -
Select the SSO configuration that you want to import a group from, and click Next.
-
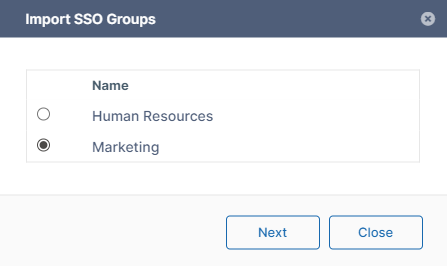
Select a group, and click Next.
-
Enable or disable the options for the import.
Automatic Import is enabled by default. In this example, the option Dynamic Members Import is also enabled so you can see how it automatically places users into the correct group.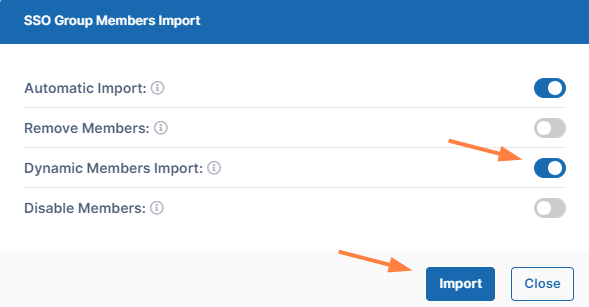
The options function as follows:
Automatic Import
Enabled by default. FileCloud periodically imports new users from the group in the SSO provider to the group in FileCloud.
Remove Members
Disabled by default. The group and its permissions are imported without its users. When a member of the group logs into FileCloud for the first time, the member is automatically placed into the group.
Dynamic Members Import
Disabled by default. Users are automatically placed into the correct groups when they are imported.
Disable Members
Disabled by default. FileCloud users that are disabled in the SSO group are also disabled in the FileCloud group.
-
Click Import.
Although Dynamic Members Import is selected, the group initially shows 0 users (members) and shows the Status as Syncing in progress. The user count will appear when the syncing is complete.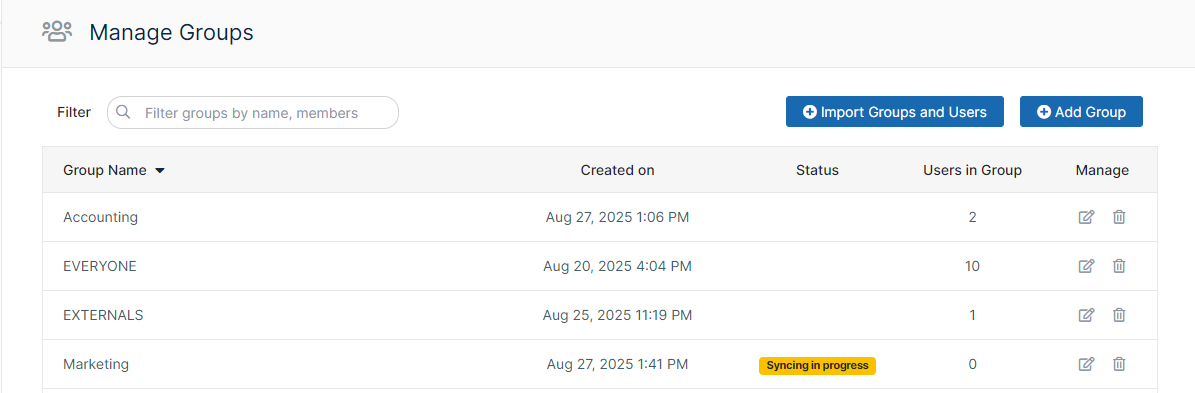
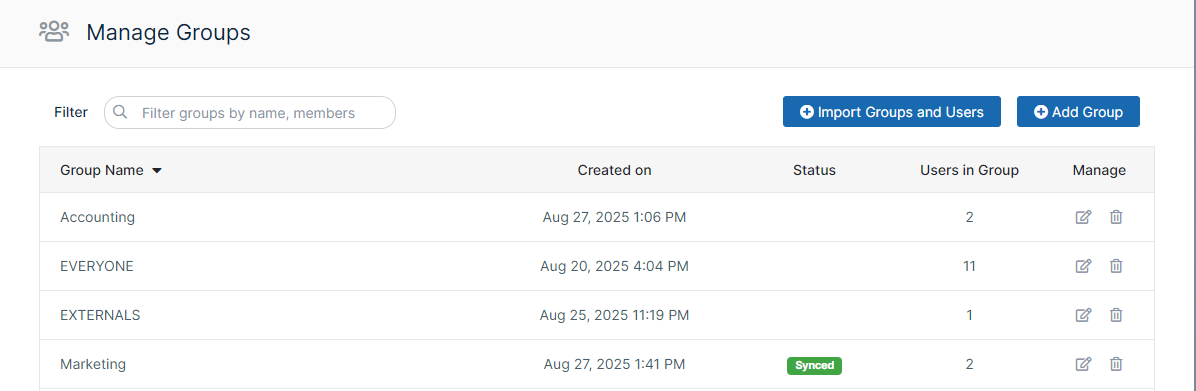
The user count appears when the the status appears as Synced.
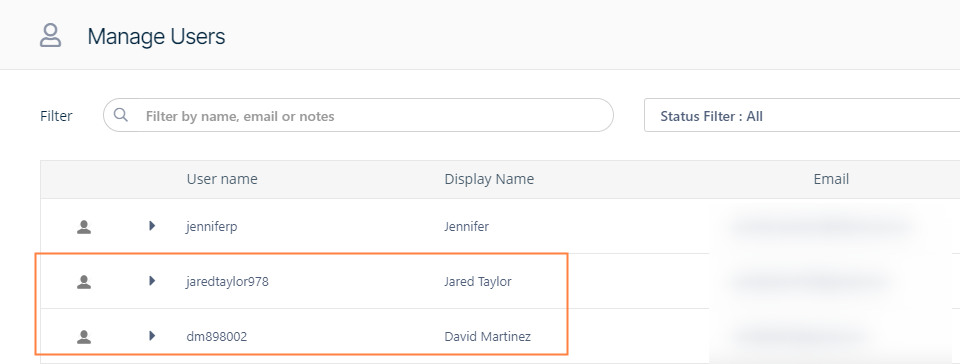
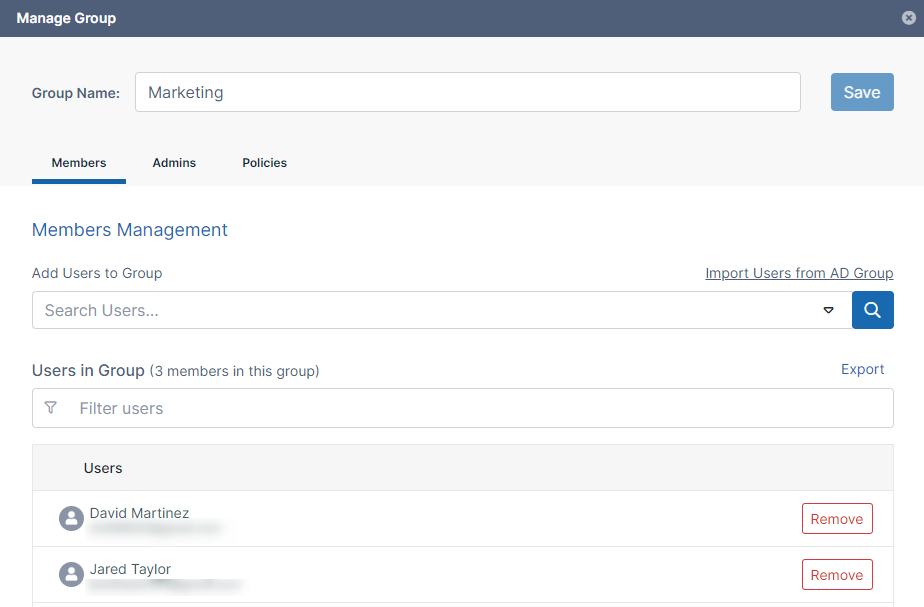
Click the edit icon for the group to see which users were imported and placed into the group (because Dynamic Members Import was selected):
The users should also appear in the Manage Users screen: