.svg)
For admins upgrading to FileCloud 23.251:
-
Prior to version 23.251, FileCloud always used the AD attribute mail to authenticate AD users, even if the AD mail attribute field in FileCloud specified a different attribute.
This has been fixed. However, if you used an AD attribute other than the mail prior to version 23.251, AD users imported into FileCloud prior to 23.251 will now receive an error when they try to log in to FileCloud (unless the non-mail attribute always has the same value as the mail attribute). If you have users who may have trouble logging in for this reason, prior to updating to 23.251, change the AD mail attribute field back to mail.
Note
AD users count towards the FileCloud license only after:
-
The user account logs in to FileCloud
-
A user from AD is explicitly imported
In this type of authentication mechanism, a user account is authenticated against an external Active Directory server.
Prerequisites
|
Required |
Configuration Requirement |
Notes |
|---|---|---|
|
Active Directory service |
Must be accessible from FileCloud |
IP and Port must be accessible. |
|
Active Directory |
Must support Simple Authentication Method |
Must use simple bind authentication, either anonymously or with a username and password. |
|
Active Directory users |
Must have an email attribute FileCloud username must match AD user login name Important: The FileCloud username cannot be changed. |
Beginning in FileCloud 21.2, the AD Account name used in Active Directory settings must have an email ID in Active Directory. The email address is saved in the user's FileCloud profile. During login, validation requires the FileCloud email address and the AD email address to match; later modification of email address in AD or FileCloud will cause login to fail. |
|
FileCloud Server |
|
|
How To Enable AD Authentication
Enabling AD Authentication
To enable AD authentication in FileCloud:
-
In the FileCloud admin portal's left navigation bar, scroll down and click Settings. Then, on the Settings navigation page, click Authentication

The Authentication settings page opens. -
Under Authentication, change Authentication type to Active Directory, and click Save.
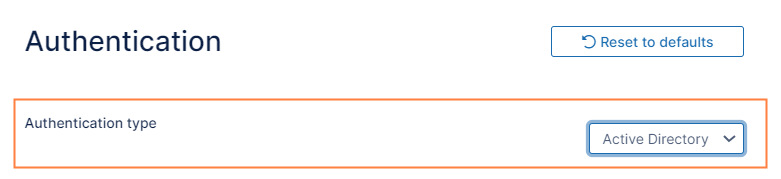
Additional settings appear.
-
Enter the required information in the settings under Active Directory Settings (See AD configuration parameters, below) and then click Save.
Note: The changed parameters must be saved before performing an AD test.
AD configuration parameters
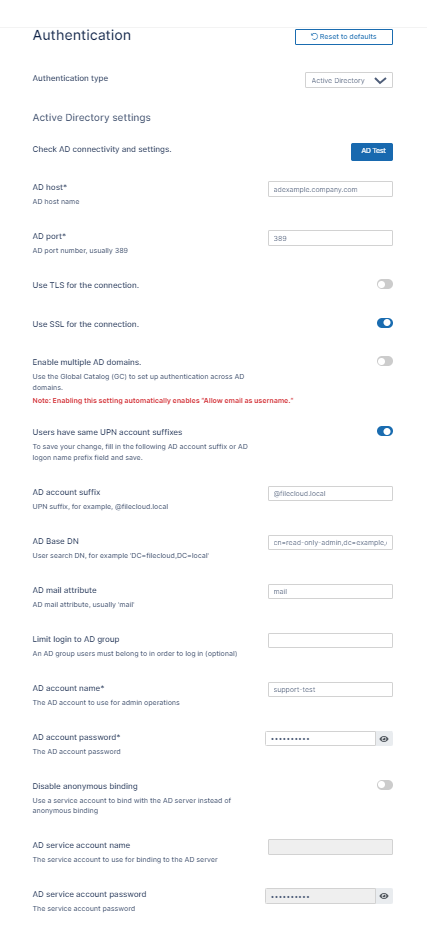
To connect FileCloud with your AD environment, fill in the settings as shown in the following screenshot.
|
|
|
|---|---|
|
AD host - Required. Either the IP address or host name of the AD server. AD port - Required. Enter 389 for non-SSL, or enter 636 for SSL. Use TLS for the connection - Optional. Enable this setting if your AD server requires clients to use TLS to connect. Use SSL for the connection - Optional. Enable this setting if your AD server requires clients to use SSL to connect.
Enable multiple AD domains - Enable this setting to authenticate and sync users and groups across multiple trusted AD domains. For more information about this feature, see Authenticate Users Across Trusted AD Domains.
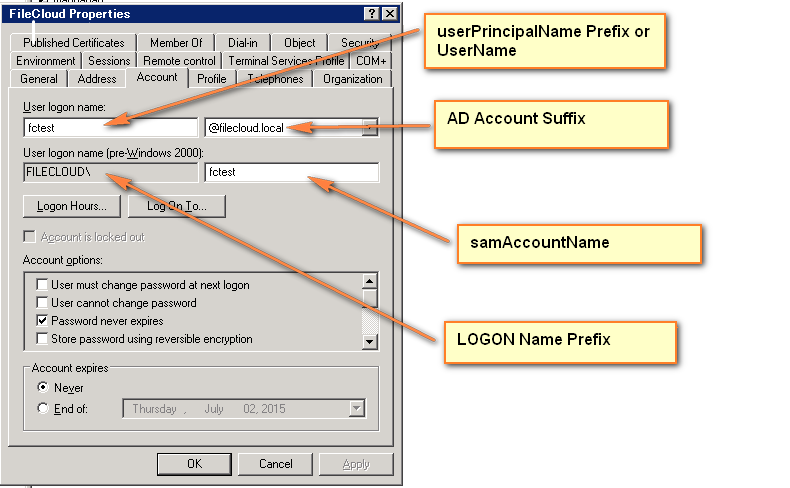
To find the AD logon name prefix and the AD account suffix, refer to:
Instead of viewing the properties as shown above, you can get the account suffix by running the following query in the command line in the AD server: dsquery * <FULLY QUALIFIED NAME> -scope base -attr sAMAccountName userPrincipalName 
AD Base DN - Required. Do not enter value with quotes.
You can also get the Base DN by running the following query in the command line in the AD server. dsquery user -name <LOGON NAME>
AD mail attribute - Required. FileCloud requires each user account to have an associated email id. Typically the name of this attribute in AD is mail. If a user account has no mail attribute, then login to FileCloud will fail. If a mail attribute is present, and login fails, then check the base DN to ensure it is accurate and is without quotes. Limit login to AD group - Optional. To limit login to specific users, add them to a group and specify the group name here. (Typically this is left blank.) If you set this field, ensure that the account name specified in AD account name is part of the AD group. AD account name - Required. A valid account name is required here in order for FileCloud to query the AD server. This can be any account that can access the AD server, and is located in User logon name in the FileCloud Properties screenshot, above.
AD account password - A password for the AD account name. Disable anonymous binding - Optional. Enable this checkbox if your AD does not allow anonymous binding. Enabling this checkbox enables the AD service account name and AD service account password text boxes. AD service account name - Optional. The service account name to use to bind with the AD server. AD service account password - Optional. The service account password to use to bind with the AD server. |

.png?cb=2987cda33d115a3f887ca7855c07f1b9)
To connect to Active Directory over SSL, please follow the steps mentioned here.
Make sure the settings are SAVED before trying the AD Tests to verify connectivity
Testing AD Connectivity
Once all data is entered and saved, test the AD settings by clicking the AD Test button.
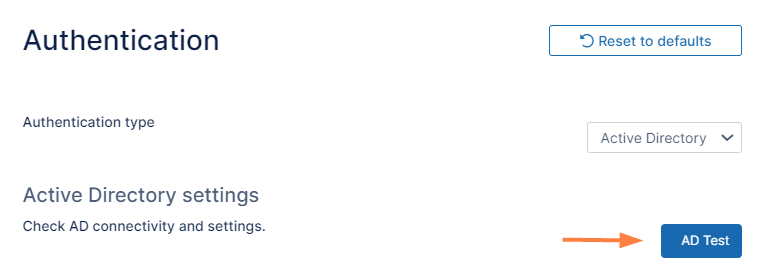
A Test AD Configuration dialog box opens:
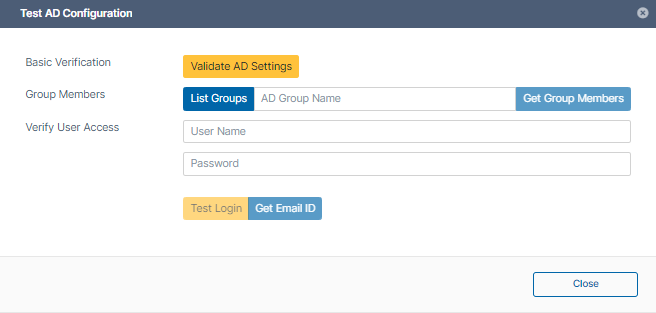
The following tests can be done.
-
Validate AD settings.
-
Click the Validate AD Settings button to perform basic connectivity tests with the AD server.
You should receive the response: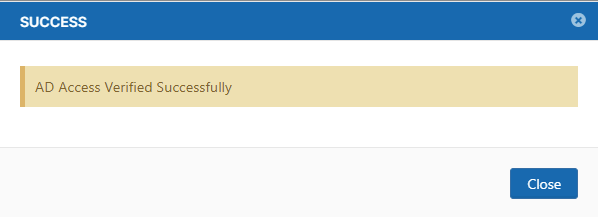
If the tests fail, then check your AD settings to ensure all the data is present and is accurate.
-
-
List Groups
-
Once AD settings are validated, click List Groups to view the list of groups read from the server.
You should see a list similar to: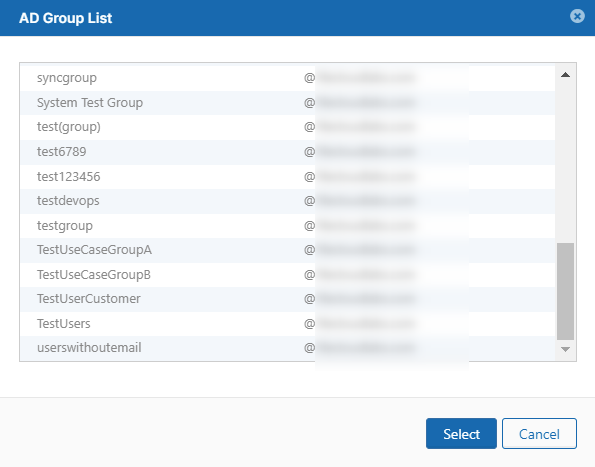
-
-
Get Group Member
-
Click List Groups, then select a group and click Select.
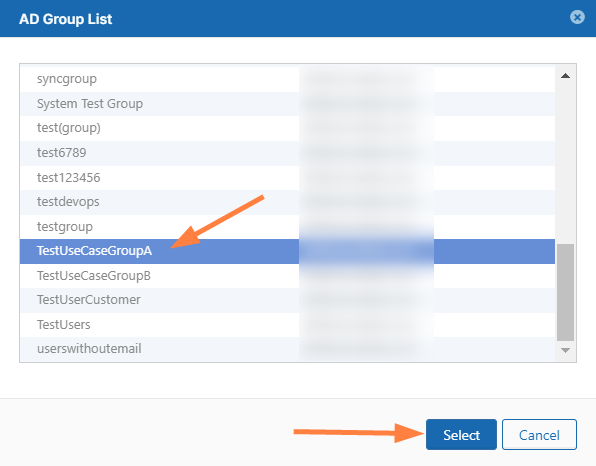
The Group name appears in the Test AD Configuration dialog box.
(You can also enter the group name directly into the text box without selecting from the AD Group List popup.) -
Click Get Group Members.

The AD Members List should list the correct members of the group:
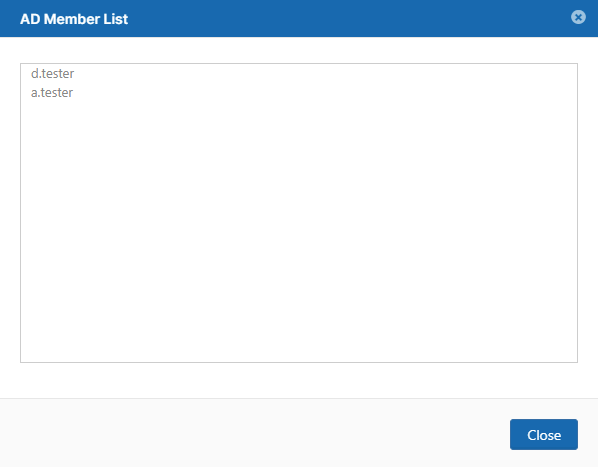
Note: The group members are NOT automatically added to FileCloud.
-
-
Verify User Access
-
Enter a specific user name and password and click Test Login to make sure the user can log in to AD.
If not, check if the AD suffix or AD prefix matches the one entered in the AD account suffix or AD logon name prefix in the FileCloud admin portal or the AD server. -
Enter a specific user name and password and click Get Email ID.
This should return the correct email address for a user account from AD. If a valid email address is not returned, then FileCloud cannot import the user account. Check if the email address is included for the user on the AD Server.
-
In this section:
More Information:
|
FileCloud Blogs |
|---|