.svg)
To configure FileCloud/Google integration in Google for SSO group/user import:
-
Log in to the Google Workspace Admin Center at admin.google.com.
-
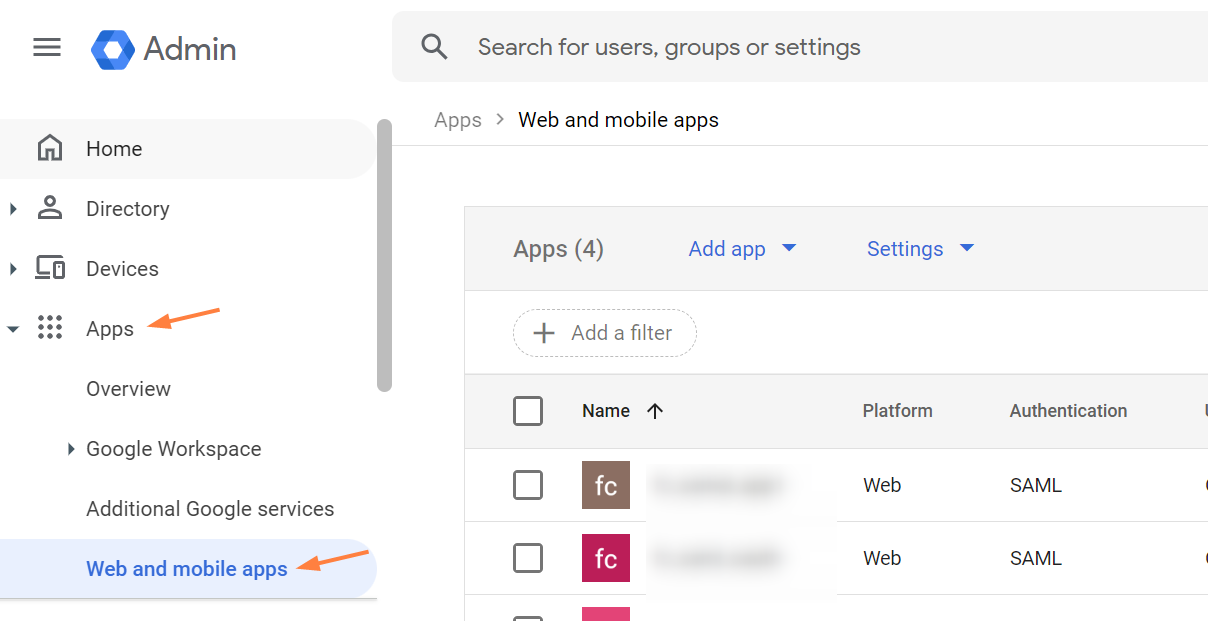
In the left navigation pane, go to Apps > Web and mobile apps.
-
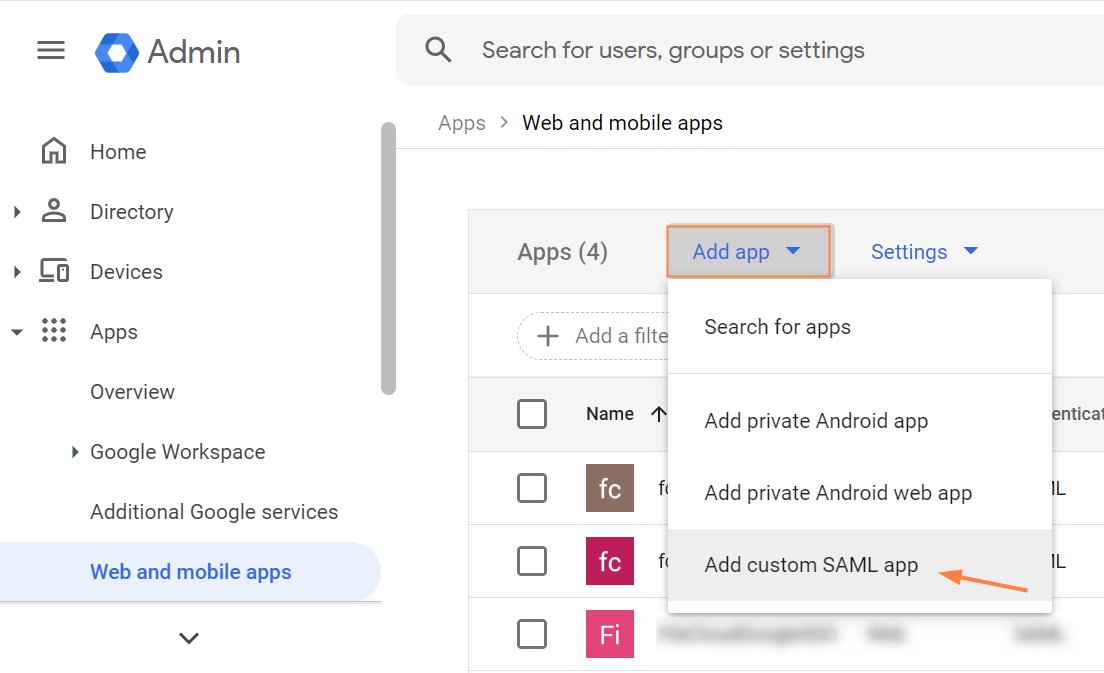
Click Add app and choose Add custom SAML app.
-
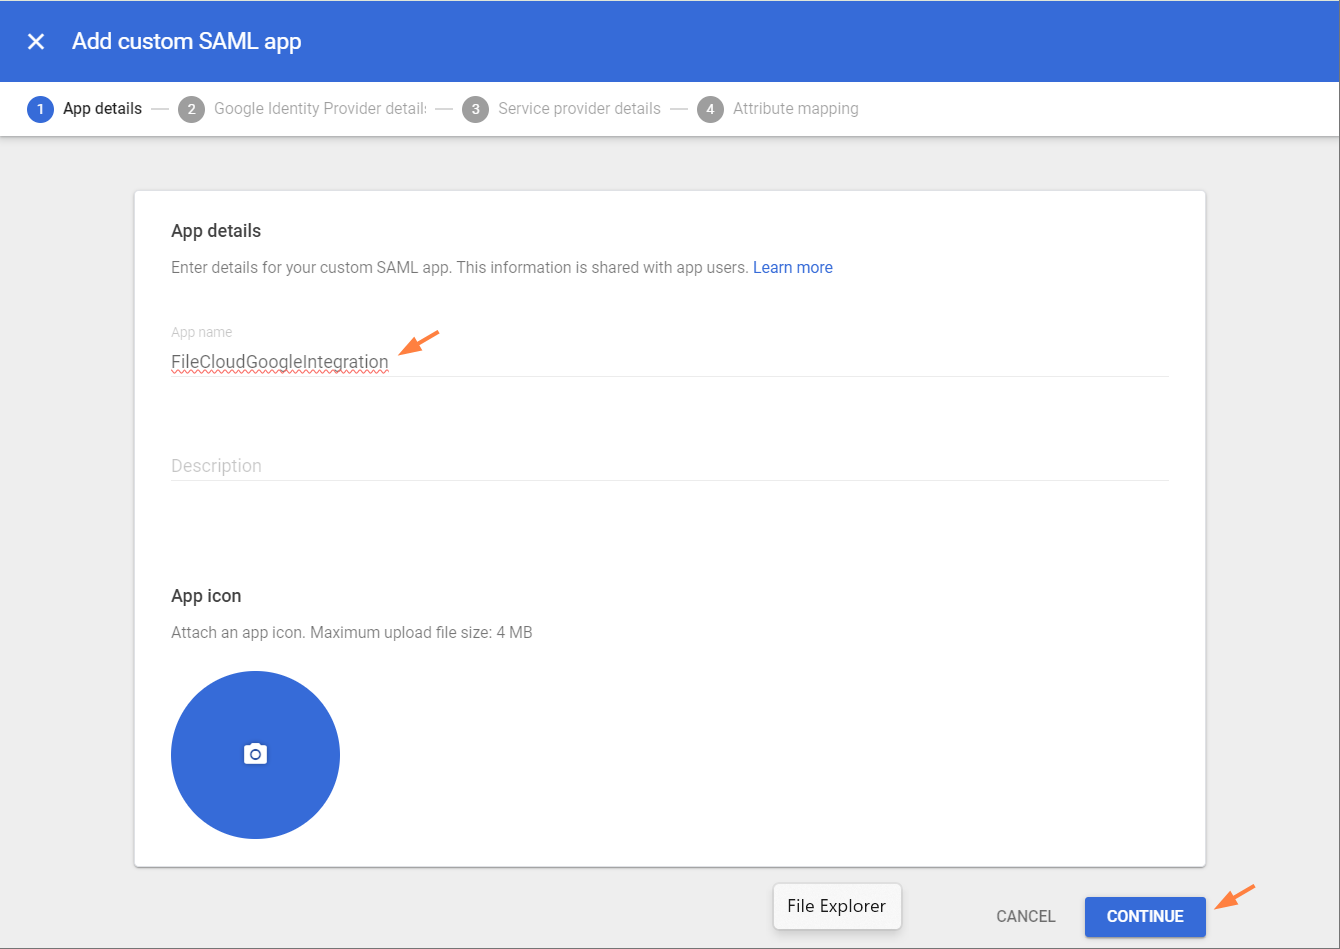
Enter an App name, and click CONTINUE.
-
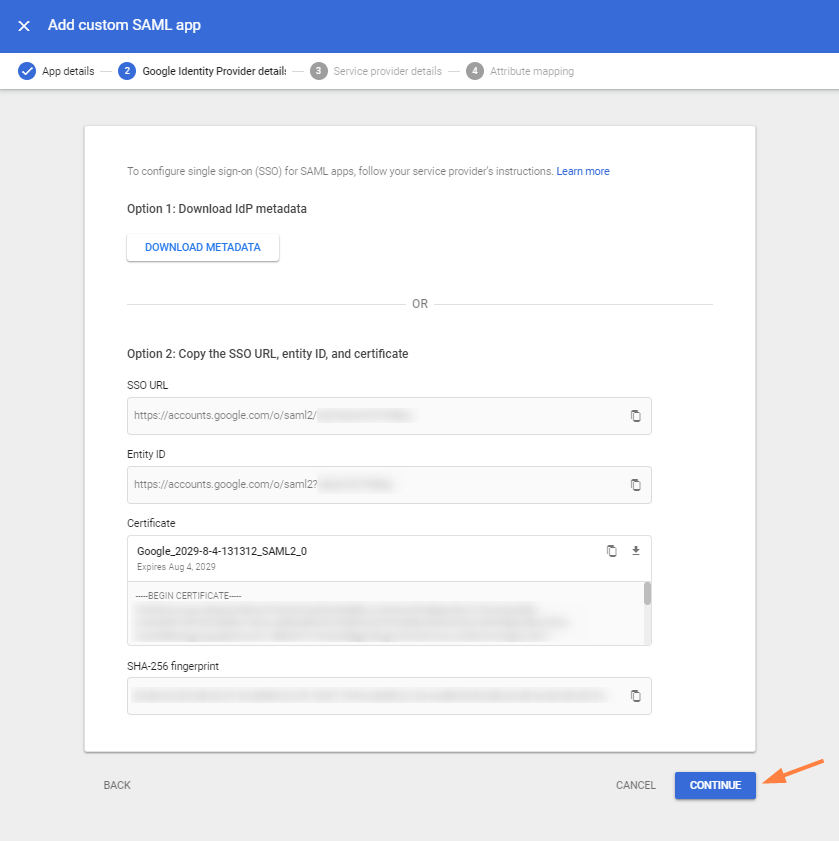
Click CONTINUE.
-
Fill in the fields as follows, replacing your-domain.com with your FileCloud domain. Click CONTINUE.
ACS URL: https://your-domain/simplesaml/module.php/saml/sp/saml2-acs.php/default-sp
Entity ID: https://your-domain/simplesaml/module.php/saml/sp/metadata.php/default-sp
Start URL: https://your-domain/
Name ID Format: TRANSIENT
NameID: Basic Information > Primary Email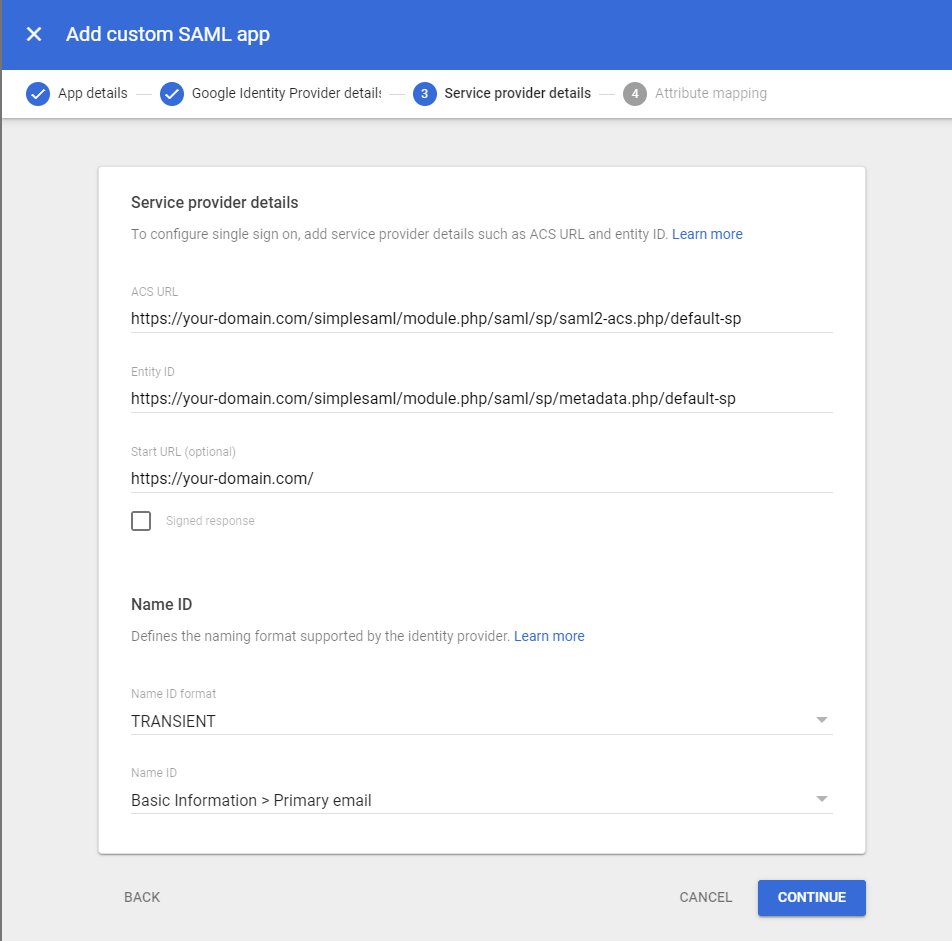
-
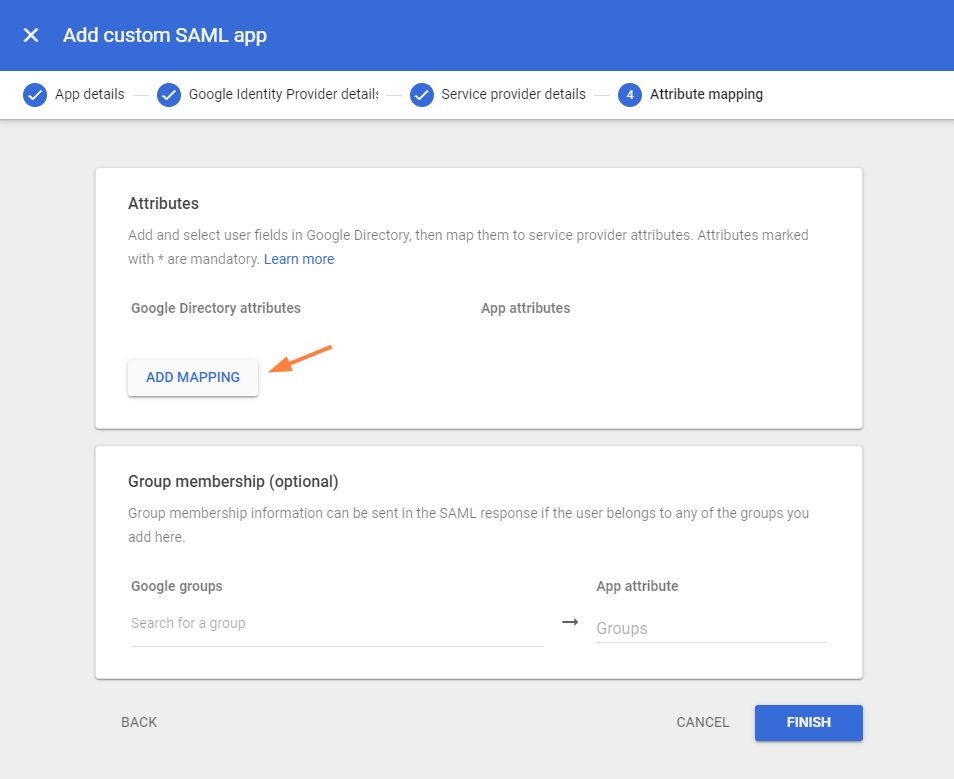
Click ADD MAPPING.
-
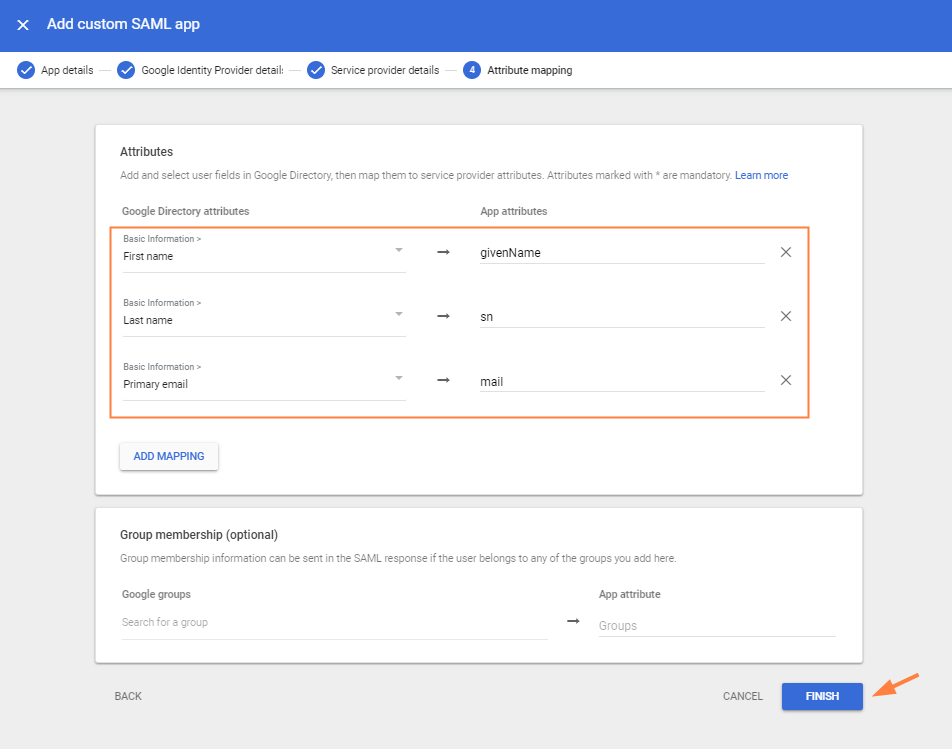
Choose the Google Directory attributes below, and add the specific values shown to App attributes. Then click FINISH.
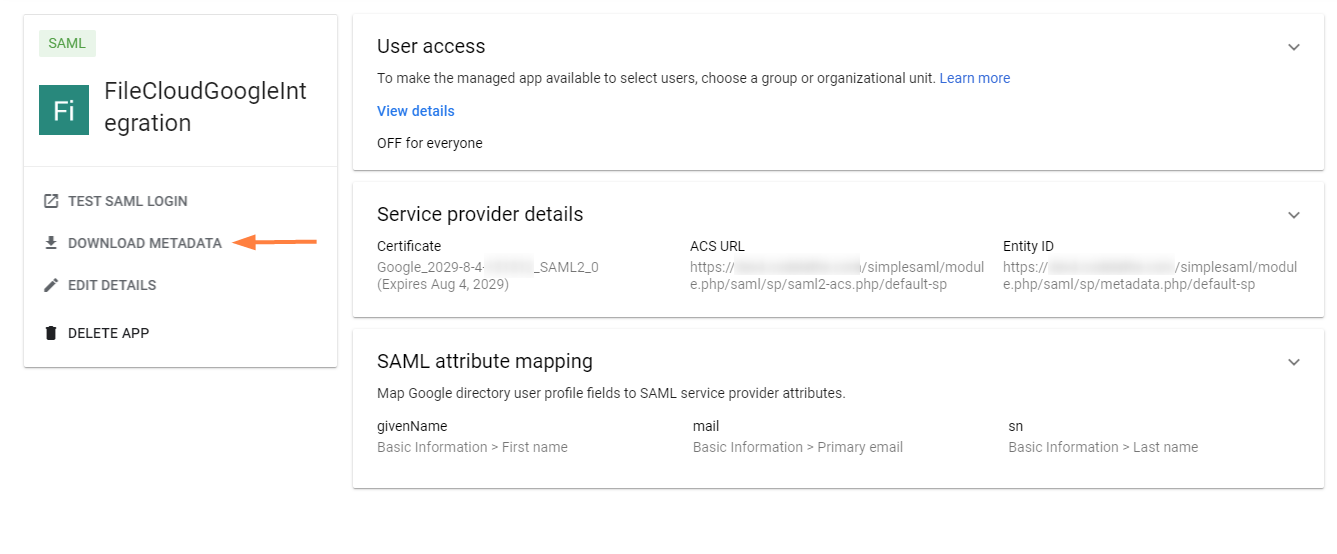
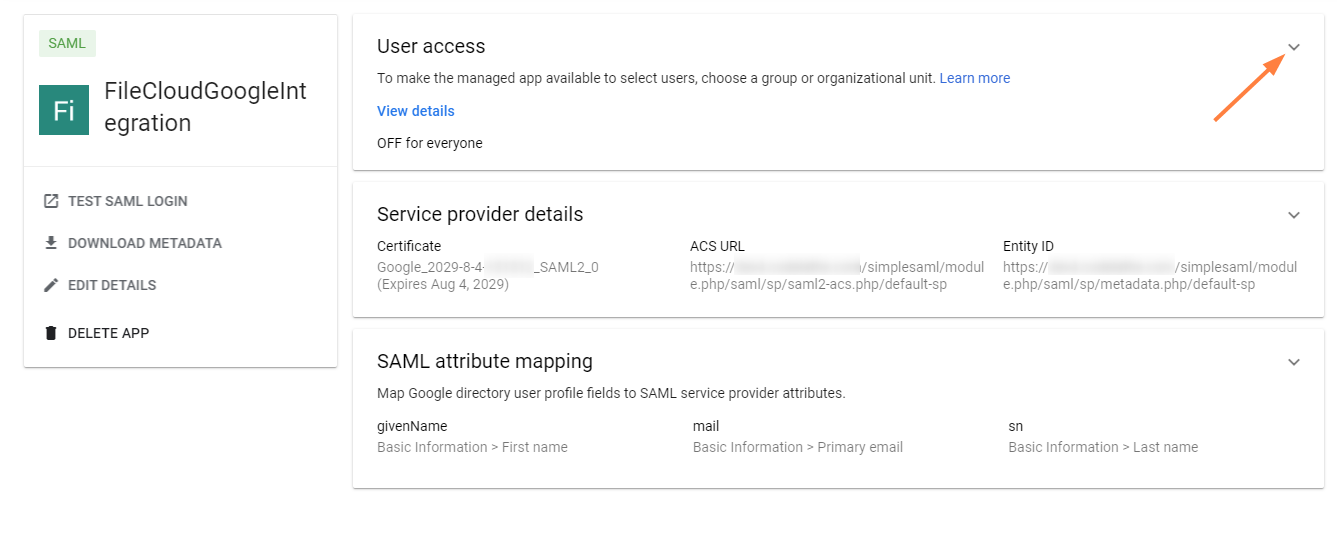
You should see a screen similar to the following. -
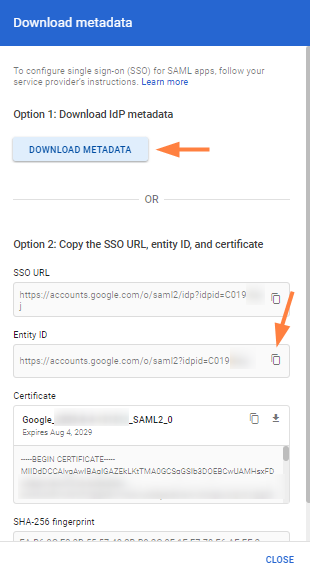
Click DOWNLOAD METADATA.
-
In the Download metadata popup, click DOWNLOAD METADATA.
The file GoogleIDPMetadata.xml is automatically downloaded. -
Click the copy icon next to Entity ID, and save it. You will need it to complete your configuration in FileCloud.
-
Click CLOSE.
-
Click the down arrow in the User access box.
-
Select ON for everyone.
If you want to only enable this for certain groups, click the Groups down arrow and add the groups.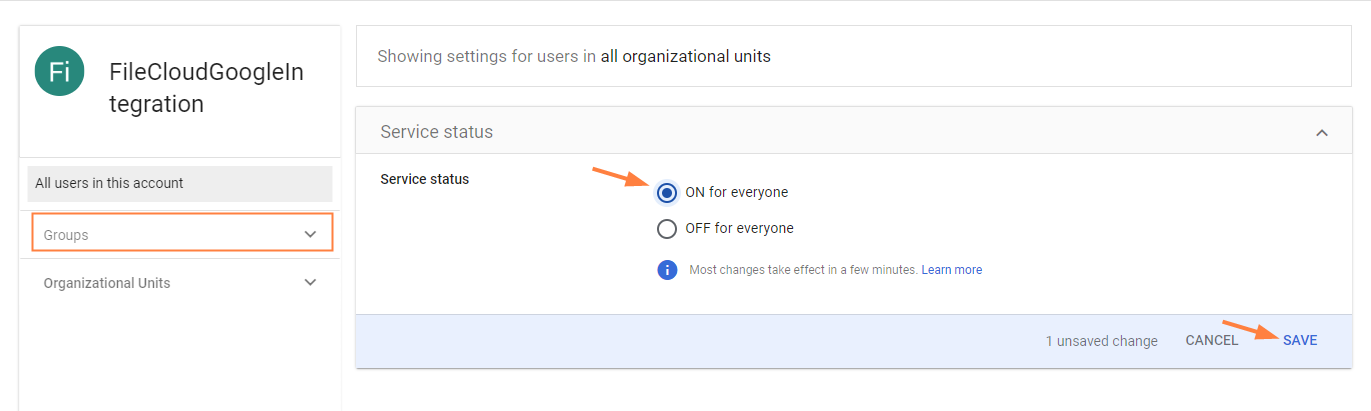
-
Click SAVE.
Now, create a key file and grant OAuth scopes.
Create a key file and grant FileCloud access to Google
Using your superadmin account, create a service account that grants FileCloud the necessary access to the Google api for SSO authentication. If you do not have a superadmin account, have a superadmin perform the following steps for you.
To create the service account:
-
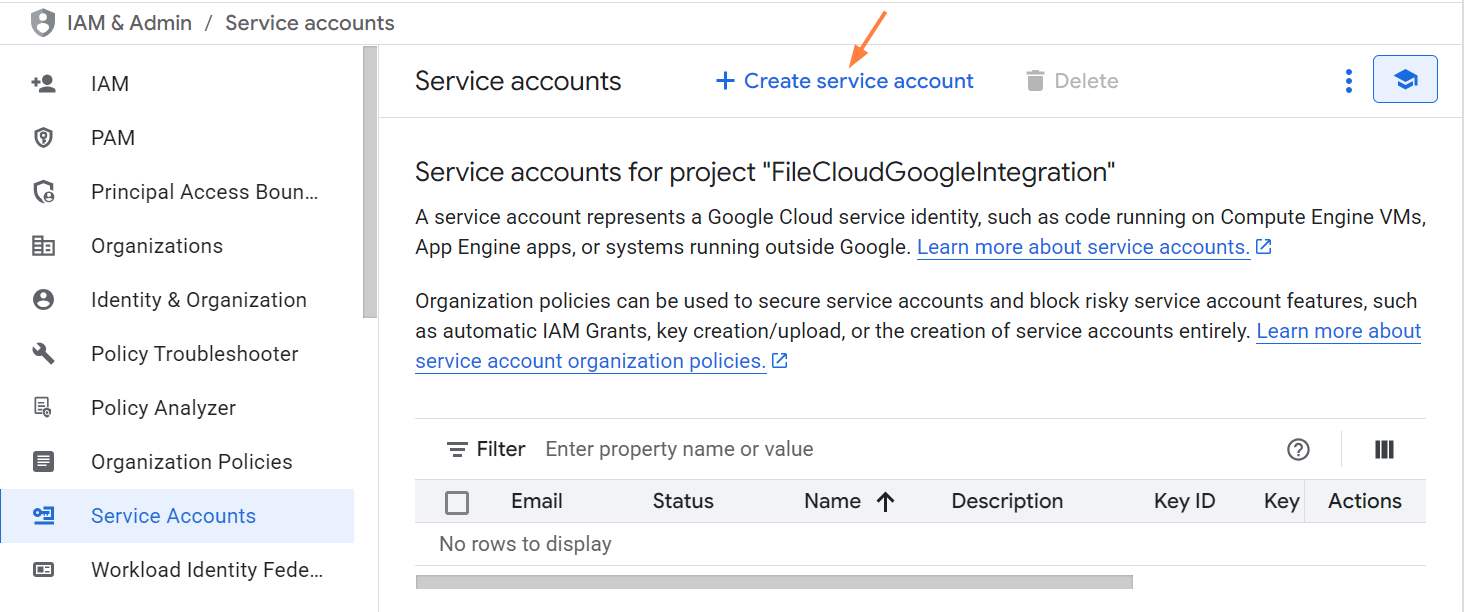
Log in to https://console.cloud.google.com/iam-admin/serviceaccounts.
-
Select your project, or create a new one.
-
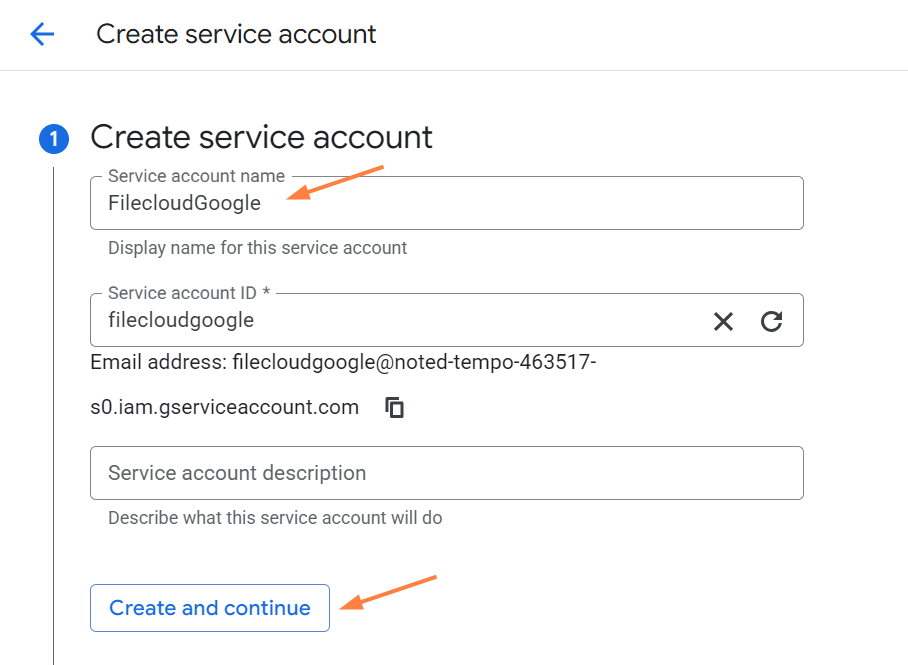
Click Create service account.
-
Enter a Service account name and click Create and continue.
-
Continue through the Permissions and the Principals with access sections without entering any values, and click Done.
The service account is saved.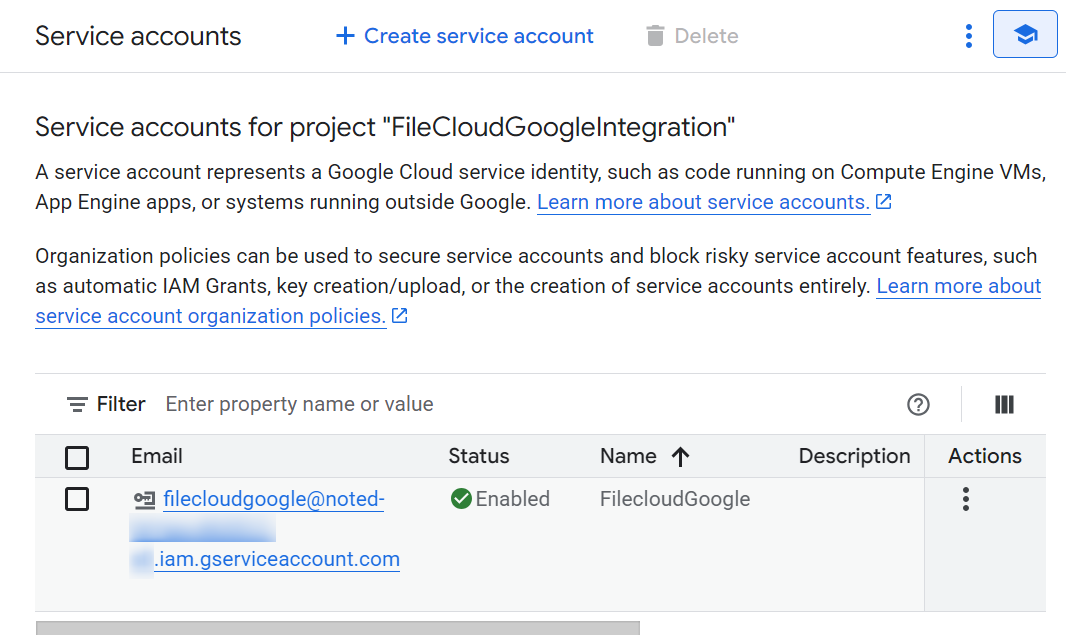
Create and download the private key file
-
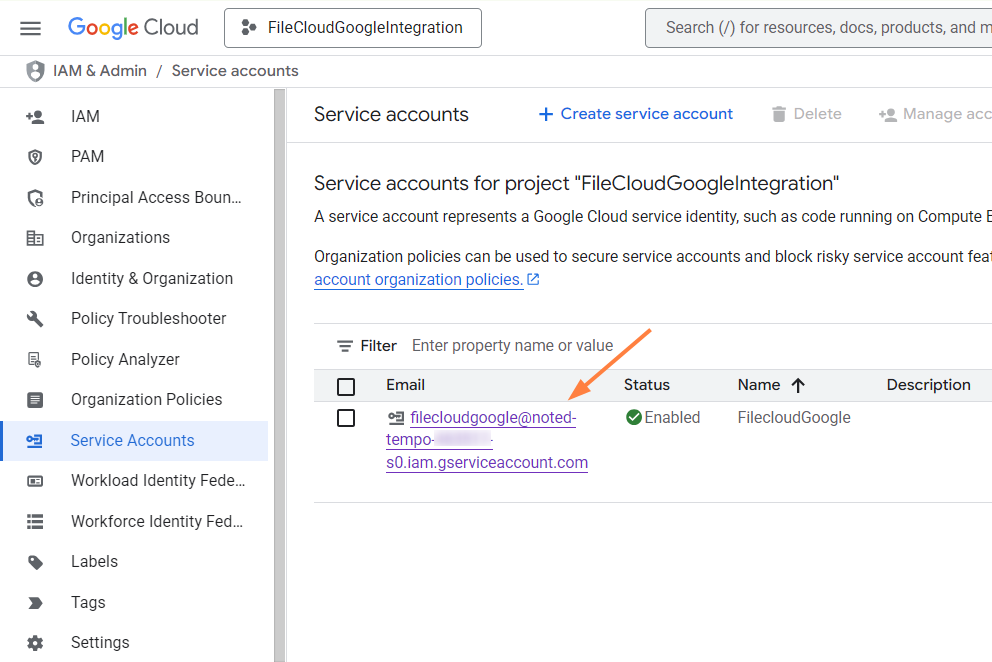
On the Service accounts page, click the service account you created.
-
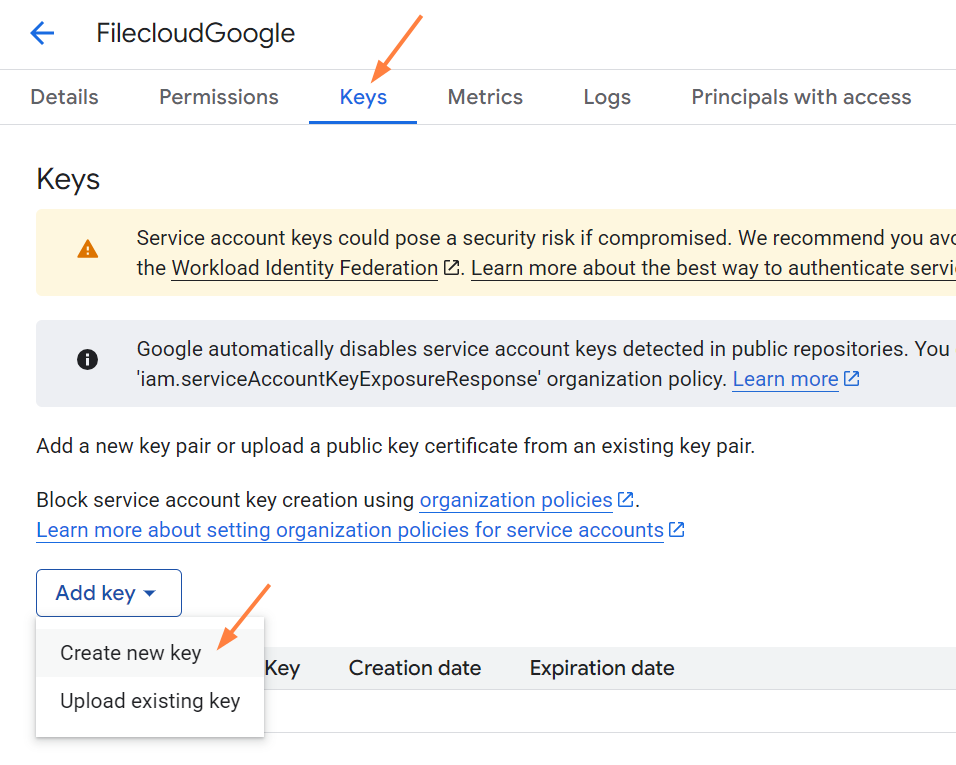
Click the Keys tab, and then click Add key and choose Create new key.
-
Select JSON, and click Create.
The private key file is saved in a json file. Note its name so you are able to upload it later when you set up Google/FileCloud SSO integration in FileCloud.
To enter the values into the FileCloud side, see SSO API: Configure Import of SSO Groups and Users.
Enable the Admin SDK API library
-
Search for Admin SDK.
-
Click it, and then click Enable.
Status should appear as Enabled.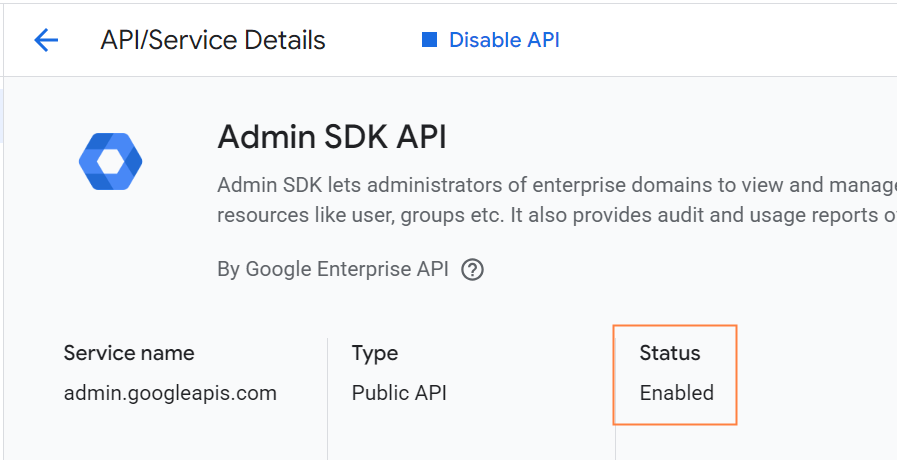
Get the service account Client ID:
-
In the left navigation pane, go to IAM & Admin > Service Accounts.
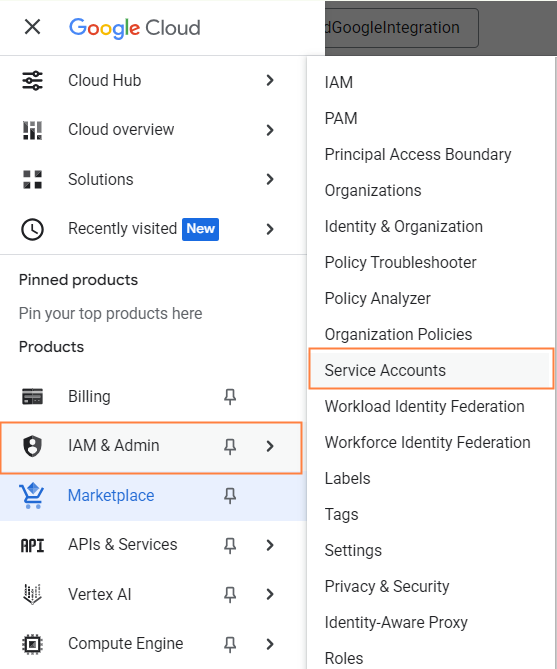
-
Click your service account to open it.
-
At the bottom of the page, click Advanced settings.

-
Click the copy icon next to Client ID, and save it.
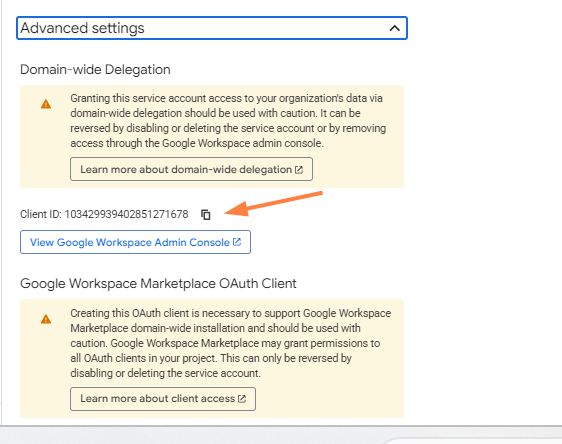
You will paste it into the Client ID field in the next section.
Grant OAuth Scopes via the Admin Console
-
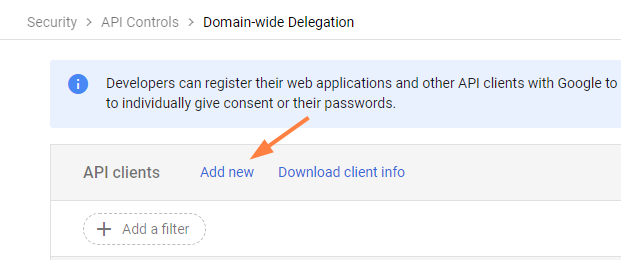
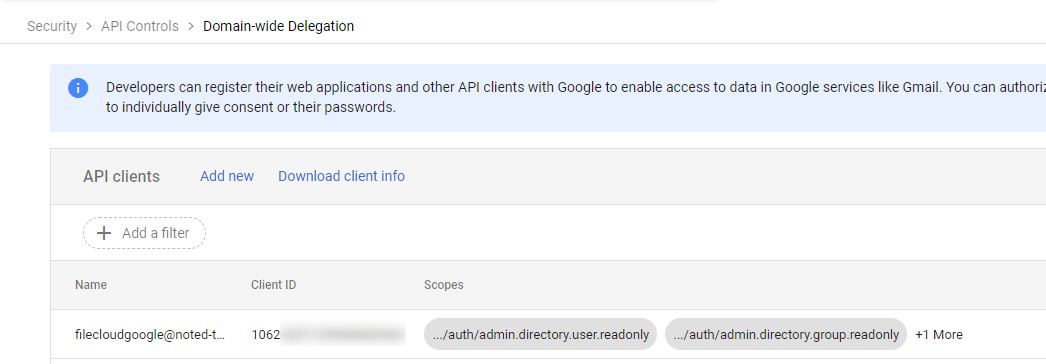
Log back into Google Workspace Admin Center and go to https://admin.google.com/ac/owl/domainwidedelegation.
-
Click Add new.
-
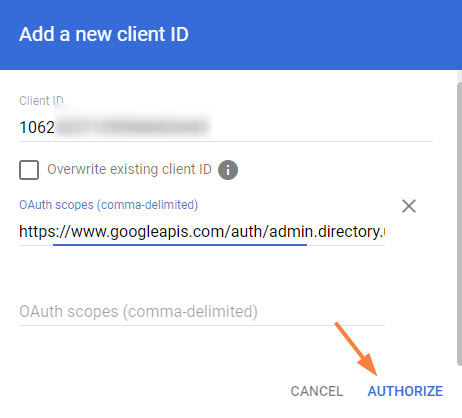
In the Add a new client ID dialog box, and enter the following values:
Client ID - Enter the Client ID you saved in the previous section from https://console.cloud.google.com.
OAuth scopes - Enter the following as a string with the commas included:https://www.googleapis.com/auth/admin.directory.user.readonly,
https://www.googleapis.com/auth/admin.directory.group.readonly,
https://www.googleapis.com/auth/admin.directory.group.member.readonly -
Click AUTHORIZE.
-
The OAuth scopes are now added to the Client ID.
To enter the integration values into the FileCloud side, see SSO API: Configure Import of SSO Groups and Users.