.svg)
Before users can access FileCloud through MS Teams, the Teams administrator must perform the following configuration in Teams. After that, the FileCloud Admin must Enable FileCloud/Teams integration in the FileCloud Admin portal.
FileCloud integration with MS Teams is available beginning in FileCloud Version 21.2
-
Confirm that you have FileCloud Version 21.2 or higher installed.
-
Create an MS Teams bot in the Teams' Developer Portal:
-
Open MS Teams.
-
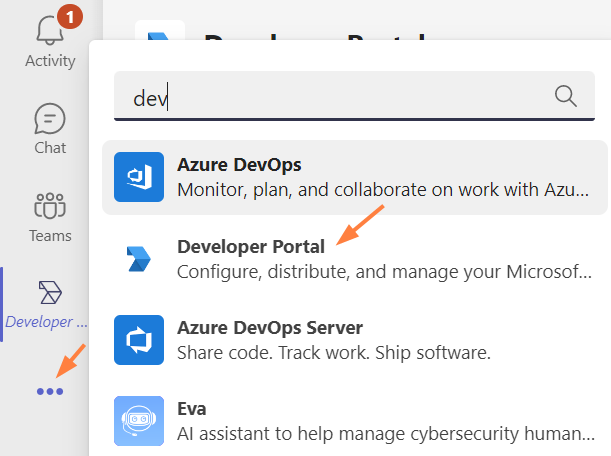
If you do not have the Developer Portal app installed already, click the More icon in the navigation pane, search for Developer Portal, and add it.
-
Click the Developer Portal icon in the navigation pane, and go to Tools > Bot Management.
-
Click New Bot.
-
Name the bot, and click Create Bot.
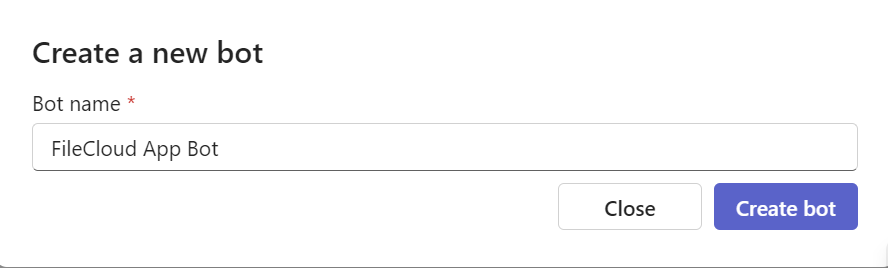
The bot appears opened on the Bot management screen. -
Click the bot to open it.
-
Change the Endpoint address to point to the bot in your FileCloud server, and click Save.
Use https://[your FileCloud server]/core/msteamsbot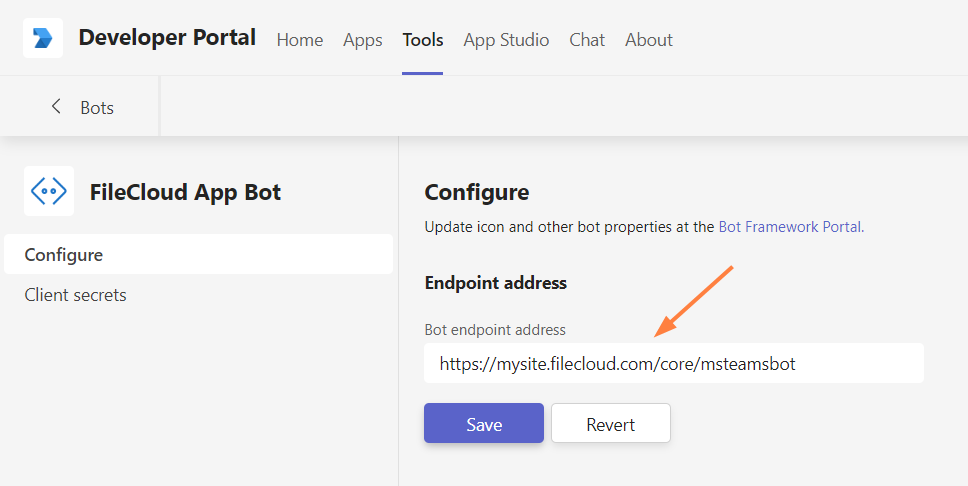
-
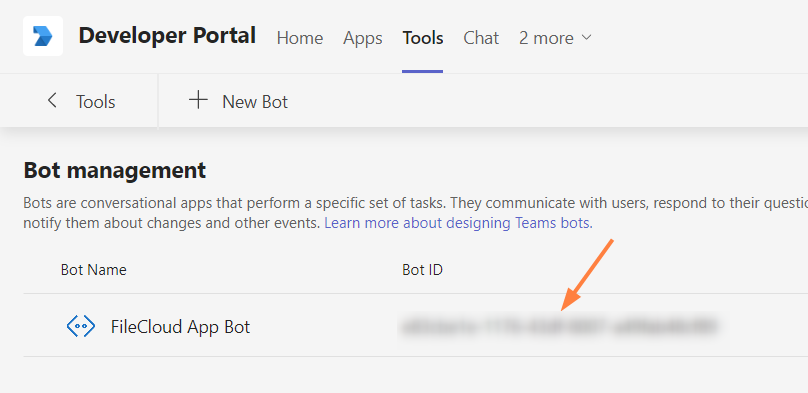
Return to the Bot Management screen.
-
Copy the Bot ID. You will need it to set up MS Teams integration in the FileCloud admin portal.
-
-
Create the MS Teams application in Teams' Developer Portal.
-
In the Developer Portal, click the Apps tab, and then click New App.
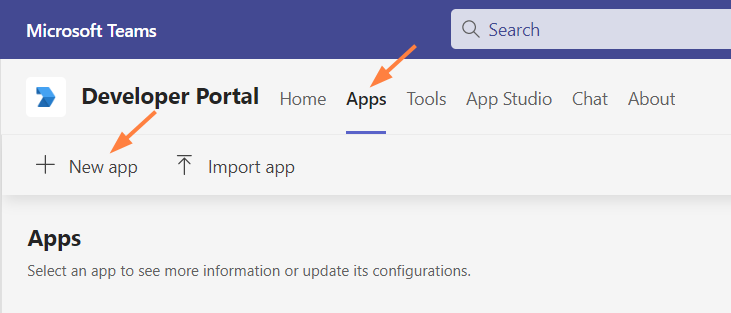
An Add App window opens. -
Enter a name for your FileCloud app and click Create.
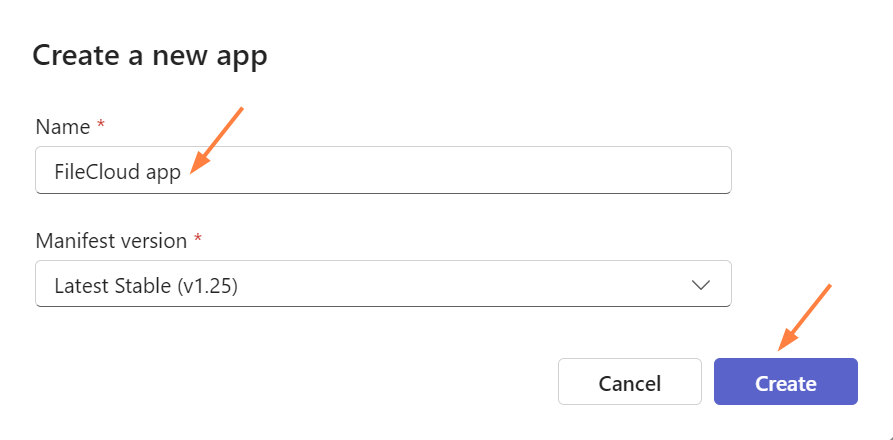
The Dashboard screen for the app opens. -
In the navigation pane, click Branding.
The Branding screen opens.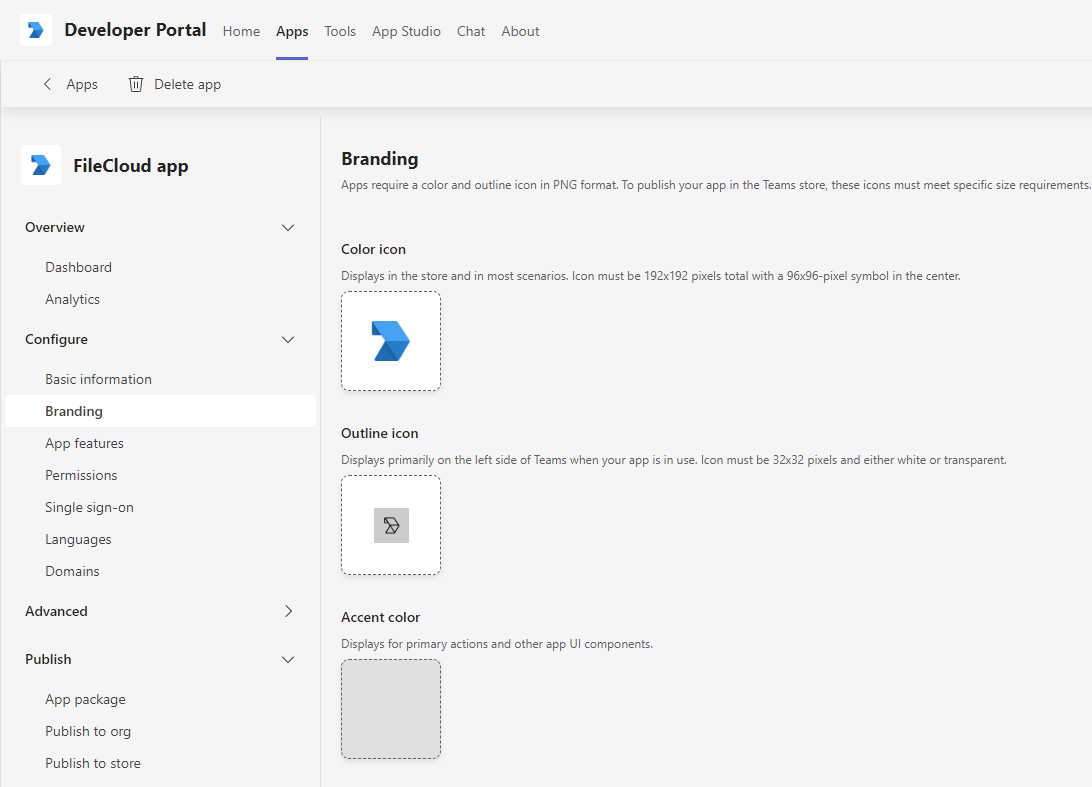
-
Download the following two images (right-click and choose Save image as).


-
Upload the first image for Color icon, and the second image for Outline icon.
You may use custom images, but they must be 192px X 192px for the color image and 32px X 32px for the transparent outline.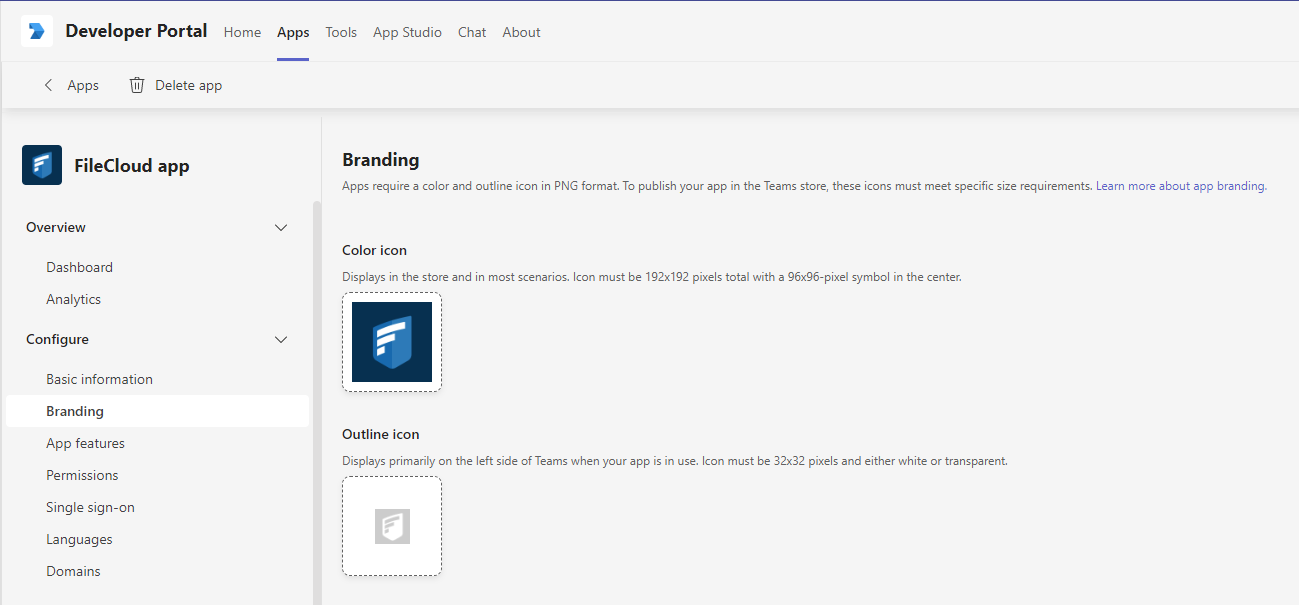
-
-
Set up your MS Teams bot.
-
In the navigation pane, click App Features, and click Messaging Extension.
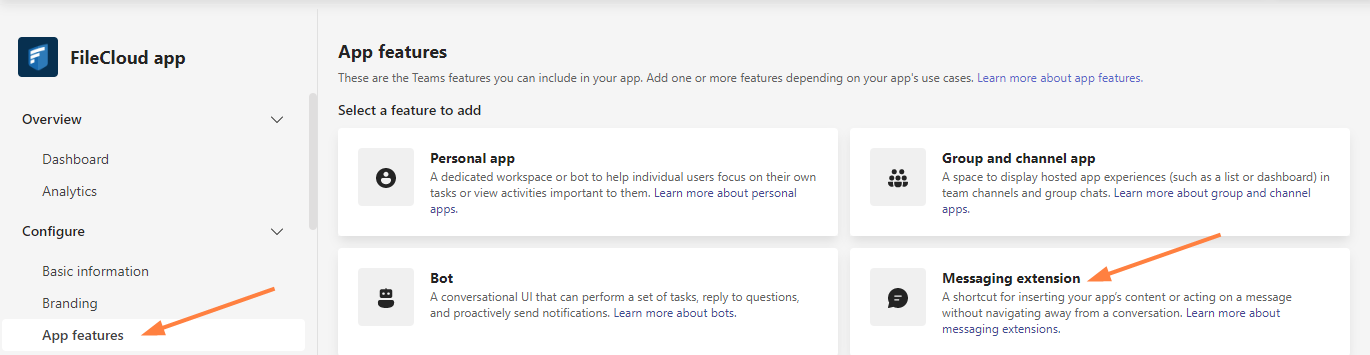
The Messaging Extension screen opens.
-
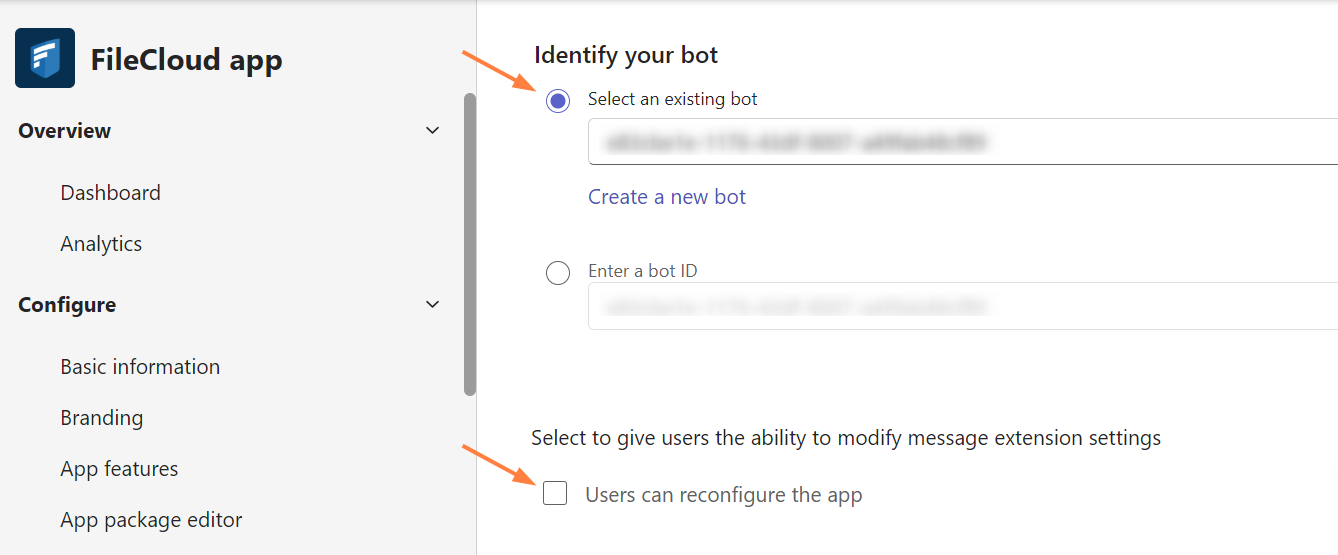
Choose Select an existing bot, and select the FileCloud bot that you just created.
-
Uncheck Users can reconfigure app.
-
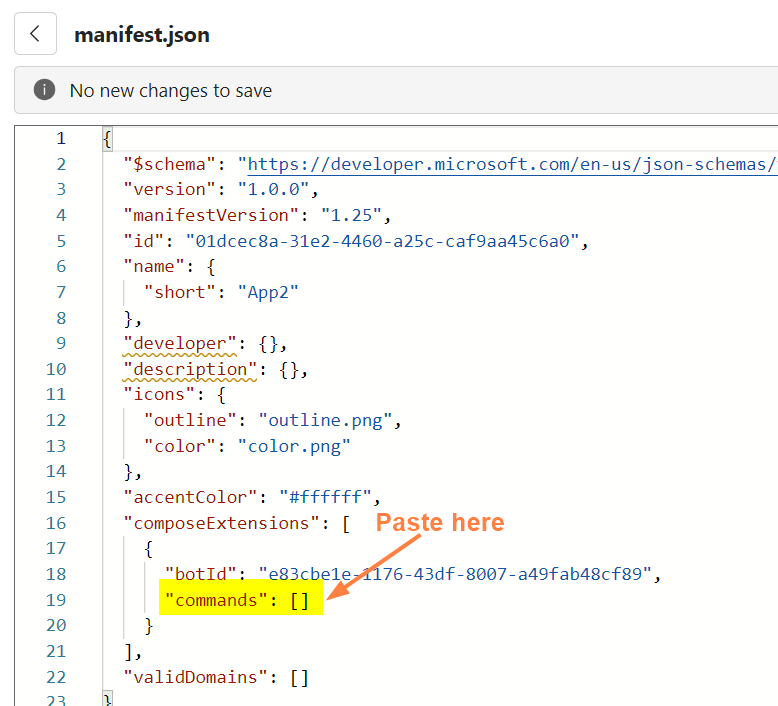
Click App package editor in the left panel, and beside the manifest.json file, click the more icon and choose Edit.

-
Copy the following code; in “url” change [your FileCloud server] to your FileCloud server’s url.
"commands": [ { "id": "FileCloud", "type": "action", "title": "FileCloud", "description": "Share from FileCloud", "initialRun": false, "fetchTask": true, "context": [ "commandBox", "compose", "message" ], "taskInfo": { "title": "Share from FileCloud", "width": "medium", "height": "medium", "url": "https://[your FileCloud server].com/core/msteamsbot" } } ] -
Replace the “commands” key and its empty value with the information above that you copied.
-
Return to the App package editor, and click Save and then Update.
-
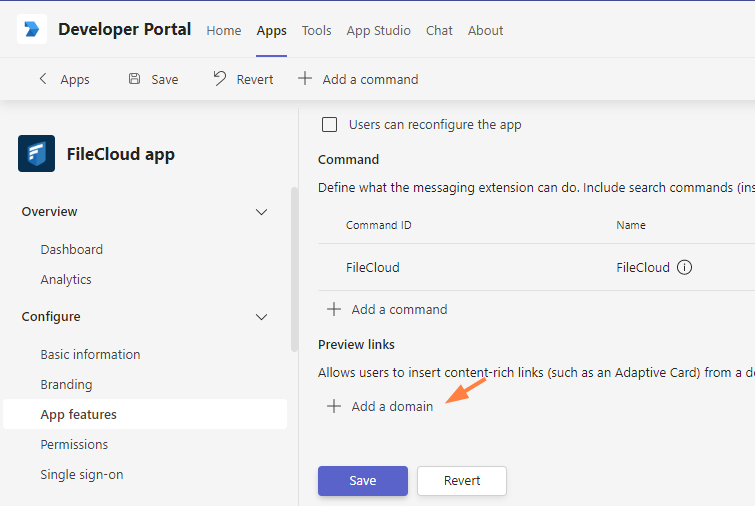
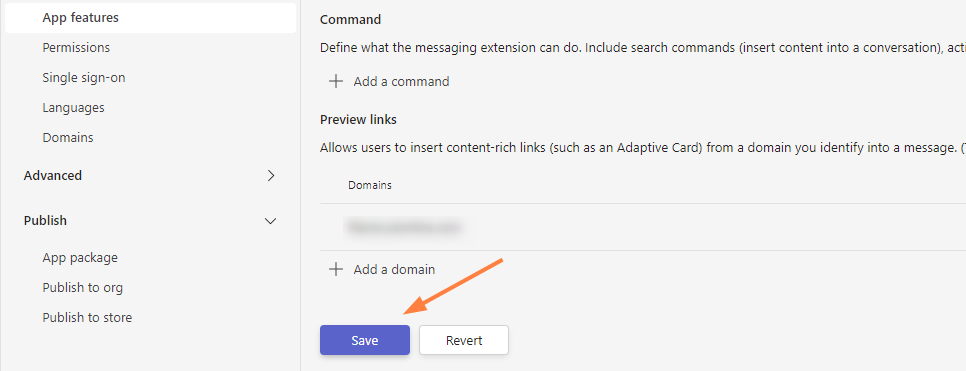
In the navigation pane, click App Features, and click Messaging Extension.
Now, in the Messaging Extension screen, click Add a domain.
-
In the Add Domain dialog box, add your domain without the https:// prefix, and click Add.
-
In the Messaging Extension screen, click Save.
-
In the navigation pane, click App Features again, and click Personal app.
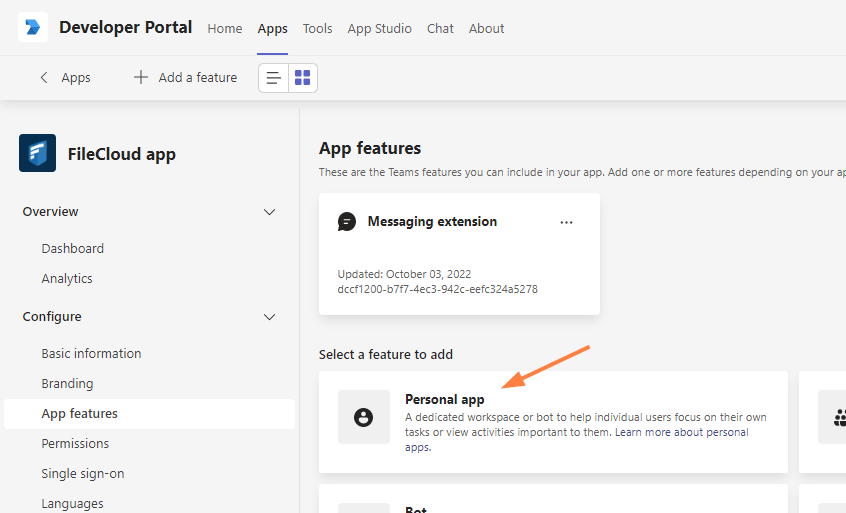
-
Click Add a personal app.
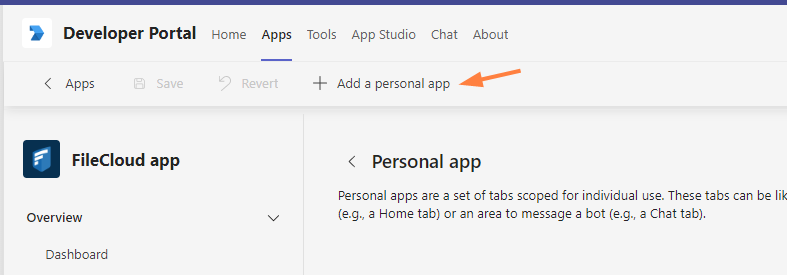
The Add a tab to your personal app dialog box opens. -
Fill in the fields as follows. Your Entity ID will be entered for you.
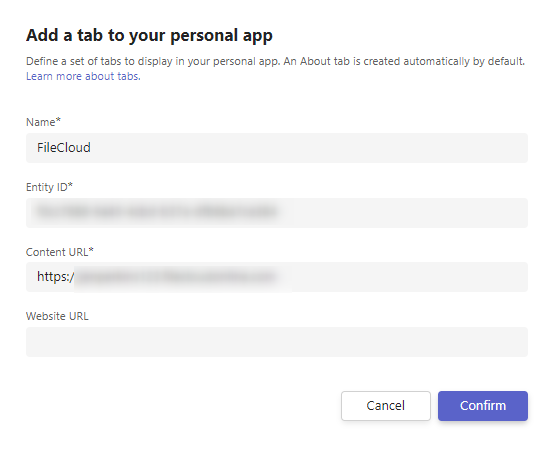
-
Click Confirm.
In the Personal app screen, click Save.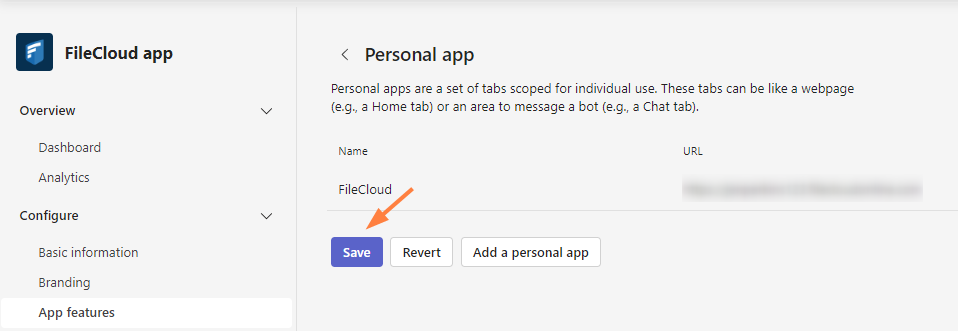
-
-
Add your domain to a global domains list.
-
In the navigation pane, click Domains, and then click Create your first domain.
(If you already have domains listed, click Add a domain.)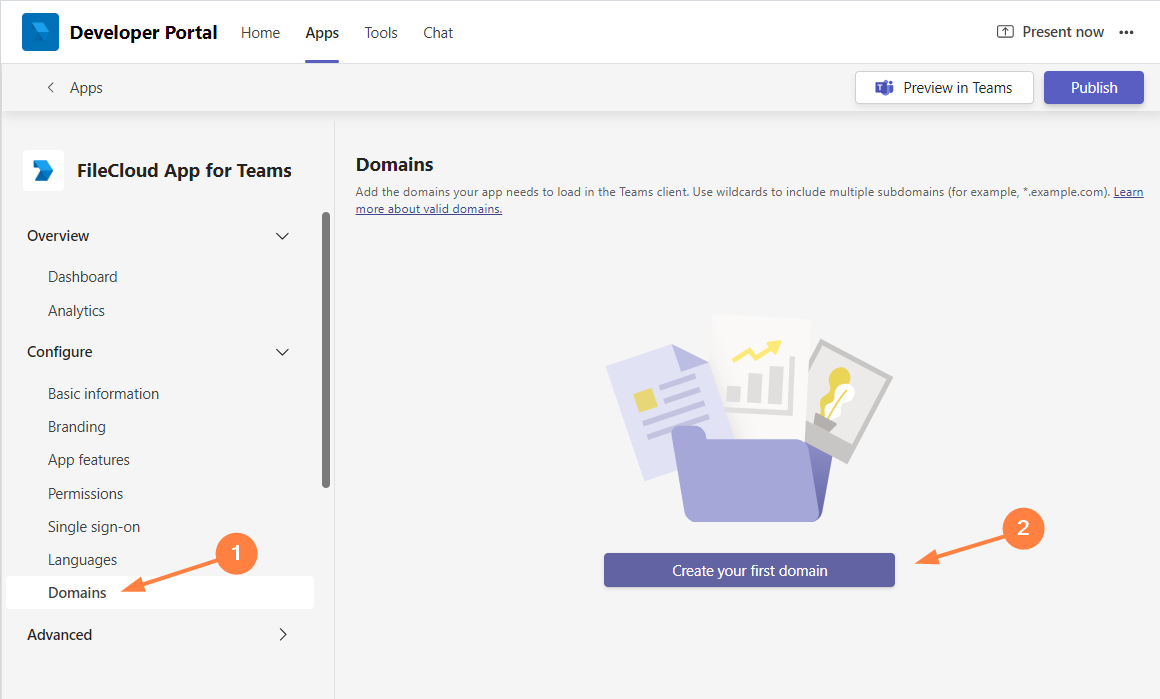
-
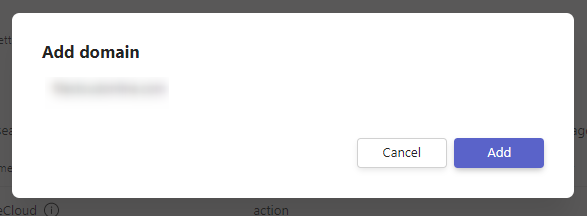
In the Add domain dialog box, enter your domain (the same one you entered above, in step 4h).
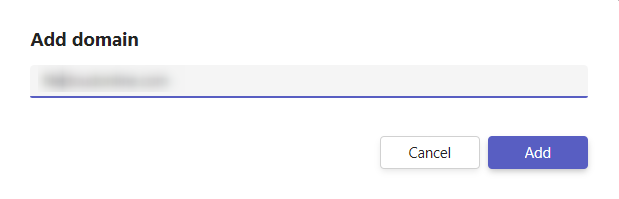
-
Click Add.
The domain is added to the list: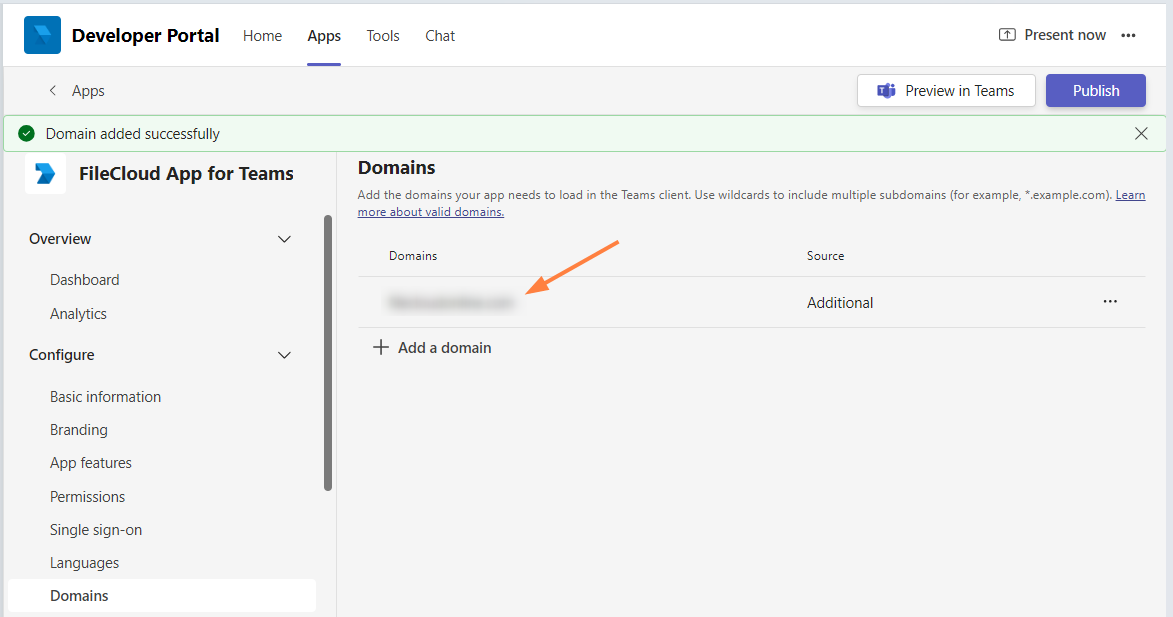
-
-
Export the application manifest zip file from Teams' Developer Portal.
-
Click Publish.
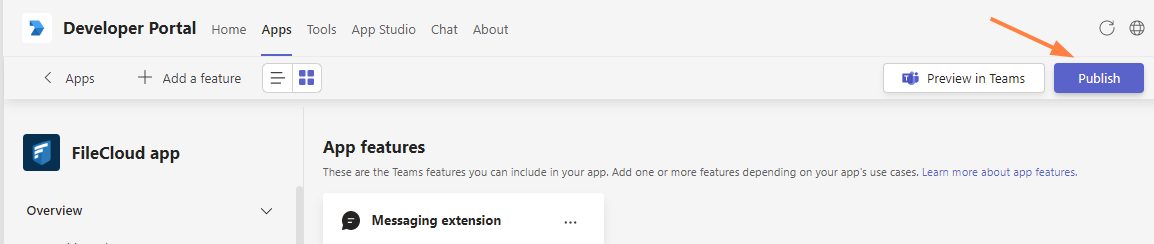
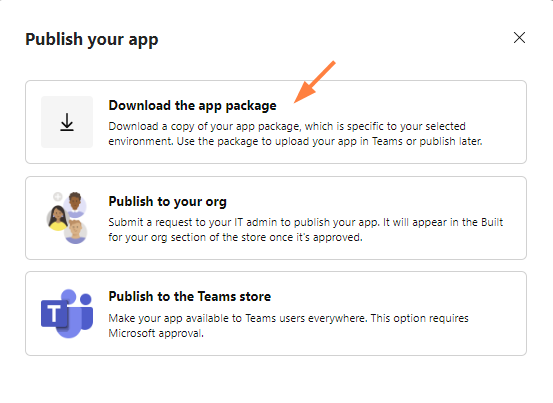
The Publish your app dialog box opens. -
Click Download the app package.
-
Save the downloaded app package zip file.
-
-
Upload the application and submit it for approval in MS Teams.
-
In the MS Teams navigation pane, click Apps.
-
In the left panel click Manage your apps.
-
In the Manage your apps screen, click Upload an app.
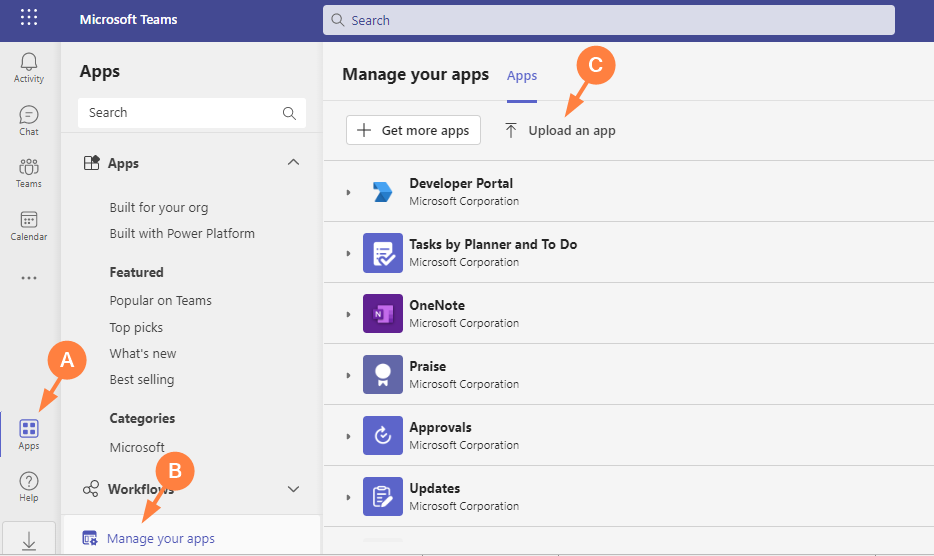
The Upload an app dialog box opens. -
Click Submit an app to your org.
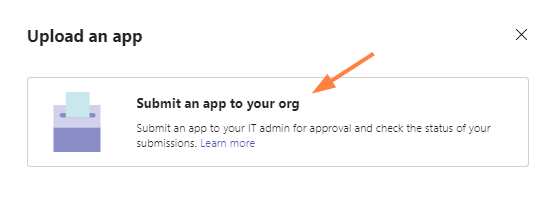
Your file explorer opens. -
Select your app package zip file.
You should now see:
-
As the Teams administrator, approve and publish the app.
For more information, see https://docs.microsoft.com/en-us/MicrosoftTeams/manage-apps#approve-a-custom-app.
The app's Status changes to Approved, and the app becomes available in your company's app store.
-