.svg)
To log in to the FileCloud for Outlook Add-in for FileCloud with SSO, you must have the SSO Auth Agent running on the client.
You may use the following procedure to update the SSO Auth Agent as well as to install it. It is recommended that you uninstall the previously installed SSO Auth Agent before installing the new one.
-
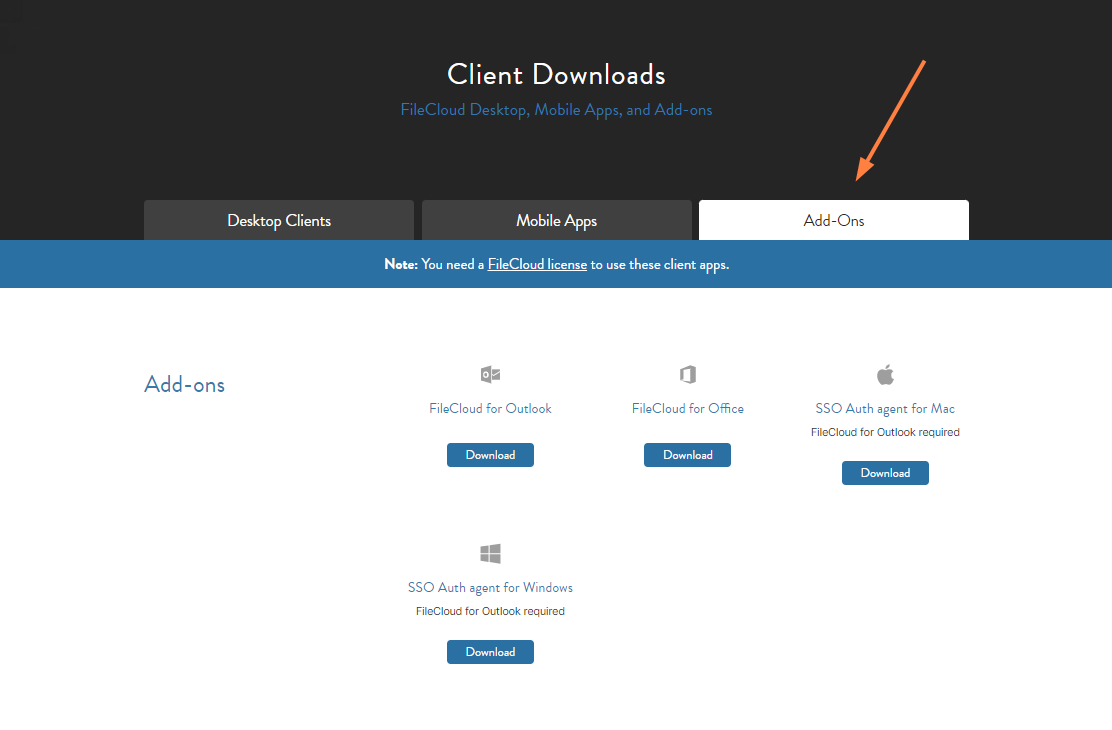
On the device that you'll be using the FileCloud for Outlook Add-in for FileCloud, go to https://www.filecloud.com/additional-downloads/ and click the Add-ons tab:
-
Click the Download button for SSO Auth agent for Mac or SSO Auth agent for Windows depending on your system.
The download is installed on your client. -
Locate the Auth Agent installer exec in your downloads and open it.
The installation wizard opens: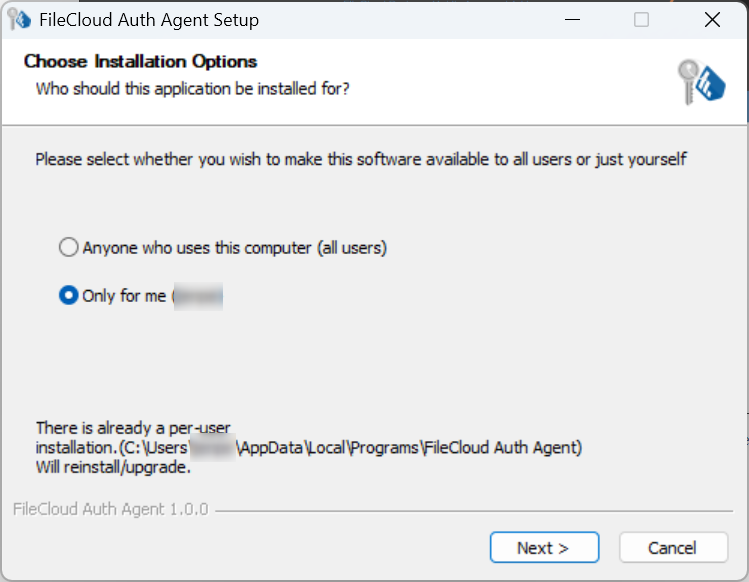
-
Choose Anyone who uses this computer or Only for me, and click Next.
-
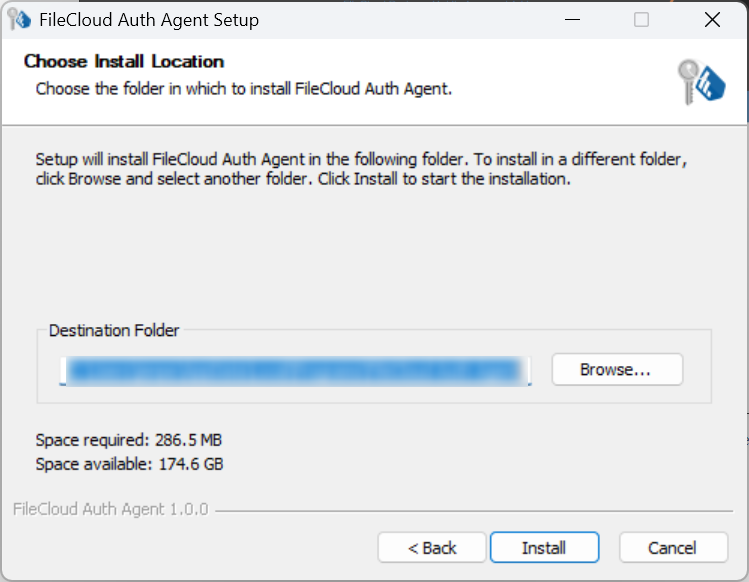
You may change the Destination Folder.
-
Click Install.
When installation is complete, the wizard displays the screen: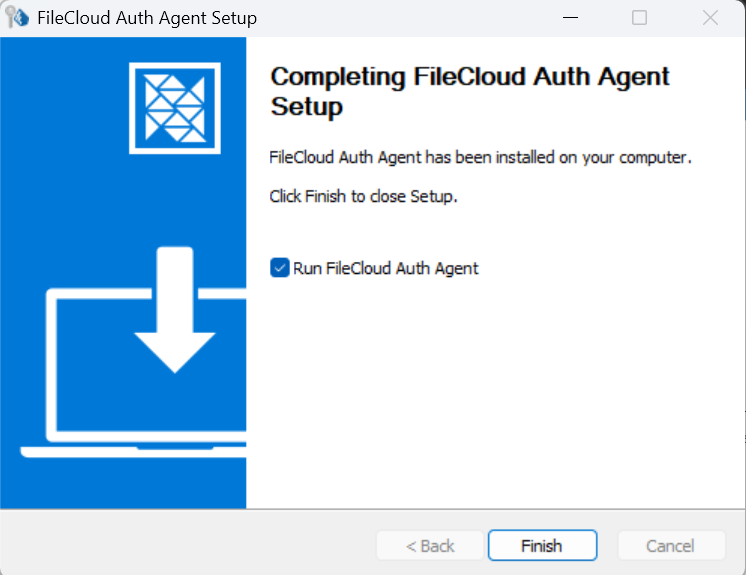
-
Leave Run FileCloud Auth Agent checked, and click Finish.
-
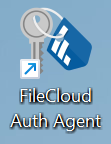
If you are prompted to install certificates, accept the prompts. Icons appear on your screen and in your tray to indicate that the Auth Agent is running:
-
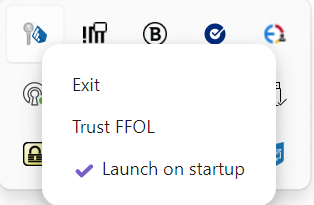
A few functions are accessible from the FileCloud for SSO icon in the Windows system tray or the macOS menu bar:
-
To stop running the Auth Agent, click Exit.
If the Auth Agent is stopped, you cannot use FileCloud for Outlook. -
If you accidentally reject installation of certificates, install them by choosing Trust FFOL.
-
To enable automatic launching of the Auth Agent on startup, click Launch on startup so that a check appears in front of it.
-