.svg)
Smart mounts are a special type of network share whose file system paths contain variables. The variables are resolved to the actual file system path. This will greatly simplify access to network shares as long as certain criteria is met.
For example, take a look at the following image showing a folder structure in the File System.
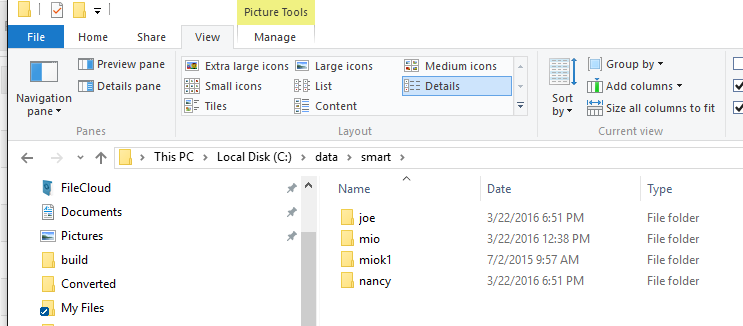
In the folder structure shown in the image above, the Administrator can configure the Network share in such a way that:
-
When user joe logs in, he will be able to see c:\data\smart\joe and no other folder
-
When user alexis logs into FileCloud, she will only be able to see and access C:\data\smart\alexis.
To achieve this, create a network share with smart mount path such as C:\data\smart\%USERID%. The system will automatically replace the %USERID% variable with the actual user name and mount it to the network share for the user to access.
The following special tokens can be inserted in the smart mount parameter
|
PATH PATTERN SPECIAL VARIABLES |
NOTES |
|---|---|
|
%USERID% |
User id as a variable in path |
|
%EMAILID% |
Email id as a variable in path |
|
%DISPLAYNAME% |
User display name as a variable in path |
Creating a smart LAN-based network folder
To create a smart mount network share:
-
Log in to the FileCloud admin portal.
-
Navigate to Network Folders in the left navigation panel.
-
Click Add to launch the New Network Folder dialog box.
-
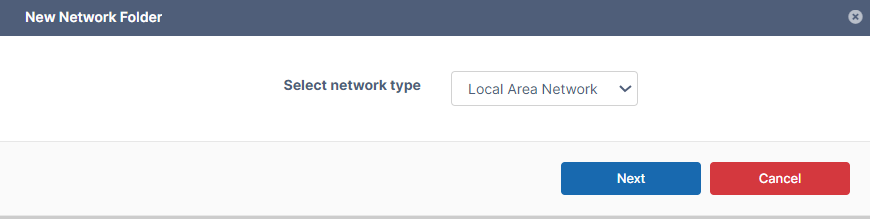
Select Local Area Network from the dropdown.
-
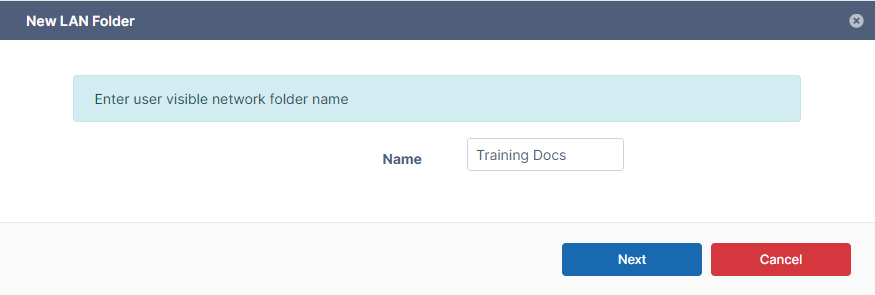
Enter the name of the network share. This will be the name shown to the user to access this network share resource. For example, "Training Docs". This name can only contain alphanumeric characters.
-
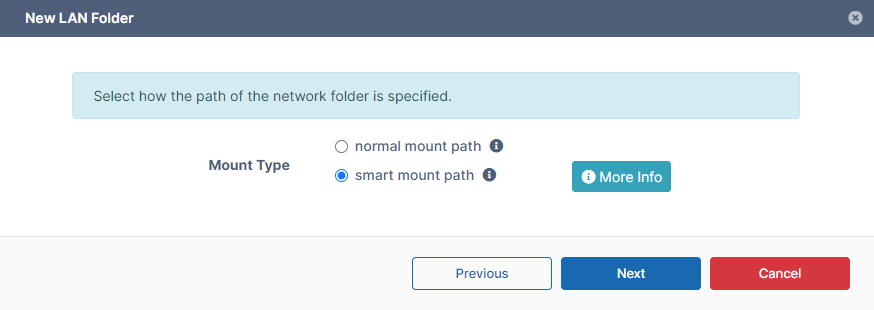
Select smart mount path.
-
Click Next.
-
Enter the smart mount path.
The path should have a variable, such as %USERID% that matches the path name.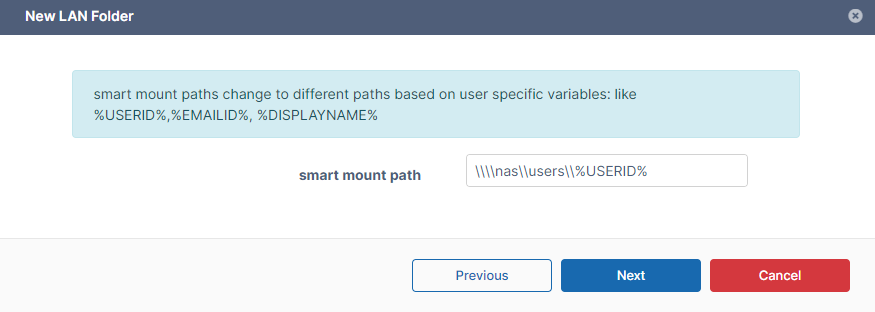
-
Click Next.
-
Choose the Access Permission option.
See Create a LAN-Based Network Folder for more information about this field.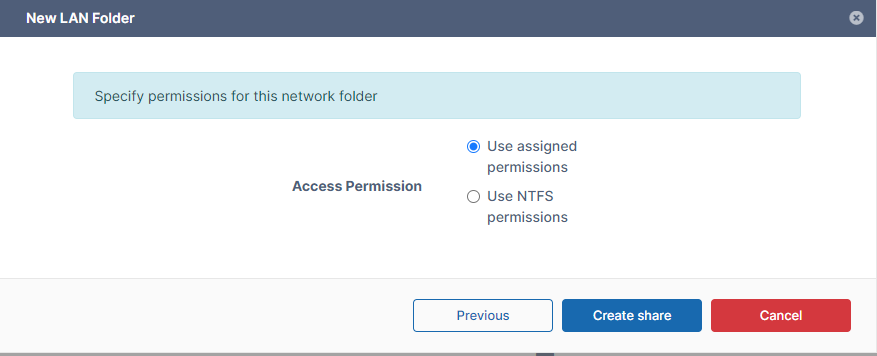
-
Click Create share.
-
Once the Network Folder is created, you can assign users and groups to this folder.
Click Add user access to include users; click Add group access to add groups.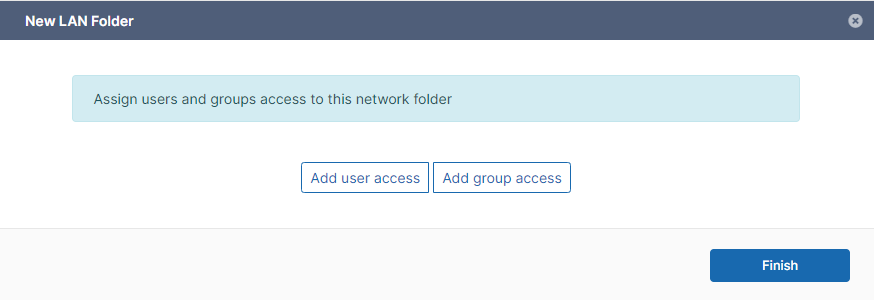
-
Click Finish to create the folder.
-
To further configure the folder, see Create a LAN-Based Network Folder .