.svg)
See Requirements for the supported versions of Windows OS for FileCloud Desktop for Windows.
If you are operating in an air-gapped or restricted network environment, you may experience significant delays during installation (5-10 minutes) or initial launch (30+ seconds) of FileCloud Desktop for Windows. These delays occur while the application waits for requests to servers without outbound internet access to time out.
The application may appear stuck or frozen during this time; however after the Windows requests time out, installation or launch begins again without loss of data or functionality.
Administrators: To reduce the Windows network timeout duration, you may locally host Certificate Revocation Lists (CRLs) or adjust Group Policy settings. Please consult your network security team to determine the best option for your specific infrastructure.
To install or upgrade FileCloud Desktop on Windows:
After you initially install FileCloud Desktop for Windows, it updates automatically, and you are not required to perform the following process to upgrade (unless you are using a version of FileCloud prior to 23.261).
-
-
Install FileCloud 23.232 or higher if you have not already done so.
-
Run FileCloudDesktopInstaller.msi.
The installer's welcome screen opens: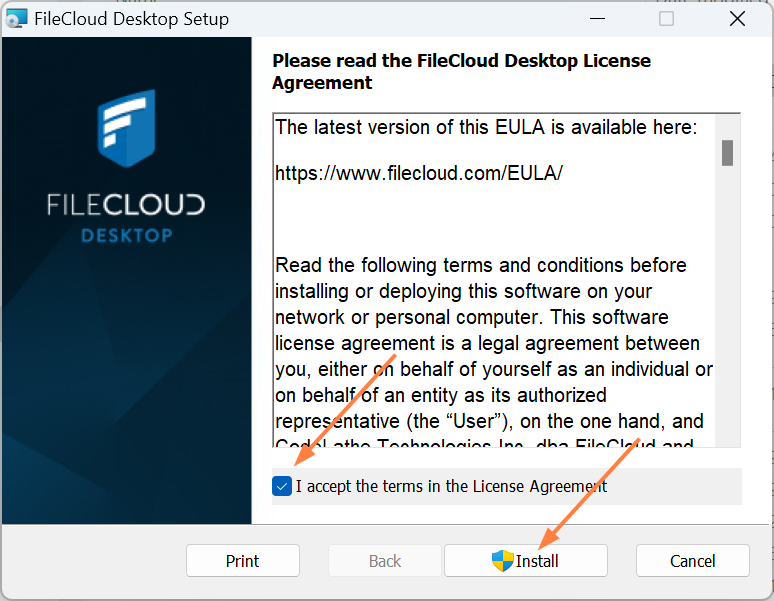
-
Read the license agreement, and check I accept the terms in the License Agreement.
-
Click Install.
Installation begins. The wizard shows you installation status.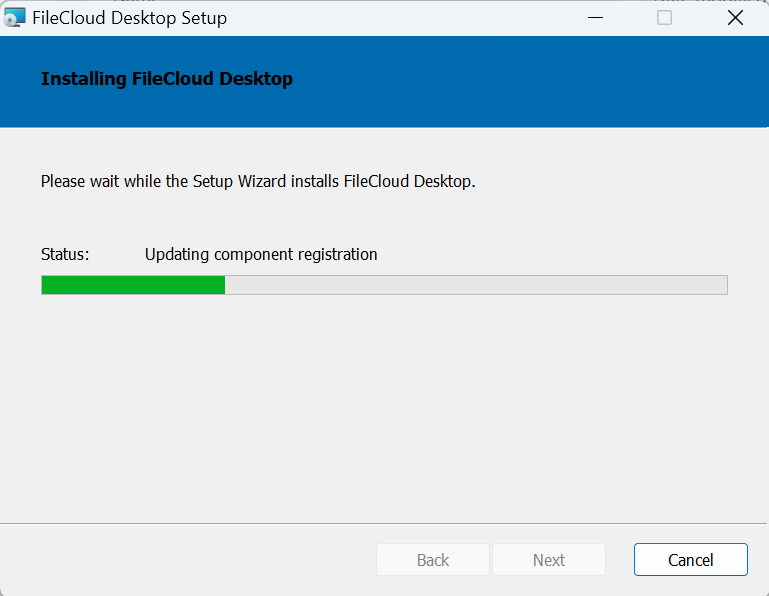
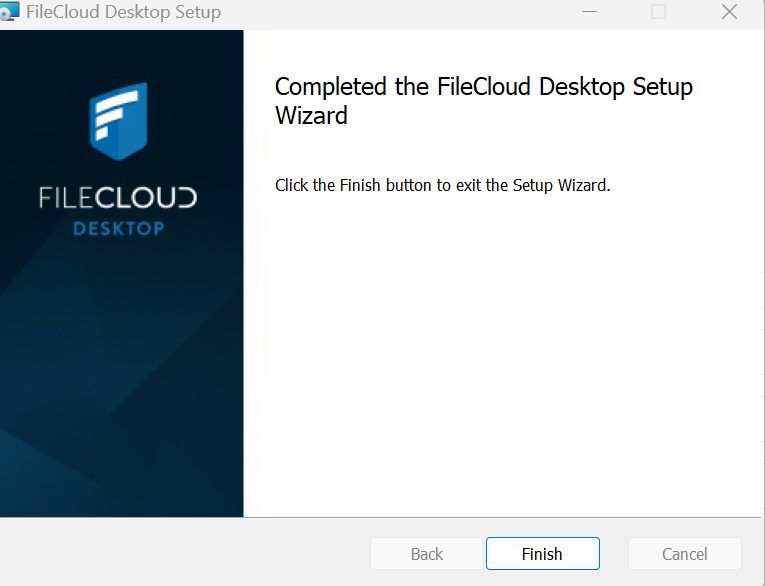
When installation is complete, the following screen appears:
-
Click Finish.
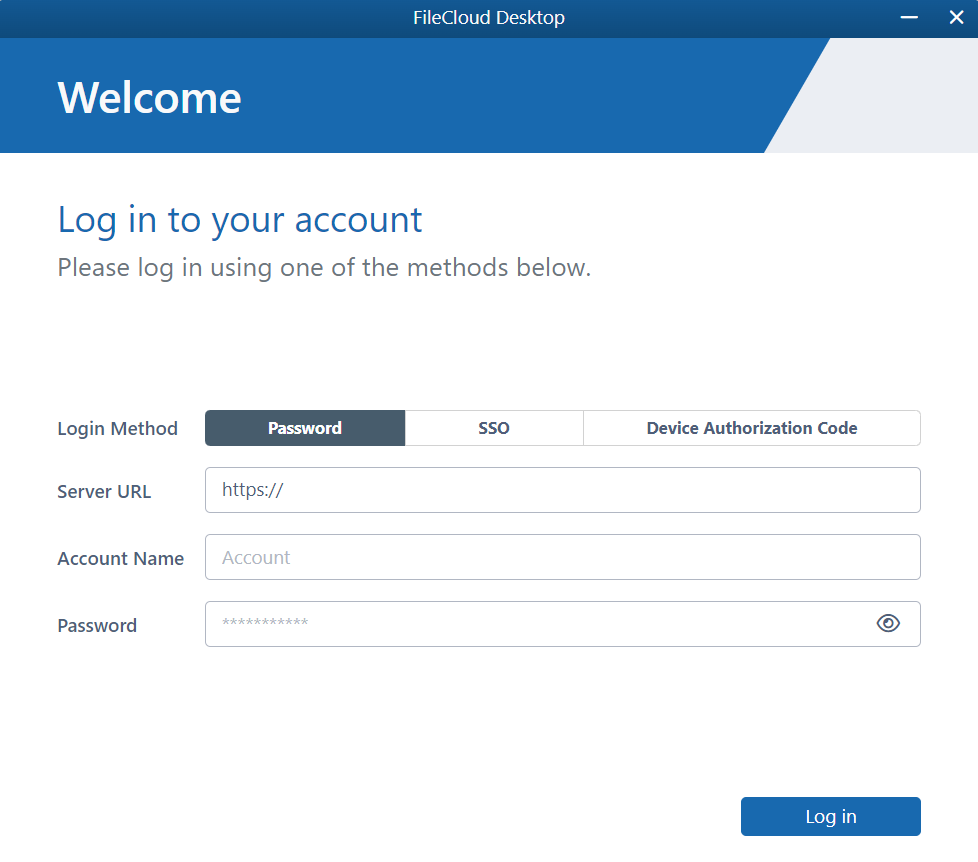
The FileCloud Desktop login page opens.
To migrate from FileCloud Sync to FileCloud Desktop for Windows:
-
Upload all files and folders that you want to migrate from FileCloud Sync to FileCloud Desktop for Windows to the FileCloud server.
-
Uninstall FileCloud Sync.
-
Install FileCloud Desktop for Windows following the procedure above in To install or upgrade FileCloud Desktop on Windows.
-
When you log in to FileCloud Desktop for Windows, a new sync root for the application is populated from the server with your files.
How autoupdates work
Beginning in FileCloud 23.261, FileCloud Desktop for Windows is updated automatically by default.
If an autoupdate is available when a user is logged out of FileCloud Desktop for Windows, updating automatically occurs.
If an autoupdate is available when a user is logged in to FileCloud Desktop for Windows (or when a user logs in), the user is prompted with the message:
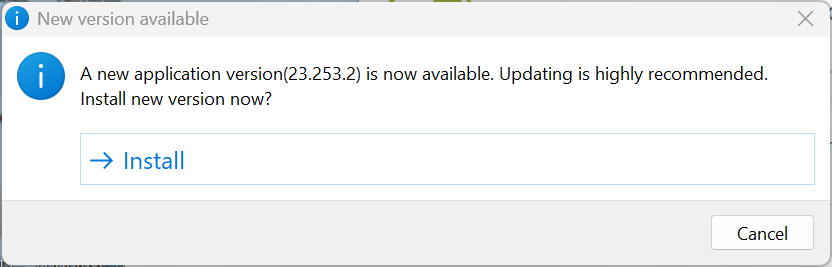
If the user clicks Install, FileCloud Desktop is upgraded and the application restarts automatically.
If the user cancels without installing, upgrade either occurs when FileCloud Desktop is not running, or when the user logs in, sees the install prompt again, and chooses Install.