.svg)
The FileCloud iOS app supports uploading files from the following locations on your device:
-
Local storage on your iOS device
-
Cloud storage connected to your iOS device (for example, Google Drive)
There are a few different ways to upload a file or folder to FileCloud.
Upload a file while you're in FileCloud by tapping the  icon:
icon:
Upload by tapping the plus icon
If you have upload permission for a folder, a
-
Log in to the iOS app, and navigate to the folder that you want to upload the file or folder to.
-
Click the plus icon.
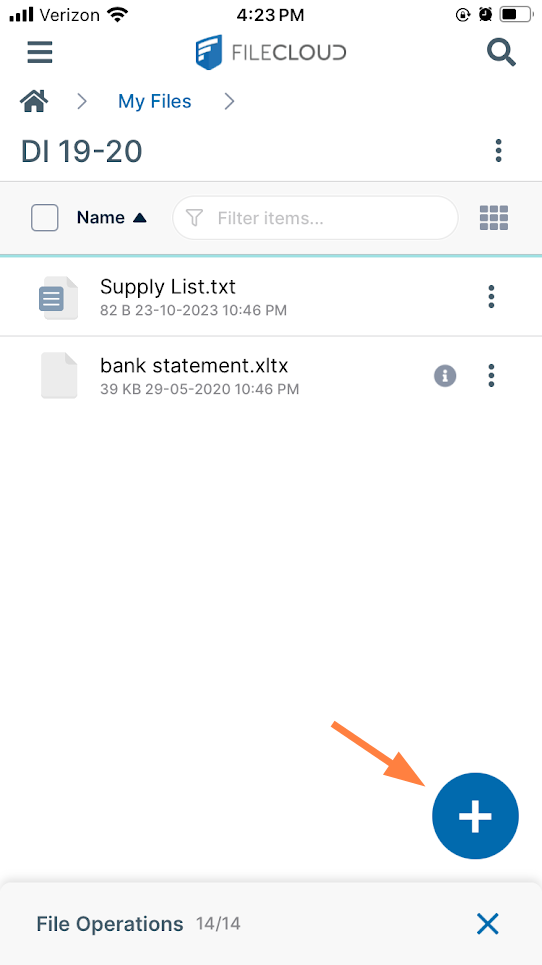
Various options for adding content pop up.
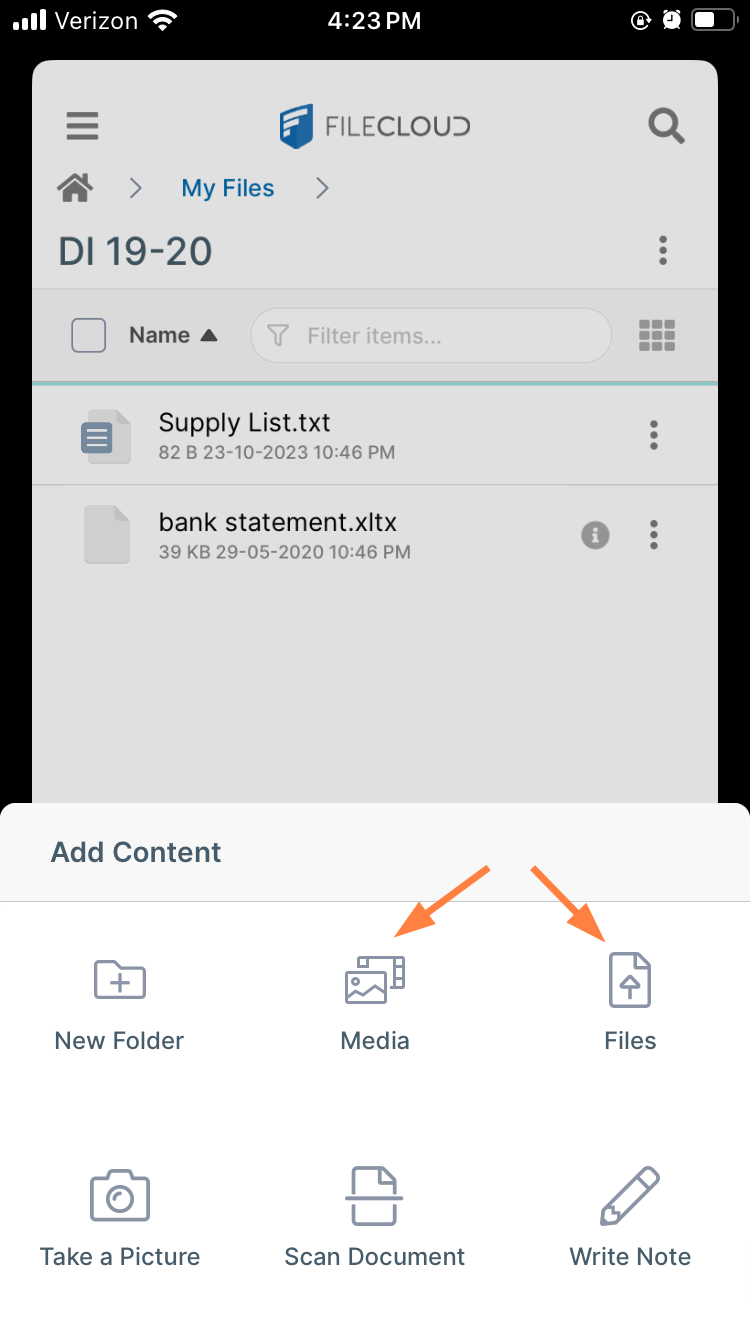
-
Tap Media to upload media files stored on your iOS device, or tap Files to upload files or folders from your iOS device or from a remote location.
Upload while in another app
Upload files from third-party applications
On an iOS device, when you are working in another app, you can remain in that app and save a file to FileCloud.
If you have opened an existing FileCloud file in an Office app for edit, your changes are automatically saved to FileCloud. See Preview and Edit iOS Files.
This example uses Google Photos to demonstrate how to save files to FileCloud from another app, however, you could use the same process in any app that allows you to save to other apps.
To upload from a 3rd-party application:
-
Open the file in the other app on your iOS device.
Here, in Google Photos, tap on the photo to open it.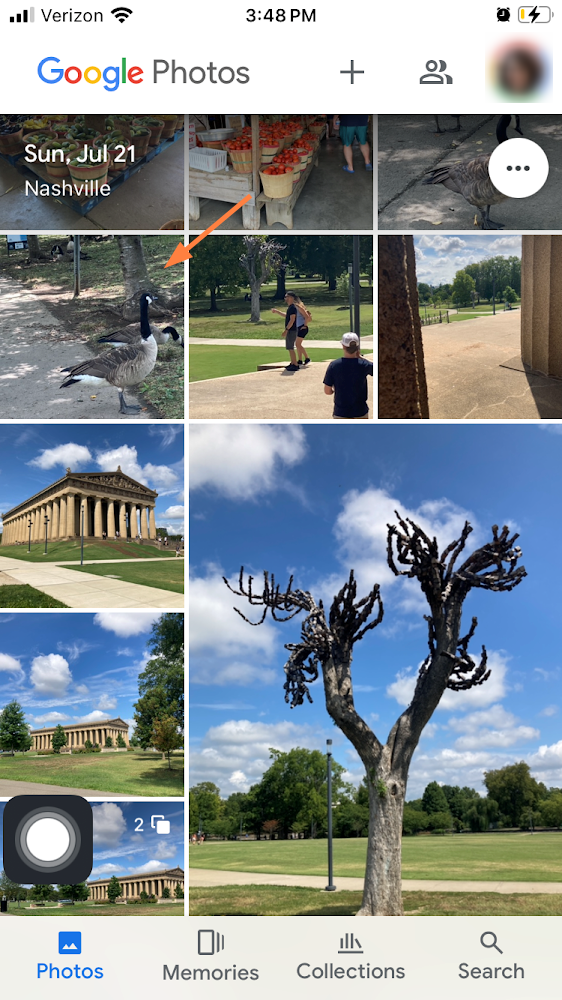
-
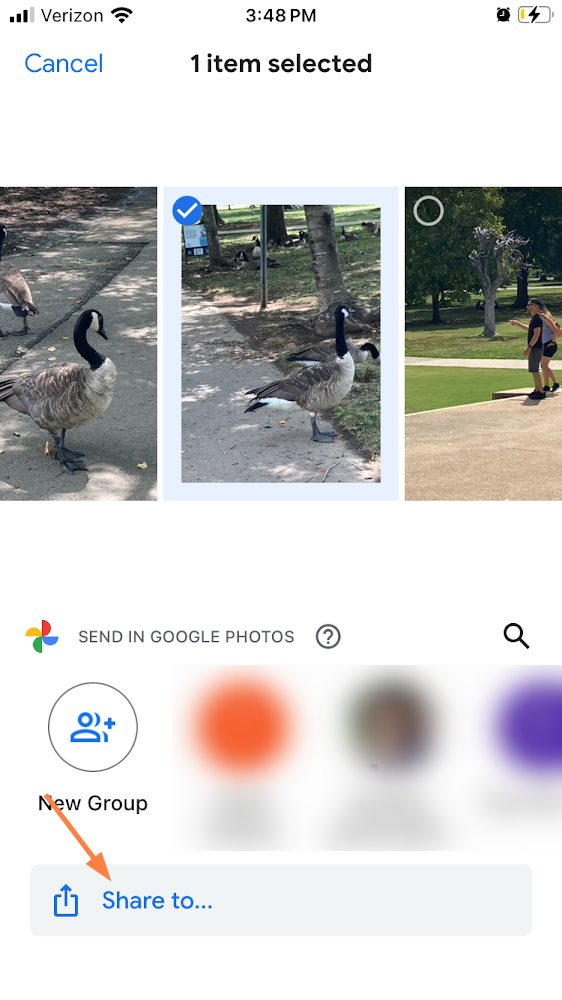
Depending on the app, the action to choose may be upload, share, or save.
In Google Photos, after selecting the photo, tap Share to.
-
From the options that appear, tap FileCloud.
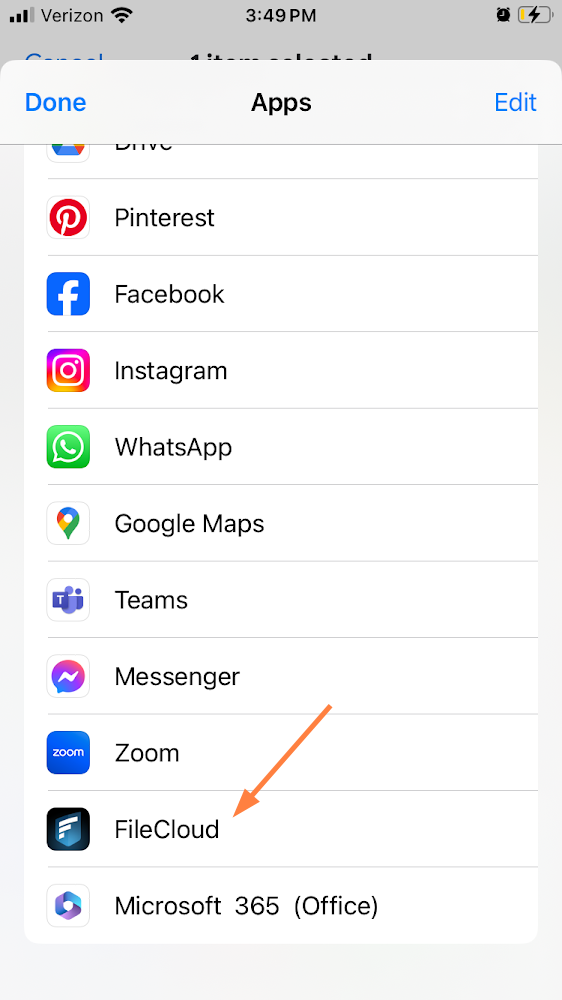
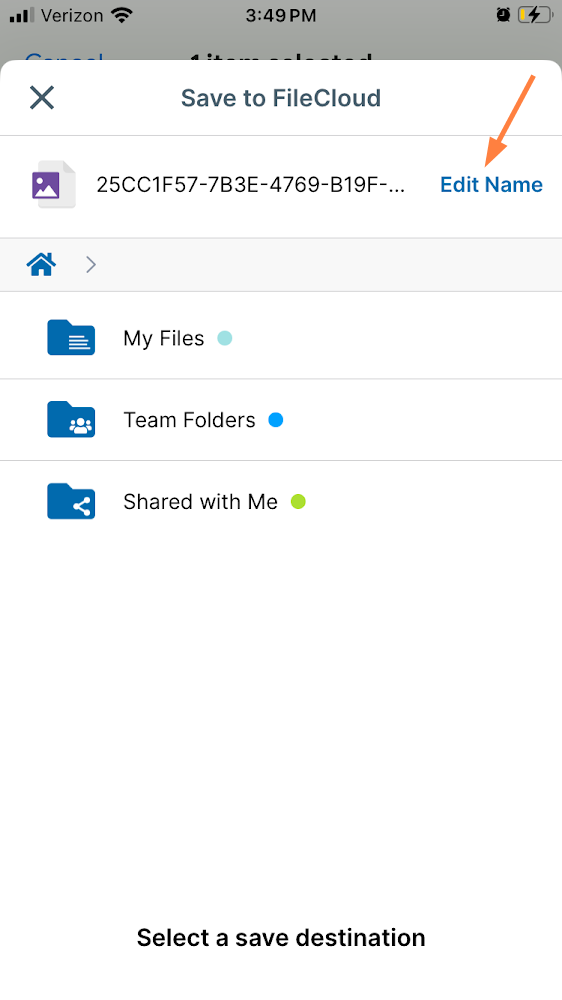
The Save to FileCloud screen opens. (If your FileCloud login credentials are not saved in iOS, you are prompted to log in to FileCloud first).
You are given the option of editing the filename before you save it to FileCloud. -
To change the filename, tap Edit Name.
-
Enter a new name for the file and tap Rename.
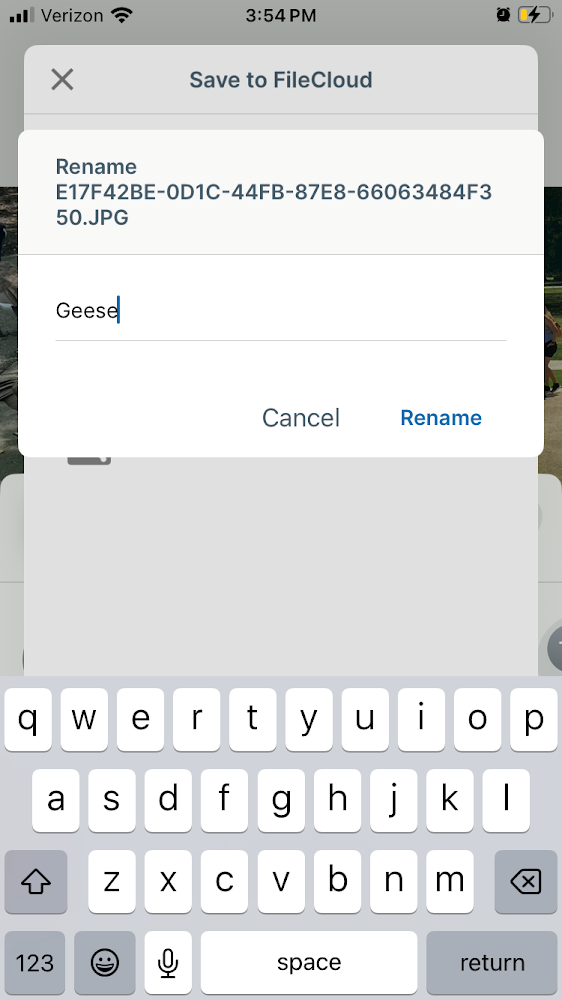
The file is renamed.
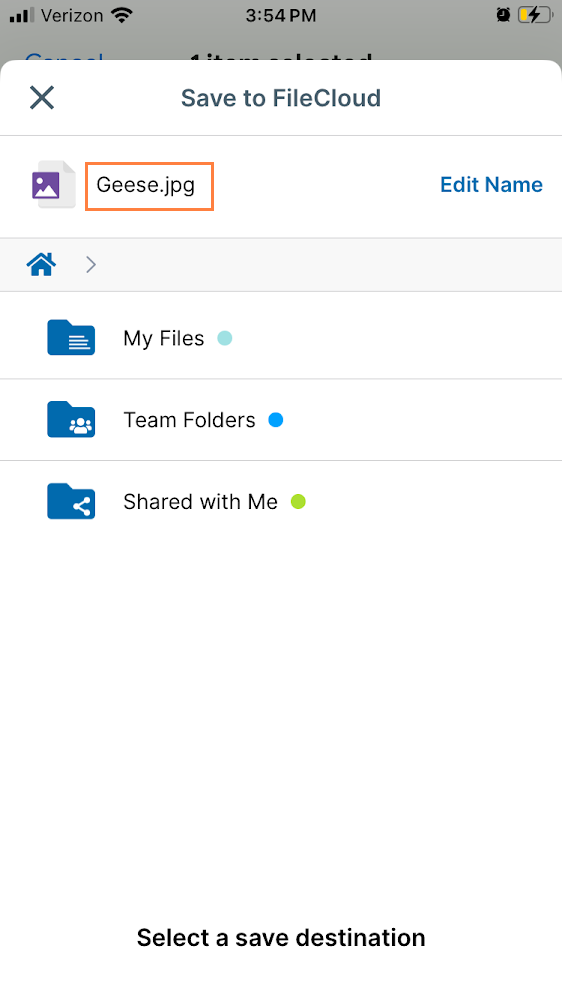
-
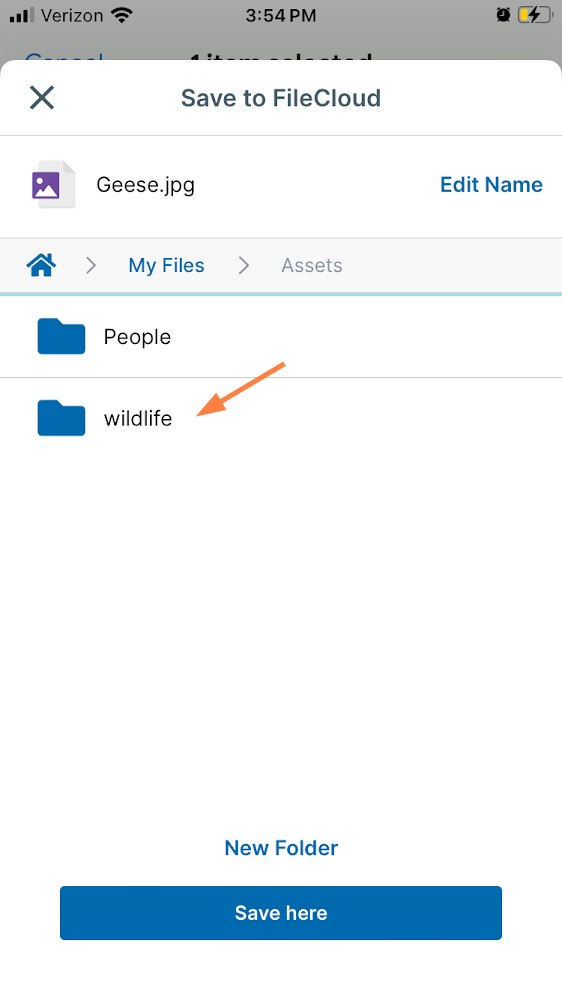
Navigate to the FileCloud folder where you want to save the file.
-
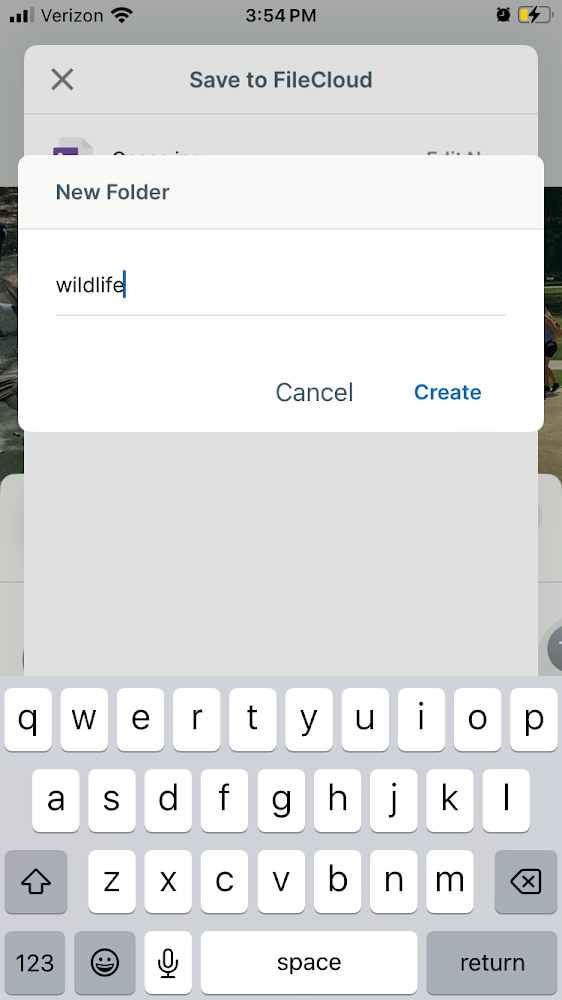
To create a new sub-folder for storing the file, tap New Folder.

-
Enter a name for the new folder and tap Create.
-
Tap the new folder to open it for storing the uploaded file.
-
Tap Save here.
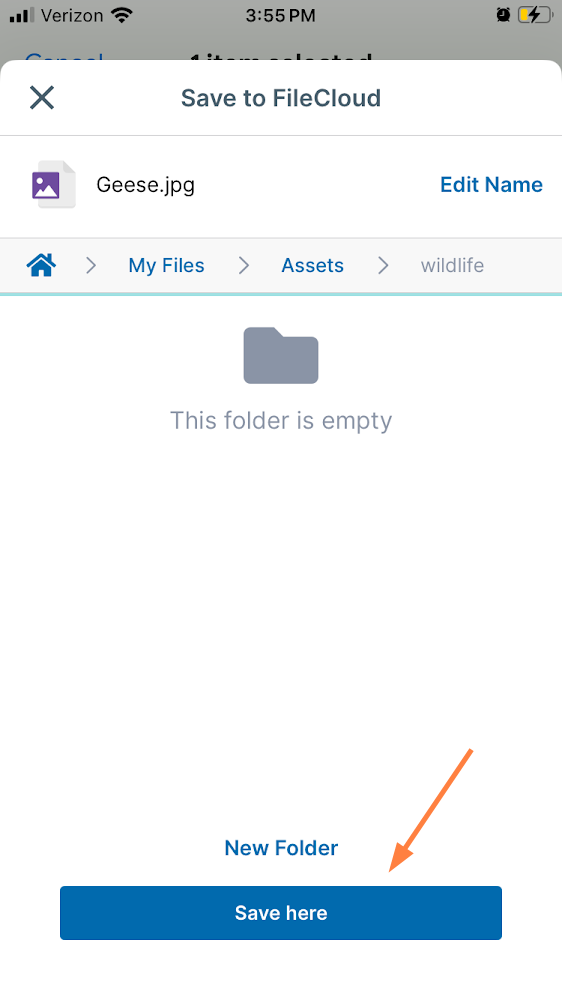
The file is saved in the folder.
To confirm that the file has been saved with the correct folder and filename, open the FileCloud app and navigate to the folder you stored it in.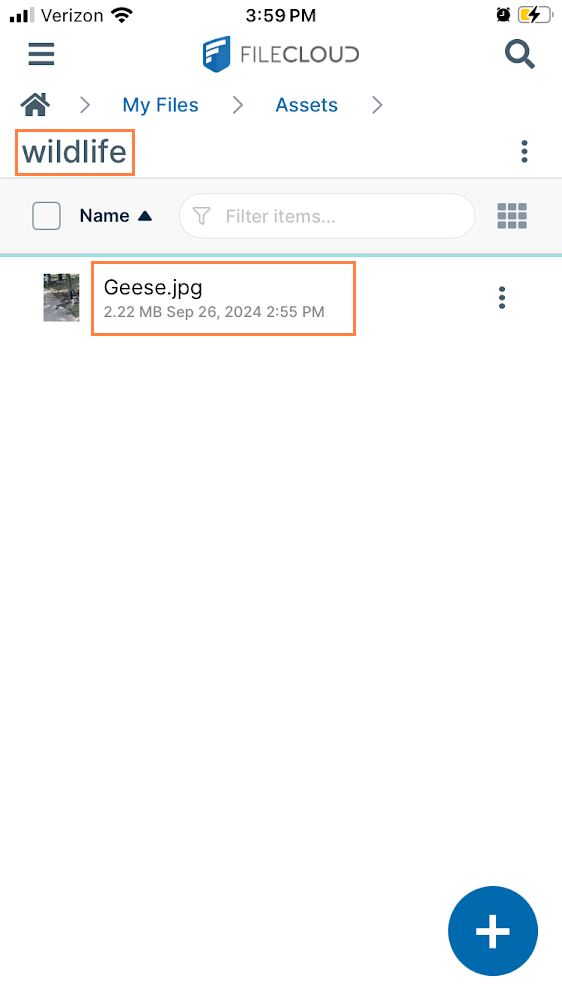
Please note the following restrictions when uploading files to FileCloud:
-
Files with the same name:
-
If you upload a file with the same name and the same case as another file in the same folder, it overwrites the file.
-
If you upload a file with the same name but a different case than another file in the same folder, you cannot upload the file and the File Operations window displays a file name conflict message.
-
If you upload files with the same name but different file extensions, like myfile.doc and myfile.docx, they are treated as different files.
-
-
FileCloud cannot upload files with leading spaces in the filename.
-
By default, files with the extensions php, php5, phar, and phtml cannot be uploaded into FileCloud.
For Admins
-
To specify which file extensions may be uploaded into FileCloud, see Managing File Extensions and Restricting File Extensions.
-
To restrict certain filenames from being uploaded into FileCloud, see Restricting File Names.