.svg)
Installing the add-in
For FileCloud admins
Central deployment
As an admin, you can deploy the add-in centrally using the Microsoft 365 Apps admin center. This enables you to control who has access to it, and to remove or add access at any time. In addition it enables you to automatically insert the add-in into the users' Outlook ribbon, eliminating the requirement that they install it themselves.
To deploy the add-in centrally, see the Microsoft 365 Apps admin center.
User download
The add-in is also available from the Microsoft Office store for individual users. You can allow users to install the add-in from there, but you are not able to manage it centrally if they download it this way. User steps for installing the add-in are listed below under For FileCloud for Outlook users.
For SSO login
To be able to log in with SSO, users must also have the Auth Agent application running on the client they are using to access Outlook.
To install and run the SSO Auth Agent, see Install and Run the SSO Auth Agent .
For FileCloud for Outlook users
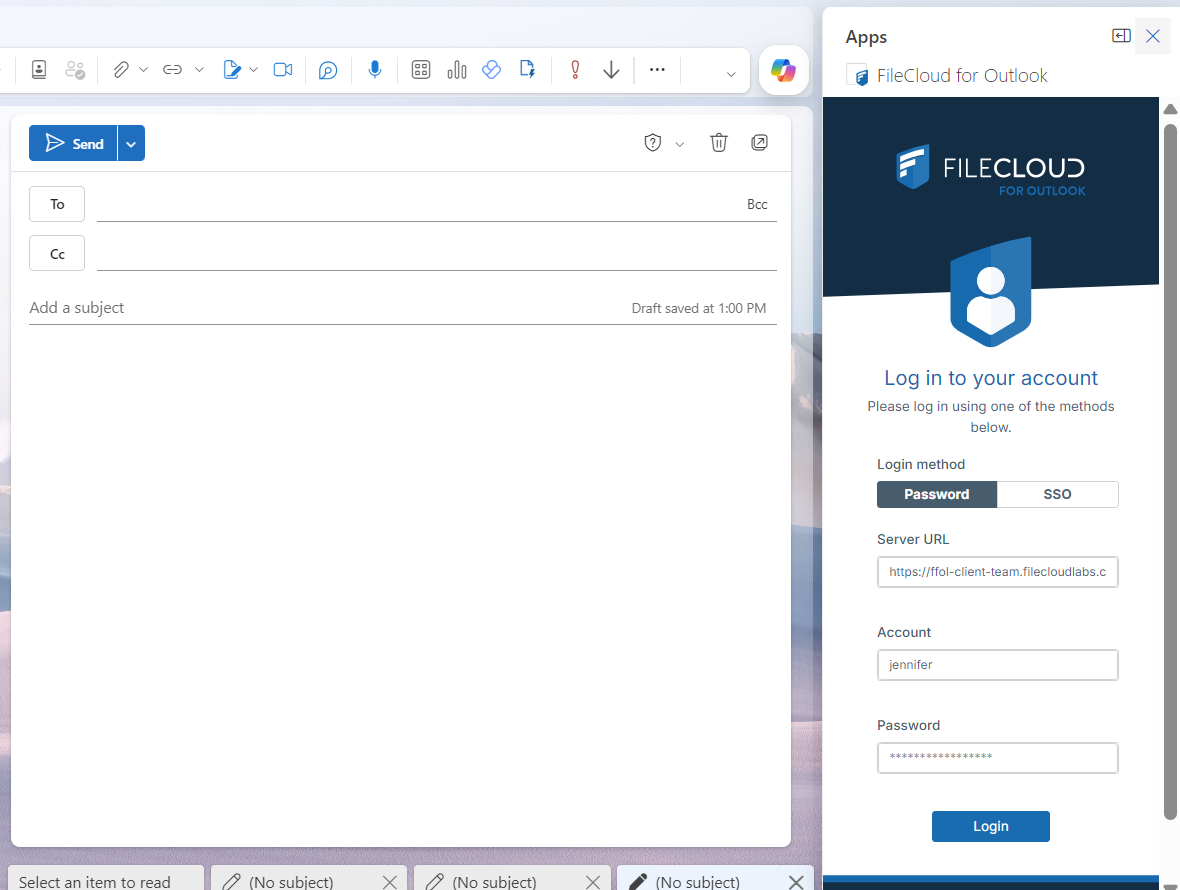
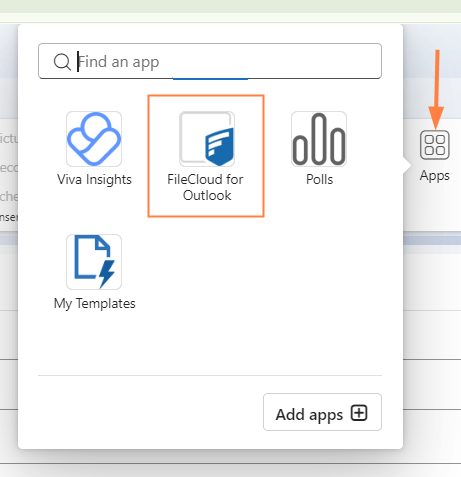
Check with your admin whether FileCloud for Outlook is available to you already when you click the Apps icon 
Installation for users with a Microsoft 365 account
If you have a Microsoft 365 account, you can install the FileCloud for Outlook add-in from the Microsoft Apps store.
To install the add-in from the Microsoft Apps store:
-
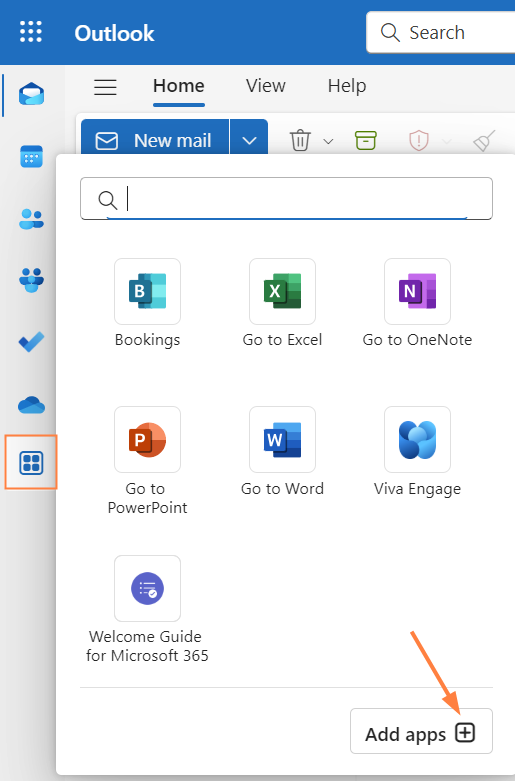
Open Outlook, and click the Apps icon.
-
Then click Add apps.
-
In the window that opens, enter FileCloud for Outlook in the search bar.
-
In the window that opens, click Add, and then click Open.
The FileCloud for Outlook app is now added to Outlook. -
To log in to FileCloud for Outlook with SSO, you must also download the FileCloud Helper service and run it on the client where you are running the add-in.
To install and run the SSO Auth Agent, see Install and Run the SSO Auth Agent .
Installation for users who do not have a Microsoft 365 account
If you would like to install FileCloud for Outlook, but do not have access to a Microsoft 365 account, you can install it using a manifest file that FileCloud can provide to you.
To install FileCloud for Outlook with the manifest file:
-
Ask your admin to send you the ffol-manifest.xml file provided by FileCloud.
Admins: Request ffol-manifest.xml from FileCloud Support. -
Go to https://aka.ms/olksideload.
A Microsoft Sign in window opens. -
Sign in using a Microsoft account.
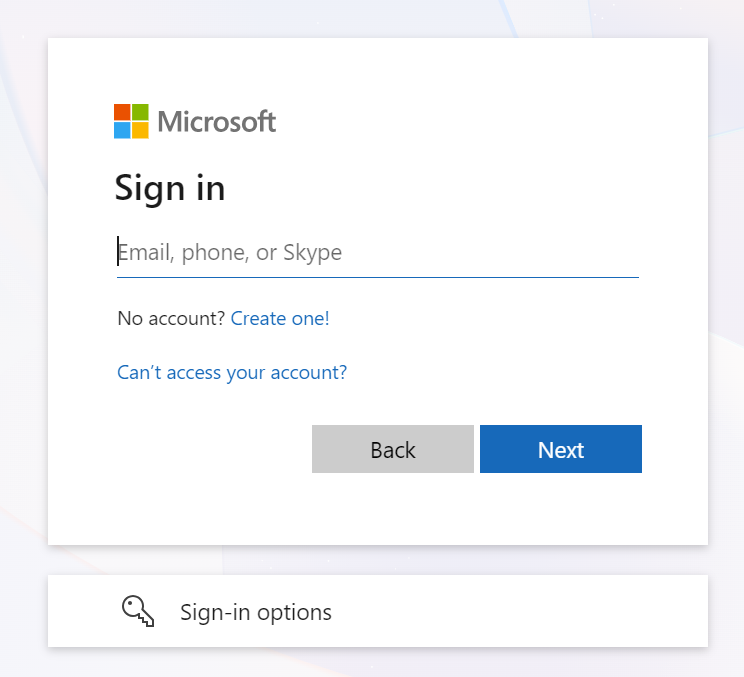
The Add-Ins for Outlook window opens.
-
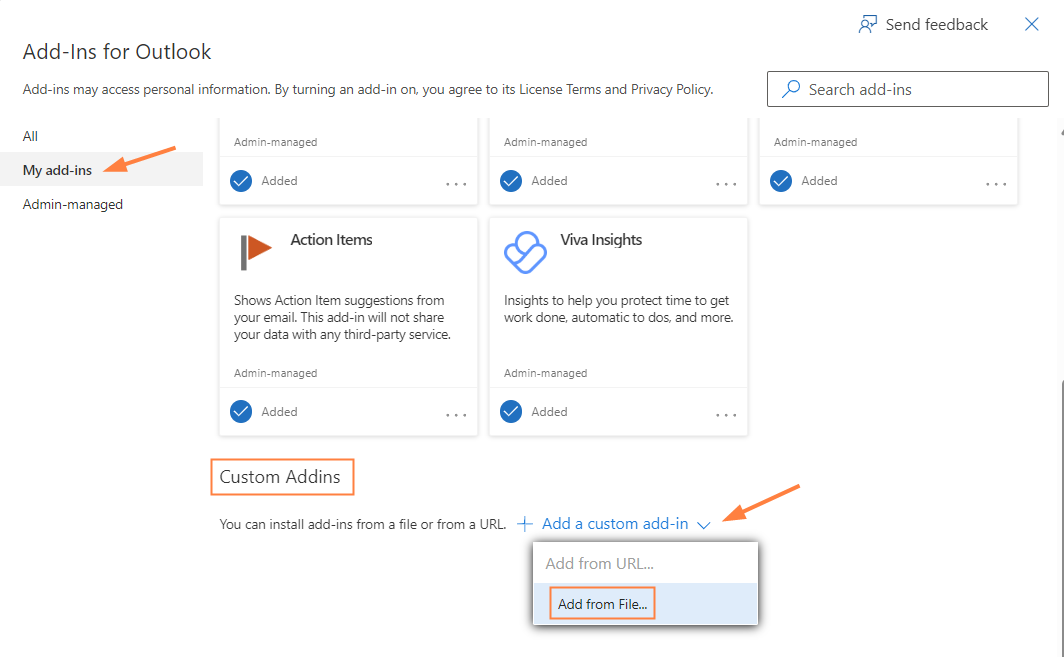
In the navigation panel, click My add-ins.
-
Scroll down to Custom Addins, and click Add a custom add-in, then choose Add from File…
-
Choose the ffol-manifest.xml file that you have been provided with.
-
At the prompt, click Install.
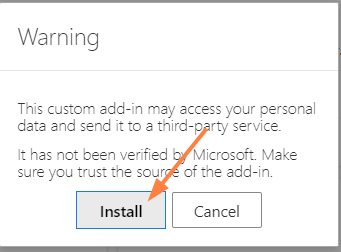
The FileCloud for Outlook add-in is installed:
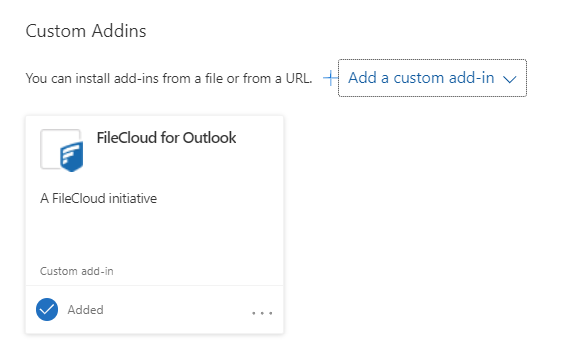
-
Close the Add-ins for Outlook window.
-
Refresh the Outlook screen.
-
Go to a view where the Apps icon is supported. For example, go to Home and click New:
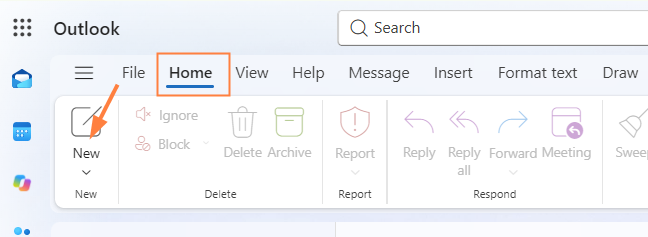
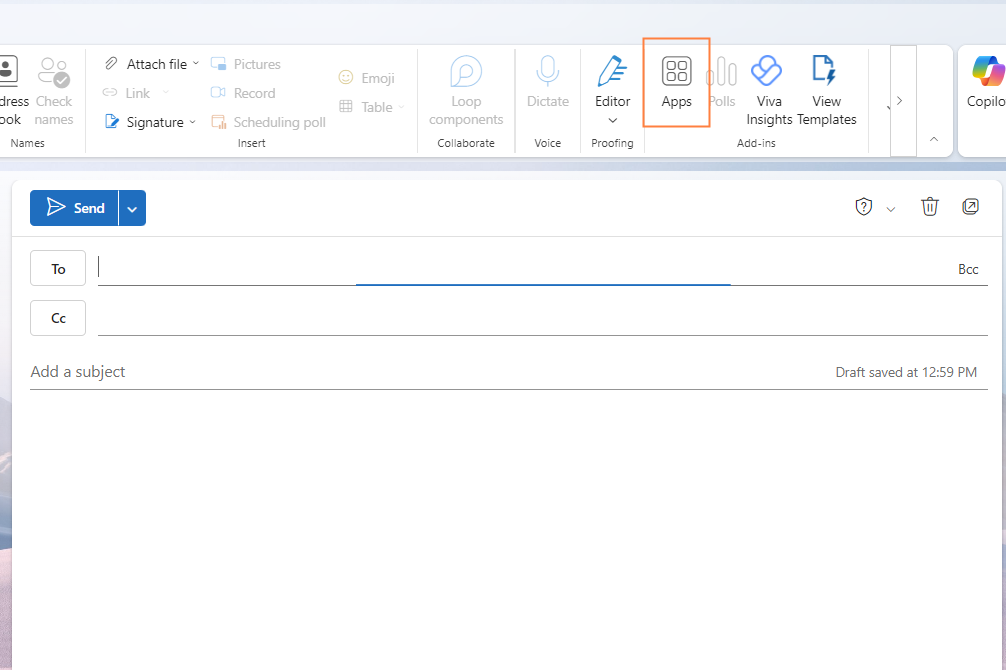
This opens a new email and enables the Apps icon:
-
Click the Apps icon, and confirm that FileCloud for Outlook appears:
-
Click the icon to open and begin using FileCloud for Outlook.